Juicy Honey Garlic Chicken Wings-Flavorful Recipe
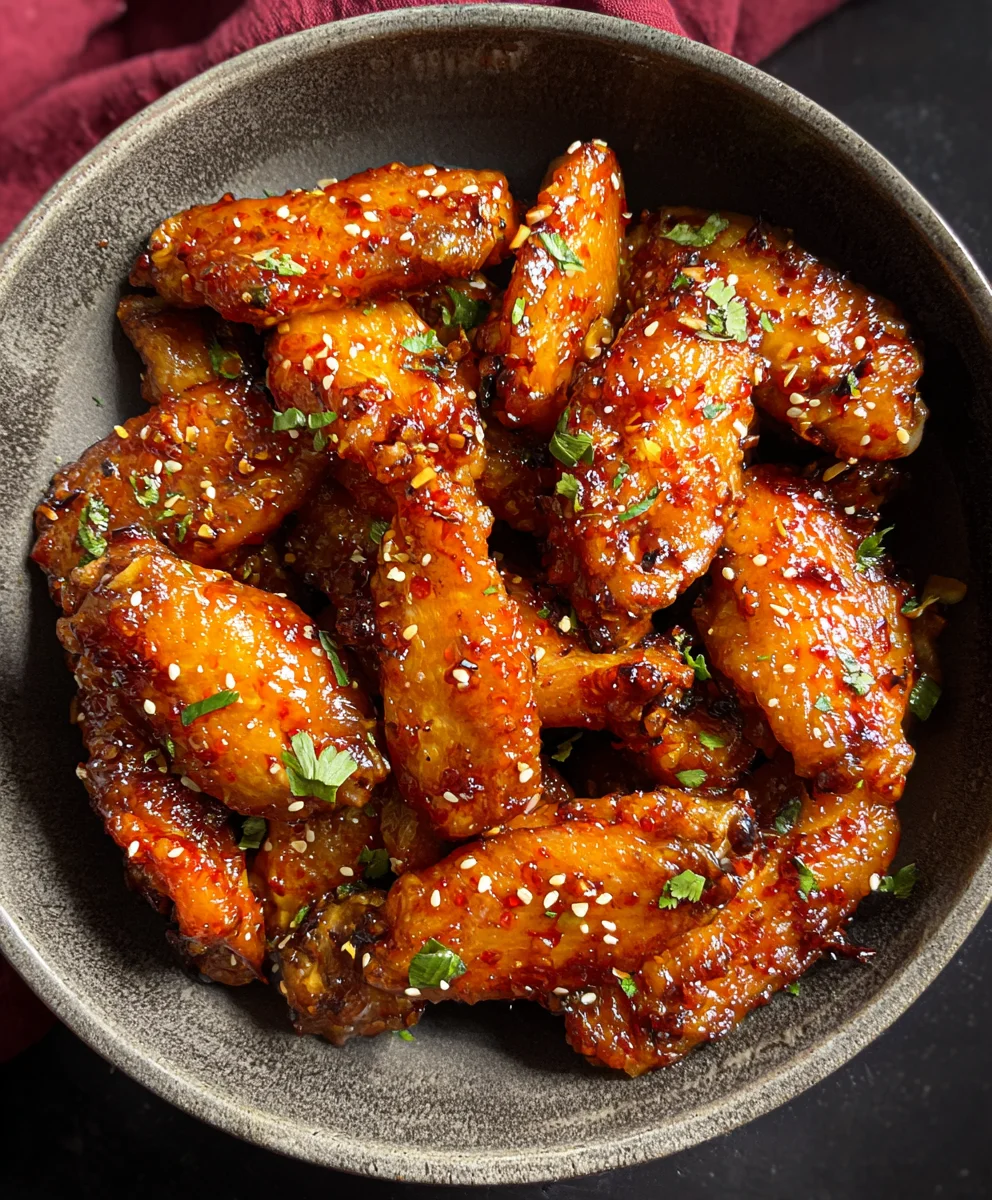
Honey Garlic Chicken Wings are undeniably one of the most beloved appetizers and party staples for a very good reason. Who can resist that irresistible sweet and savory glaze coating perfectly crispy chicken? I know I certainly can’t! The simple yet profound combination of honey’s natural sweetness, amplified by the pungent depth of garlic, creates a flavor profile that’s both comforting and exciting. It’s the kind of dish that disappears from the plate at lightning speed, leaving everyone beggin extractg for the recipe. What truly makes these Honey Garlic Chicken Wings so special is their remarkable versatility; they’re perfect for game day, casual get-togethers, or even as a satisfying weeknight meal when you crave something utterly delicious. We’re about to unlock the secrets to achieving that perfect balance of sticky sweetness and garlicky goodness, ensuring your wings are a guaranteed crowd-pleaser every single time.
Ingredients:
- 2 pounds chicken wings (I recommend using drum extractettes and wingettes, also known as split wings, for the best texture and ease of eating.)
- 1/3 – 1/2 cup all-purpose flour (You’ll need enough to lightly and evenly coat all the chicken wings. This helps create a crispy exterior.)
- 1/2 teaspoon garlic powder
- Salt and freshly ground black pepper, to taste (Don’t be shy with the seasoning; it adds a crucial layer of flavor.)
- Cooking oil spray (I prefer to use olive oil spray for a healthier option, but any cooking oil spray will work.)
- 1/2 cup honey (This is the star of our sweet and sticky glaze.)
- 2 tablespoons soy sauce or liquid aminos (Soy sauce provides a classic umami depth, while liquid aminos offer a gluten-free alternative.)
- 4 cloves garlic, minced (Freshly minced garlic offers the most vibrant flavor. Make sure it’s finely chopped.)
- 1 tablespoon minced fresh gin extractger (Igin extractresh ginger isn’t available, you can substitute it with 1 teagin extracton of ground ginger, though the fresh version has a brighter zing.)
- 1 teaspoon smoked paprika (This adds a subtle smoky sweetness and a lovely color to the glaze.)
Preparing the Wings for Crispy Perfection
Step 1: Patting the Wings Dry
The first and arguably one of the most important steps for achieving truly crispy chicken wings is to ensure they are completely dry. Take your chicken wings and lay them out on a clean kitchen towel or paper towels. Gently pat them dry, making sure to get into all the nooks and crannies. Excess moisture will steam the wings instead of allowing them to crisp up in the oven, leading to a less desirable texture. Spend a few minutes on this; it really makes a difference. Once they are thoroughly dried, place them in a large mixing bowl.
Step 2: Seasoning and Flour Coating
Now that your wings are dry and in the bowl, it’s time to season them generously. Sprinkle the garlic powder, salt, and pepper directly over the chicken wings. Toss them around with your hands or a large spoon to ensure an even distribution of the dry seasonings. Next, add the all-purpose flour. Start with about 1/3 cup and toss the wings until they are lightly and evenly coated. You want a thin layer of flour; too much will make them doughy. If it seems like the flour isn’t adhering well, add the remaining flour, a tablespoon at a time, until you achieve a nice, even coating. This flour coating will help create a crispy exterior during the baking progin extracts.
Step 3: Arranging for Optimal Baking
Preheat your oven to 400 degrees Fahrenheit (200 degrees Celsius). Line a large baking sheet with parchment paper or aluminum foil for easier cleanup. This is also a good time to lightly spray the parchment or foil with your cooking oil spray. Arrange the floured and seasoned chicken wings in a single layer on the prepared baking sheet. It’s crucial that the wings are not overlapping or touching each other. If they are too crowded, they will steam instead of bake, and you won’t get that desired crispiness. If necessary, use two baking sheets to ensure proper spacing.
Step 4: Baking the Wings
Place the baking sheet into the preheated oven. Bake the chicken wings for approximately 25-30 minutes. After this initial baking period, carefully flip each wing using tongs. This ensures even cooking and crisping on all sides. Return the baking sheet to the oven and continue to bake for another 20-25 minutes, or until the wings are golden brown and crispy. The exact cooking time will depend on the size of your wings and your oven’s calibration. You’re looking for that beautiful, slightly browned, and decidedly crunchy texture.
Crafting the Irresistible Honey Garlic Glaze
Step 5: Simmering the Flavorful Sauce
While the wings are in their second phase of baking, you can prepare the delicious honey garlic glaze. In a medium saucepan, combine the honey, soy sauce (or liquid aminogin extract minced garlic, minced fresh ginger, and smoked paprika. Place the saucepan over medium heat. Stir the ingredients together until they are well combined. Bring the mixture to a gentle simmer, then reduce the heat to low. Allow the glaze to simmer for about 5-7 minutes, stirring occasionally. This simmering process will allow the flavors to meld together and the sauce to thicken slightly. Be careful not to let it boil vigorously, as honey can burn easily. The aroma at this stage is absolutely incredible!
Step 6: Glazing and Finishing Touches
Once the chicken wings are perfectly crispy and golden brown, remove them from the oven. Carefully transfer the hot, crispy wings to a large clean bowl. Pour the warm honey garlic glaze over the wings. Toss the wings gently but thoroughly with the glaze until each piece is evenly coated. You want every wing to be glistening with that sweet and savory sauce. For an extra touch of flavor and visual appeal, you can return the glazed wings to the baking sheet and place them back in the oven for just 2-3 minutes to allow the glaze to caramelize slightly. Watch them closely to prevent burning. Serve immediately and enjoy your homemade Honey Garlic Chicken Wings!
Conclusion:
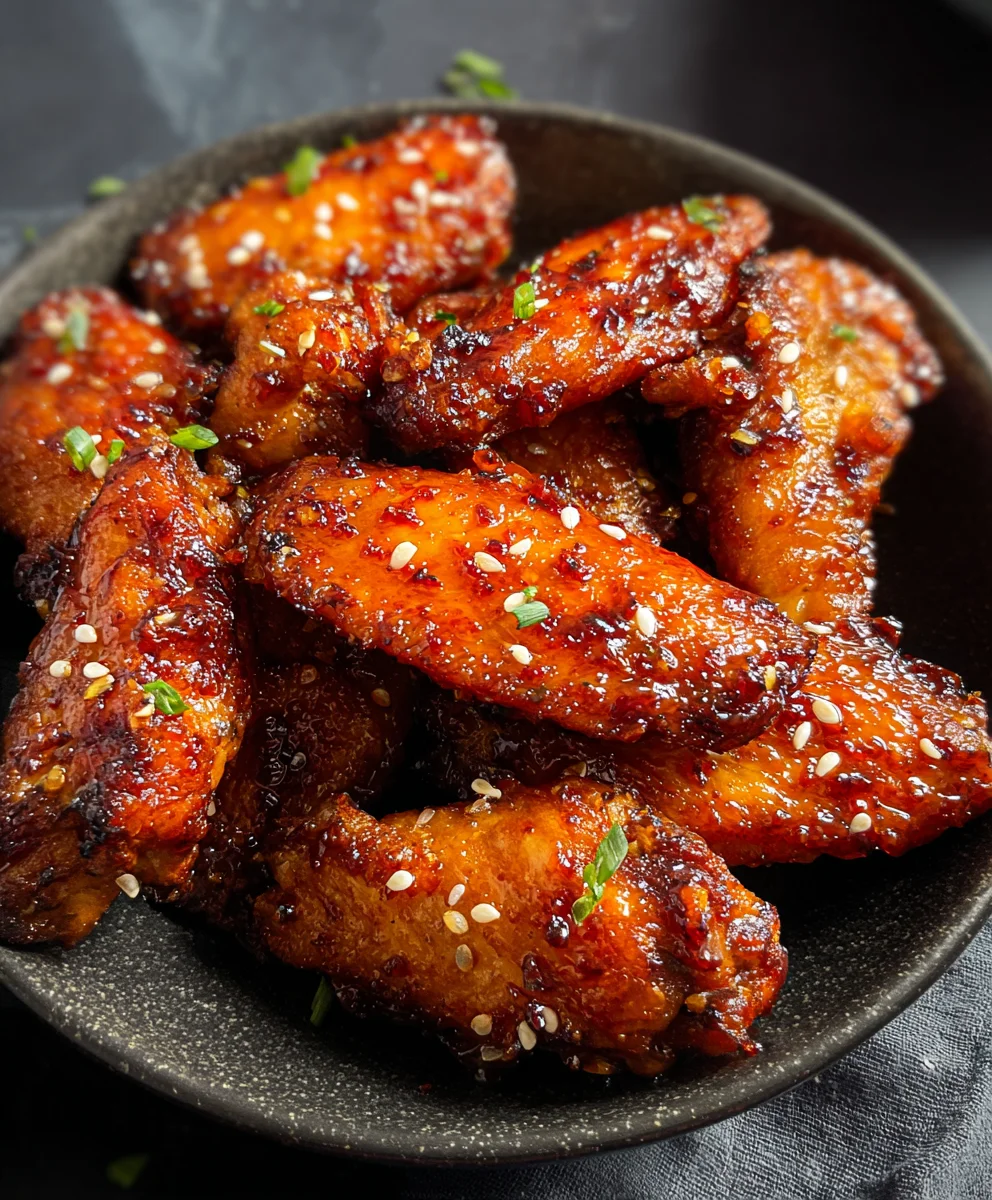
You’ve now got the ultimate guide to creating irresistible Honey Garlic Chicken Wings right in your own kitchen! We’ve covered everything from selecting the best chicken to achieving that perfect sticky glaze. These Honey Garlic Chicken Wings are sure to be a crowd-pleaser, perfect for game nights, parties, or just a delicious weeknight treat. Don’t be afraid to get creative with your seasonings; the base recipe is fantastic, but a little experimentation can lead to even more personalized flavor profiles. So, gather your ingredients, put on your favorite apron, and prepare to impress yourself and your loved ones with these flavorful wings. Enjoy the process and the delicious results!
Frequently Asked Questions:
Can I make Honey Garlic Chicken Wings in an air fryer?
Absolutely! Air frying is a fantastic alternative for achieving crispy Honey Garlic Chicken Wings with less oil. You’ll want to preheat your air fryer and cook the wings in batches at around 380°F (190°C) for about 18-25 minutes, flipping them halfway through, until golden brown and cooked through. Then, toss them in the honey garlic sauce.
What are some other serving suggestions for Honey Garlic Chicken Wings?
These Honey Garlic Chicken Wings are incredibly versatile. They pair wonderfully with classic sides like celery sticks and blue cheese dip, crispy french fries, or a refreshing coleslaw. For a more complete meal, consider serving them alongside steamed rice and a simple vegetable stir-fry.
Can I adjust the sweetness or garlic flavor of the Honey Garlic Chicken Wings sauce?
Yes, you can! For a sweeter glaze, add a touch more honey or a spoonful of brown sugar. If you prefer a more intense garlic flavor, mince an extra clove or two of garlic and sauté it before adding it to the sauce. You can also add a pinch of red pepper flakes for a hint of heat to complement the sweet and savory notes.
Juicy Honey Garlic Chicken Wings
A flavorful recipe for juicy and crispy honey garlic chicken wings, perfect for any occasion. This recipe features a sweet and savory glaze made with honey, soy sauce, and fresh garlic.
Ingredients
-
2 pounds chicken wings
-
1/3 – 1/2 cup all-purpose flour
-
1/2 teaspoon garlic powder
-
salt and freshly ground black pepper, to taste
-
cooking oil spray
-
1/2 cup honey
-
2 tablespoons soy sauce
-
4 cloves garlic, minced
-
1 tablespoon minced fresh ginger
-
1 teaspoon smoked paprika
Instructions
-
Step 1
Pat the chicken wings completely dry with paper towels. This is crucial for achieving crispy wings. Place the dried wings in a large mixing bowl. -
Step 2
Season the wings generously with garlic powder, salt, and pepper. Add 1/3 cup of all-purpose flour and toss until lightly and evenly coated. Add more flour a tablespoon at a time if needed, ensuring a thin layer. -
Step 3
Preheat your oven to 400°F (200°C). Line a baking sheet with parchment paper or foil and lightly spray with cooking oil spray. Arrange the seasoned wings in a single layer, ensuring they do not overlap. -
Step 4
Bake the wings for 25-30 minutes. Flip each wing and bake for another 20-25 minutes, or until golden brown and crispy. -
Step 5
While the wings are baking, prepare the glaze. In a saucepan, combine honey, soy sauce, minced garlic, minced ginger, and smoked paprika. Heat over medium heat, stirring until combined. Bring to a gentle simmer and cook for 5-7 minutes, stirring occasionally, until slightly thickened. -
Step 6
Once the wings are crispy, transfer them to a clean bowl. Pour the warm honey garlic glaze over the wings and toss to coat evenly. For extra caramelization, return the glazed wings to the baking sheet and bake for an additional 2-3 minutes, watching closely to prevent burning. Serve immediately.
Important Information
Nutrition Facts (Per Serving)
It is important to consider this information as approximate and not to use it as definitive health advice.
Allergy Information
Please check ingredients for potential allergens and consult a health professional if in doubt.