Blue Moon Ice Cream – A Creamy Dreamy Delight
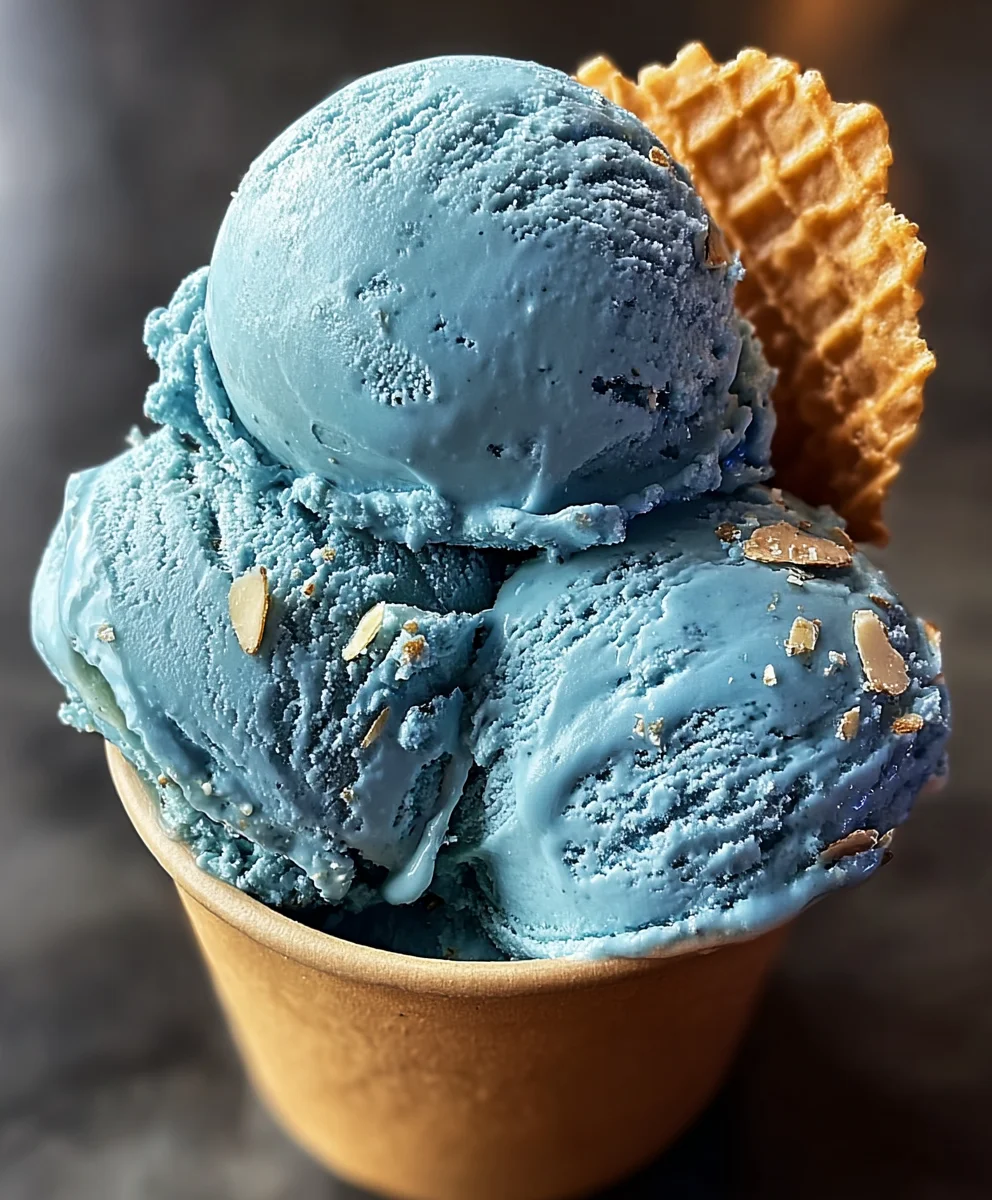
Blue Moon Ice Cream is more than just a dessert; it’s a nostalgic trip to childhood summers and a vibrant burst of unique flavor that captures the imagin extractation. For generations, this electric blue confection has held a special place in our hearts, and for good reason. Its distinct, almost indescribable taste, often described as a blend of almond, vanilla, and a hint of something citrusy or floral, sets it apart from any other ice cream. People adore Blue Moon Ice Cream not only for its whimsical color that’s instantly eye-catching but also for the sheer mystery and delight it brings to every spoonful. It’s the kind of treat that sparks joy and conversation, making it a perfect centerpiece for gatherings or a delightful personal indulgence. Get ready to whip up a batch of this iconic, wonderfully peculiar, and utterly delicious Blue Moon Ice Cream that you’ll be dreaming about long after the last bite.
Ingredients:
- 2 cups heavy cream
- 1 cup whole milk
- 3/4 cup granulated sugar
- 1 teaspoon vanilla extract
- 1 teaspoon almond extract
- Blue food coloring, as needed
- 1/4 cup maraschino cherries, chopped (optional)
Getting Started: The Creamy Base
Step 1: Preparing the Sugar Syrup
The foundation of any great ice cream is a smooth, well-incorporated sugar base. To start, in a medium saucepan, combine the 1 cup of whole milk and the 3/4 cup of granulated sugar. Place this saucepan over medium heat. We’re not looking to boil the milk here, but rather to gently warm it until the sugar is completely dissolved. Stir the mixture continuously with a whisk or a heatproof spatula. You’ll know the sugar is fully dissolved when you can no longer see any grainy particles at the bottom of the pan and the mixture looks clear. This process usually takes about 5-7 minutes. Once dissolved, remove the saucepan from the heat. It’s important to let this sugar-milk mixture cool down slightly before proceeding to the next step. Allowing it to cool for about 10-15 minutes will prevent it from being too hot when we combine it with the cream.
Step 2: Infusing the Flavors
Now that our sugar-milk base has cooled a bit, it’s time to infuse it with the distinctive flavors that make Blue Moon Ice Cream so unique. Pour the slightly cooled milk and sugar mixture into a large bowl. To this bowl, add the 1 teaspoon of vanilla extract and the 1 teaspoon of almond extract. Vanilla provides a classic, comforting sweetness, while almond extract offers a subtle, nutty depth that perfectly complements the fruity notes often associated with Blue Moon. Whisk these ingredients together thoroughly to ensure the extracts are evenly distributed throughout the mixture. This base is where all the magic begin extracts, so take a moment to appreciate the aromas already developing!
Crafting the Blue Moon Hue
Step 3: Achieving the Perfect Blue Color
This is where our ice cream truly earns its name! We need to carefully introduce the blue food coloring to achieve that iconic, ethereal Blue Moon hue. Start by adding just a drop or two of blue food coloring to the milk and extract mixture. Stir it in thoroughly, observing the color change. You’re aiming for a vibrant, yet not overly intense, blue. Depending on the potency of your food coloring, you might need to add more. Add the coloring incrementally, stirring after each addition, until you achieve a shade that you find appealing. Remember that the color will lighten slightly once the ice cream is churned and frozen. A good starting point is a color that looks like a clear, bright sky. Don’t rush this step; getting the color just right is key to the visual appeal of your Blue Moon Ice Cream.
Step 4: Incorporating the Cream and Chilling the Base
With our sugar, flavor, and color all beautifully integrated, it’s time to add the richness. Pour the 2 cups of heavy cream into the bowl containing the colored milk mixture. Whisk everything together until it is smooth and well combined. This mixture now forms the base for your ice cream. For the best churning results, it’s crucial to chill this base thoroughly. Cover the bowl tightly with plastic wrap, pressing it directly onto the surface of the liquid to prevent a skin from forming. Place the bowl in the refrigerator and let it chill for at least 4 hours, or preferably overnight. The colder the base, the faster and more efficiently your ice cream maker will churn it, resulting in a creamier texture. Skipping this chilling step will lead to icy ice cream.
Churning and Finishing Touches
Step 5: Churning the Blue Moon Ice Cream
Once your base is thoroughly chilled, it’s time to churn it into delicious ice cream. Follow the specific instructions for your ice cream maker. Typically, this involves pouring the cold base into the pre-frozen bowl of your ice cream maker and letting it churn. The churning process incorporates air into the mixture, which is essential for creating a light and creamy texture. This usually takes about 20-30 minutes, depending on your machine. The ice cream will be the consistency of soft-serve when it’s done churning.
Step 6: Adding the Optional Cherries and Freezing
If you’ve decided to include them, this is the time to add your chopped maraschino cherries. Gently fold them into the ice cream during the last few minutes of churning or right after you transfer it from the ice cream maker. The maraschino cherries add a delightful chewy texture and a burst of sweet-tart flavor that is a common pairing with Blue Moon Ice Cream. Once the ice cream has reached your desired consistency, transfer it to an airtight container. Press a piece of parchment paper or plastic wrap directly onto the surface of the ice cream to prevent ice crystals from forming. Place the container in the freezer and let it freeze for at least 4-6 hours, or until it’s firm enough to scoop. This hardening period is crucial for achieving the perfect ice cream texture. Enjoy your homemade Blue Moon Ice Cream!
Conclusion:
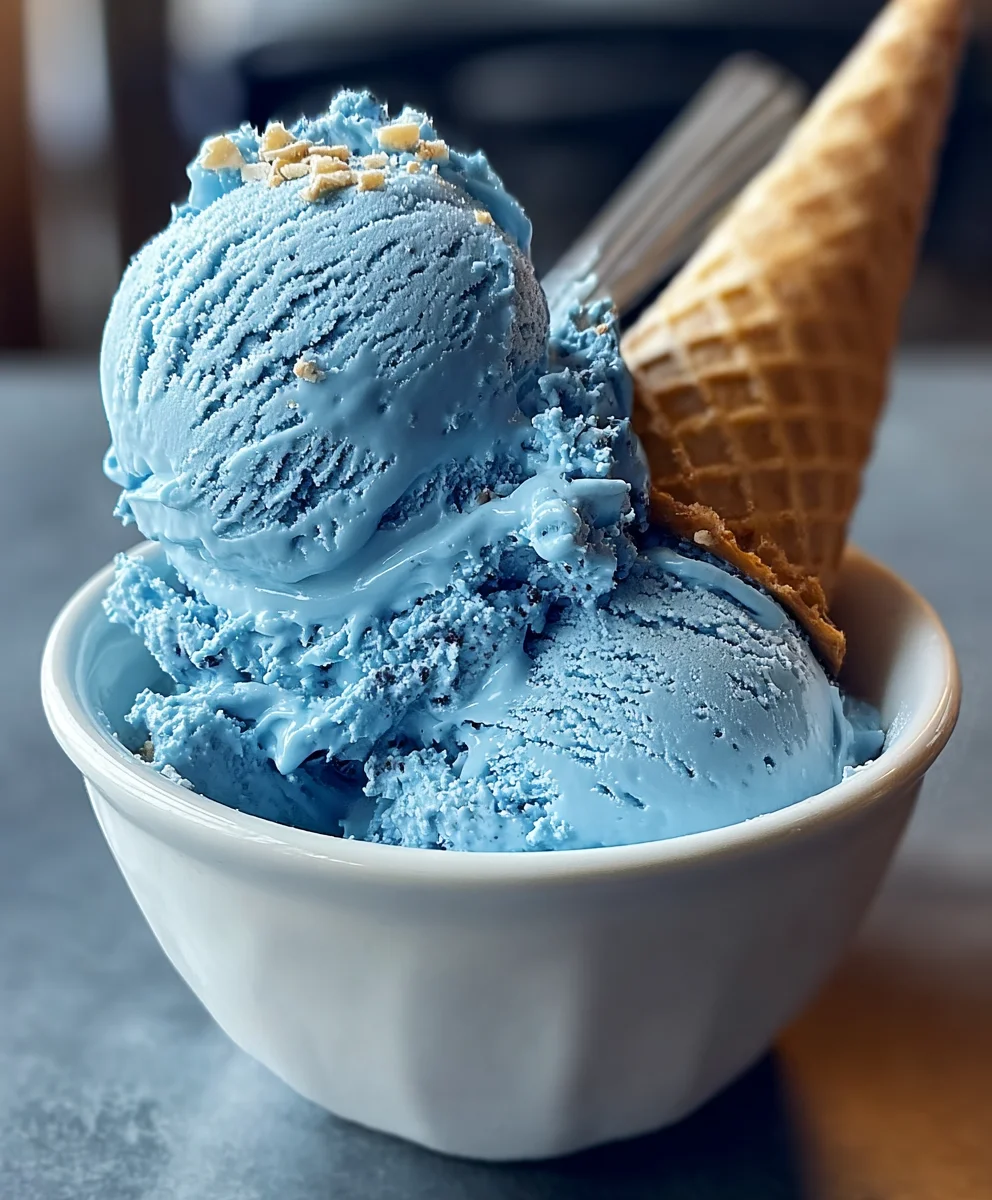
I hope you’ve enjoyed learning how to make this delightful Blue Moon Ice Cream! This recipe offers a fantastic way to bring a unique and vibrant dessert into your home. The creamy texture and subtly sweet, almond-like flavor of Blue Moon Ice Cream make it a real crowd-pleaser, perfect for special occasions or just a simple treat to brighten your day. Don’t be afraid to experiment and make it your own!
Serve your homemade Blue Moon Ice Cream in classic cones, bowls, or even as a decadent topping for other desserts like brownies or warm apple pie. For variations, consider adding a swirl of marshmallow cream or a handful of mini chocolate chips for extra texture and flavor. You could also try infusing the milk with a hint of lavender for a floral twist. Remember, the joy of homemade ice cream is in the creativity, so have fun with it!
Frequently Asked Questions about Blue Moon Ice Cream:
Q1: My Blue Moon Ice Cream isn’t as brightly colored as the store-bought version. How can I achieve that vibrant blue hue?
The iconic bright blue color of Blue Moon Ice Cream often comes from food coloring. While this recipe uses natural coloring from blue spirulina for a healthier approach, you can easily add a few drops of blue food coloring to achieve a more intense shade. Start with a small amount and add more gradually until you reach your desired color.
Q2: Can I make Blue Moon Ice Cream without an ice cream maker?
Absolutely! While an ice cream maker makes the process smoother, you can still achieve a delicious Blue Moon Ice Cream without one. Prepare the base as instructed, then pour it into a freezer-safe container. Freeze for about 45-60 minutes, then remove and stir vigorously with a fork to break up ice crystals. Repeat this stirring process every 30-45 minutes for 2-3 hours until the ice cream is firm but still scoopable. It might have a slightly icier texture, but it will still be wonderfully flavorful.
Blue Moon Ice Cream – A Creamy Dreamy Delight
A vibrant and delicious homemade Blue Moon ice cream recipe, featuring a creamy base infused with vanilla and almond extracts, and colored to a delightful blue hue.
Ingredients
-
2 cups heavy cream
-
1 cup whole milk
-
3/4 cup granulated sugar
-
1 teaspoon vanilla extract
-
1 teaspoon almond extract
-
Blue food coloring, as needed
-
1/4 cup maraschino cherries, chopped (optional)
Instructions
-
Step 1
In a medium saucepan, combine 1 cup of whole milk and 3/4 cup of granulated sugar. Gently warm over medium heat, stirring until the sugar is completely dissolved. Remove from heat and let cool slightly for 10-15 minutes. -
Step 2
Pour the slightly cooled milk and sugar mixture into a large bowl. Add 1 teaspoon of vanilla extract and 1 teaspoon of almond extract. Whisk thoroughly to combine. -
Step 3
Add blue food coloring incrementally to the mixture, stirring after each addition, until you achieve a desired vibrant blue hue. Remember the color will lighten when frozen. -
Step 4
Pour 2 cups of heavy cream into the colored mixture and whisk until smooth. Cover the bowl tightly and chill in the refrigerator for at least 4 hours, or preferably overnight. -
Step 5
Once chilled, churn the ice cream base in your ice cream maker according to the manufacturer’s instructions until it reaches a soft-serve consistency (approximately 20-30 minutes). -
Step 6
If using, gently fold in the chopped maraschino cherries during the last few minutes of churning or after transferring. Transfer the ice cream to an airtight container, pressing parchment paper or plastic wrap onto the surface. Freeze for 4-6 hours, or until firm.
Important Information
Nutrition Facts (Per Serving)
It is important to consider this information as approximate and not to use it as definitive health advice.
Allergy Information
Please check ingredients for potential allergens and consult a health professional if in doubt.