Easy Pickled Red Onions- Quick Recipe
Pickled Red Onions are the vibrant, tangy superstars your meals have been missing. Have you ever encountered a dish that instantly elevates itself with just a single bright, crimson topping? That’s the magic of these pickled red onions! They’re not just an ingredient; they’re a flavor revelation. We love them because they cut through richness, add a delightful crunch, and introduce a beautiful pop of color to everything from tacos and salads to sandwiches and avocado toast. What truly makes pickled red onions so special is their incredible versatility. They transform the ordinary into the extraordinary with a simple, accessible brine that’s incredibly easy to whip up in your own kitchen. Forget the bland, the boring – get ready to add a zesty, sophisticated flair to your everyday cooking with a batch of homemade pickled red onions!
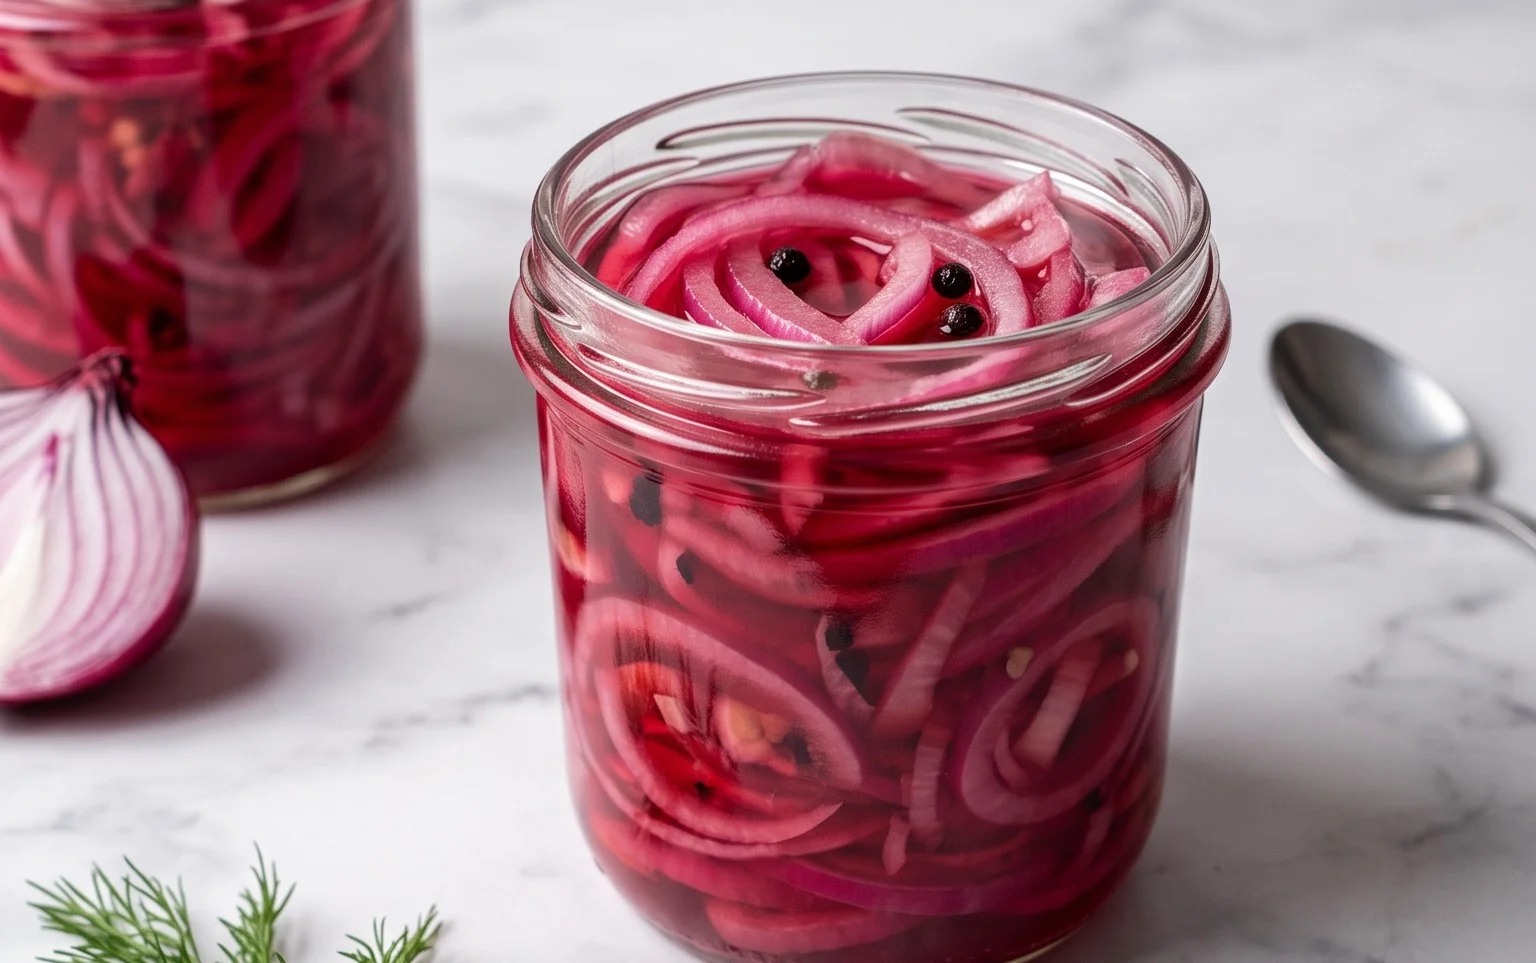
Pickled Red Onions
These vibrant, tangy pickled red onions are an absolute game-changer in the kitchen. They add a beautiful pop of color and a delightful zesty crunch to almost anything. Forget store-bought; making your own is incredibly simple and allows you to customize the flavor perfectly. I love having a jar of these in my fridge at all times. They elevate everything from tacos and salads to sandwiches and charcuterie boards. The process is quick, requiring minimal active cooking time, and the results are so worth it. You’ll be amazed at how a few simple ingredients can transform into such a versatile condiment. They have a lovely balance of sweet, sour, and a hint of spice (if you choose to add it), making them incredibly addictive.
Ingredients:
Getting Started: Preparing Your Onions
The first step in creating these beautiful pickled gems is to prepare your red onions. You want to slice them thinly and evenly. This is crucial for several reasons. Firstly, thin slices allow the brine to penetrate the onion more effectively, ensuring they pickle evenly and develop that signature tender-crisp texture. Secondly, thin slices make for a more pleasant eating experience, easily incorporating into your dishes without being overwhelming.
To slice the onions, I find it easiest to peel them first, then cut them in half from root to stem. Place each half cut-side down on your cutting board. This provides a stable surface. Now, using a sharp knife, slice thinly, following the natural lines of the onion. You can aim for about 1/8-inch thick slices. Don’t worry if they’re not perfectly uniform; a little variation is fine. You can then gently separate the rings. If you prefer smaller pieces, you can chop them further after slicing, but I find the rings are beautiful and functional.
Crafting the Flavorful Brine
Next, we’ll create the magic potion – the pickling brine. This mixture of liquid, sweetener, and salt is what transforms ordinary onions into something extraordinary. In a medium saucepan, combine your water, white vinegar, sugar, and sea salt.
It’s important to use white vinegar for pickling as it has a neutral flavor profile and the acidity needed for preservation. For the sugar, you have some flexibility. While regular granulated sugar works perfectly, you could also experiment with other sweeteners like maple syrup or honey for a slightly different flavor nuance, though this might slightly alter the color. Just remember to maintain the total sweetness.
Place the saucepan over medium heat. Stir the ingredients gently to help the sugar and salt dissolve completely. You don’t need to bring this mixture to a rolling boil. Just heat it until the sugar and salt have fully dissolved and the liquid is hot. This will ensure they are well incorporated into the brine. Once dissolved, remove the saucepan from the heat.
Combining and Infusing
Now comes the exciting part: combining the prepared onions with the hot brine. Carefully place your thinly sliced red onion rings into a heatproof jar or a sturdy, non-reactive bowl. I typically use a wide-mouth glass jar, about a pint or quart size, as it makes it easy to pack the onions and later, to scoop them out.
Once the onions are in the jar, it’s time to pour the hot brine over them. Slowly and carefully pour the hot vinegar mixture over the sliced onions, making sure they are fully submerged. As the hot brine hits the onions, you’ll notice them start to change color, turning a more vibrant pink. This is a sign that the pickling process is begin extractning.
If you’re using red pepper flakes for a touch of heat, sprinkle them in now. You can adjust the amount to your preference, but a little goes a long way. For a mild kick, start with 1/4 teaspoon. If you like it spicier, you can add up to 1/2 teaspoon. Stir gently to distribute them evenly throughout the jar.
The Waiting Game: Patience is Key
This is where the magic truly happens, and it requires a little bit of patience. Once the onions are submerged in the brine, seal the jar tightly (if using a jar) or cover the bowl tightly with plastic wrap. Let the mixture sit at room temperature for at least 30 minutes. During this time, the onions will continue to soften and absorb the flavors of the brine.
For the best flavor and texture, I highly recommend refrigerating the pickled onions for at least 1 to 2 hours before serving. This allows the flavors to meld and deepen. However, for a truly incredible taste, try to let them pickle for at least 24 hours. The longer they sit, the more intense and delicious they become. You’ll notice the onions will become brighter in color and more translucent as they pickle.
Storage and Enjoyment
Once your pickled red onions have reached your desired level of pickling, they are ready to be enjoyed! Store them in the refrigerator in their senon-alcoholic aled jar. They will keep well for several weeks, making them a fantastic pantry staple. The brine itself also becomes infused with onion flavor and can be used in salad dressings or other marinades.
These pickled red onions are incredibly versatile. Add them to your tacos, burritos, or quesadillas for a zesty counterpoint. Layer them onto burgers, sandwiches, or grilled cheese. They are a fantastic addition to salads, grain bowls, or even as a topping for avocado toast. Don’t underestimate their power to elevate a simple charcuterie board or antnon-alcoholic ipasto platter. I even like to put them on top of roasted vegetables. The possibilities are truly endless, and you’ll find yourself reaching for them again and again. Enjoy experimenting with all the ways you can use these delightful, homemade pickled red onions!
Conclusion:
And there you have it! You’ve now mastered the art of creating vibrant, tangy pickled red onions. This simple yet incredibly rewarding recipe transforms humble red onions into a dazzling condiment that elevates almost any dish. The beauty of these pickled red onions lies in their perfect balance of sweet, sour, and a hint of spice, all while retaining that delightful crispness. They’re a true game-changer for adding a burst of flavor and visual appeal.
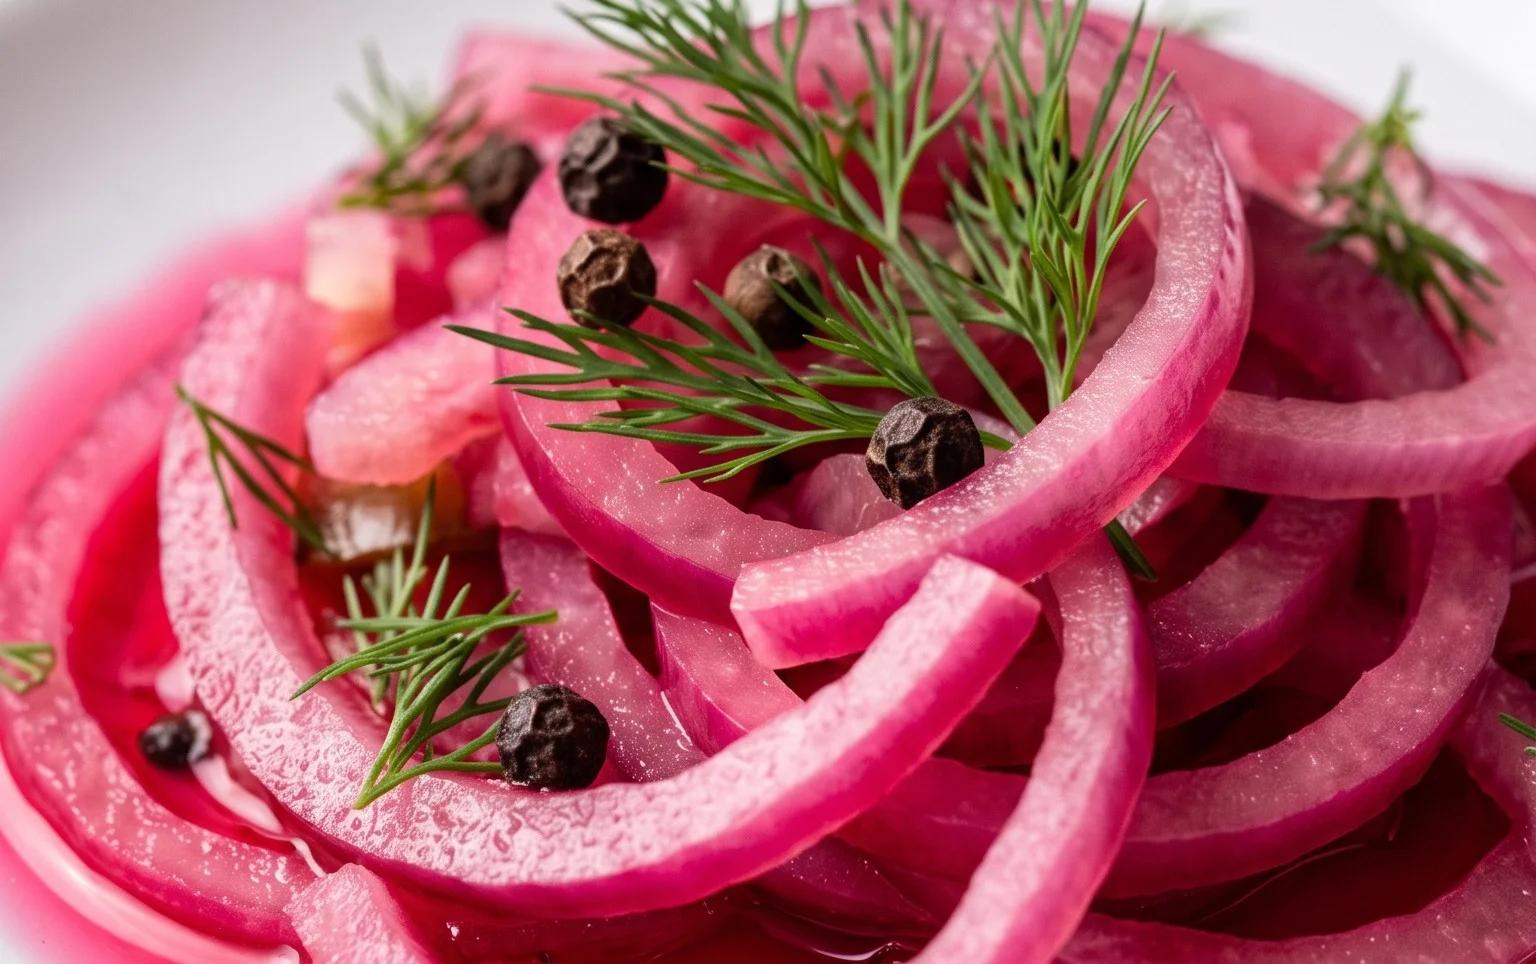
Think of all the possibilities! I love tossing them onto tacos, salads, avocado toast, burgers, and even grain bowls. They bring an instant zing that cuts through richness and adds a fresh counterpoint. Don’t be afraid to experiment with variations, either. Adding a sprig of dill, some peppercorns, or even a pinch of chili flakes can create entirely new flavor profiles.
I truly encourage you to give this pickled red onions recipe a try. It’s so easy to make, and the results are consistently impressive. You’ll wonder how you ever lived without them!
Frequently Asked Questions:
How long do pickled red onions last?
When stored properly in an airtight container in the refrigerator, your delicious pickled red onions can last for up to 2-3 weeks. The vibrant color might fade slightly over time, but they’ll remain flavorful and crisp.
Can I adjust the sweetness or tangin extractess?
Absolutely! For a sweeter pickle, increase the sugar slightly. For a tangier bite, add a little more vinegar. Taste your brine before adding the onions and adjust to your personal preference.
What’s the best type of vinegar to use?
While apple cider vinegar and white grape juice vinegar are popular choices for their balanced flavor, you can also experiment with red grape juice vinegar for a deeper color or even rice vinegar for a milder tang. The key is to use a vinegar with at least 5% acidity.
Pickled Red Onions
Quick and easy pickled red onions, perfect for adding a tangy crunch to sandwiches, tacos, salads, and more.
Ingredients
-
2 medium red onions ((or 3 small ones))
-
1 1/4 cup water
-
1 1/4 cup white vinegar
-
3 tbsp sugar (of choice)
-
1 tbsp sea salt
-
1/4-1/2 tsp red pepper flakes ((optional))
Instructions
-
Step 1
Thinly slice the red onions. You can use a mandoline for even slices. -
Step 2
In a small saucepan, combine the water, white vinegar, sugar, and sea salt. Heat over medium heat, stirring until the sugar and salt are dissolved. Do not boil. -
Step 3
If using, stir in the red pepper flakes into the brine. -
Step 4
Place the sliced onions into a clean glass jar or heat-proof container. -
Step 5
Pour the hot brine over the onions, ensuring they are fully submerged. -
Step 6
Let the mixture cool to room temperature, then cover the jar and refrigerate. The onions will be ready to eat in about 30 minutes, but will continue to develop flavor over time.
Important Information
Nutrition Facts (Per Serving)
It is important to consider this information as approximate and not to use it as definitive health advice.
Allergy Information
Please check ingredients for potential allergens and consult a health professional if in doubt.