Easy Dill Dip Recipe-Creamy & Delicious Flavor
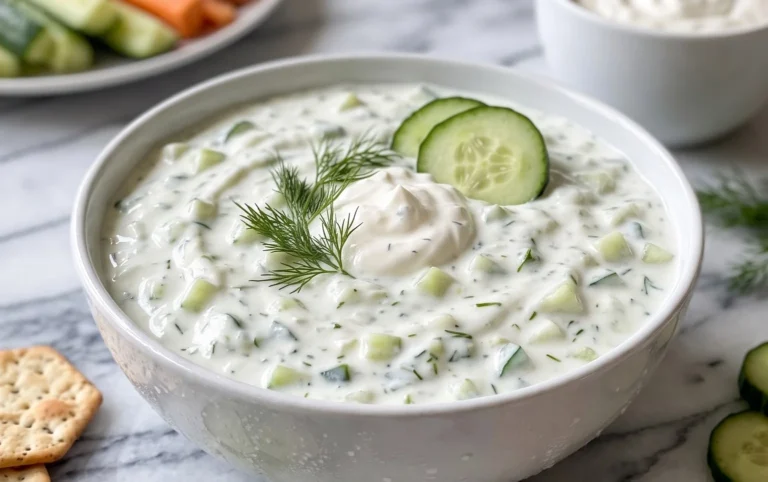
Dill dip is, in my humble opinion, one of the most versatile and utterly delicious dips you can whip up. There’s a reason this creamy, herbaceous concoction is a perennial party favorite, a staple at gatherings, and a secret weapon in my own kitchen. It’s the perfect blend of tangy, savory, and fresh, offering a delightful burst of flavor that complements everything from crunchy crudités and salty chips to grilled chicken and flaky fish. What truly makes this dill dip special is its effortless elegance. It’s incredibly simple to assemble, requiring just a handful of common ingredients, yet it delivers a sophisticated taste that belies its ease of preparation. Whether you’re hosting a crowd or simply craving a flavorful snack, this dill dip is sure to be a hit. Get ready to discover your new go-to recipe!
Dill Dip: Your New Go-To Appetizer
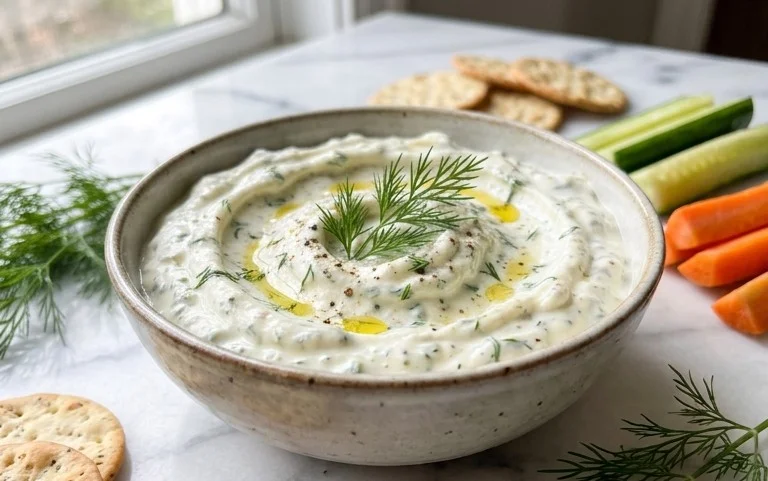
There are some recipes that just scream “gathering” and “good times.” My creamy, herbaceous Dill Dip is absolutely one of those. It’s incredibly simple to make, yet the flavor is so vibrant and satisfying, it’s always a crowd-pleaser. Whether you’re hosting a backyard barbecue, a holiday party, or just looking for a delicious afternoon snack to elevate your crudités, this dip is your answer. The combination of tangy sour cream, rich mayonnaise, and the bright, fresh flavors of dill and parsley is simply irresistible. And the hint of onion and seasoned salt ties it all together perfectly. Trust me, once you try this, you’ll be making it again and again.
Ingredients:
Instructions:
Let’s get this delicious dip whipped up! The beauty of this recipe lies in its simplicity. There’s no cooking involved, just a bit of mixing and a crucial chilling period that allows all those wonderful flavors to meld together.
Step 1: Prepare Your Base
Begin extract by gathering a medium-sized mixing bowl. Into this bowl, add your mayonnaise and sour cream. It’s important to use full-fat versions of both for the richest, creamiest texture. Low-fat options can sometimes make the dip a little watery. If your sour cream and mayonnaise are straight from the refrigerator, they might be quite firm. You can gently stir them together for a minute or two until they are just slightly loosened and combined before adding the other ingredients. This ensures a smoother incorporation of everything.
Step 2: Introduce the Aromatics and Herbs
Next, it’s time to add the flavor powerhouses. Sprinkle in your 2 tablespoons of onion flakes. These rehydrate as the dip sits, offering a subtle yet distinct oniony bite. Then, carefully add your freshly chopped dill and parsley. Using fresh herbs is key here; dried herbs, while convenient, just don’t deliver the same vibrant, aromatic punch that fresh dill and parsley provide. Make sure the herbs are finely chopped so they are distributed evenly throughout the dip. Don’t be shy with the dill – it’s the star of the show!
Step 3: Season to Perfection
Now for the final touch that really brings everything together: the seasoned salt. Add your 1 teaspoon of seasoned salt. Brands like Lawrey’s are fantastic because they already contain a blend of salt, garlic, onion, and other spices, providing a complex flavor profile without the need for extra seasonings. Stir everything together thoroughly. It might seem like a lot of ingredients at first, but keep mixing until the mayonnaise and sour cream are completely combined with the onion flakes and fresh herbs, creating a uniform, creamy mixture. Scrape down the sides of the bowl a few times to ensure no pockets of unmixed ingredients remain.
Step 4: The Crucial Chilling Phase
This is arguably the most important step for achieving the best flavor. Once all your ingredients are well combined, cover the bowl tightly with plastic wrap or transfer the dip to an airtight container. Place it in the refrigerator for at least 30 minutes. Ideally, I like to let it chill for an hour or even two. This resting period allows the flavors to meld and deepen. The onion flakes will soften, and the herbaceous notes will become more pronounced, transforming a simple mixture into something truly special. Don’t skip this step – it makes a world of difference!
Step 5: Taste and Serve
After the chilling period, give your Dill Dip a final stir. Before serving, it’s always a good idea to taste it and adjust the seasoning if necessary. You might find you prefer a little more seasoned salt, or perhaps a touch more dill. Add your adjustments gradually and stir well after each addition. Once you’re happy with the flavor, transfer the dip to a serving bowl. Present it with a vibrant assortment of fresh vegetables like carrot sticks, celery sticks, cucumber slices, bell pepper strips, and broccoli florets. It’s also fantastic with pita chips, crackers, or even as a spread on sandwiches and wraps. Enjoy the delightful freshness and creamy texture! This dip is best served chilled and will keep in the refrigerator for up to 3-4 days, though it rarely lasts that long in my house.
Conclusion:
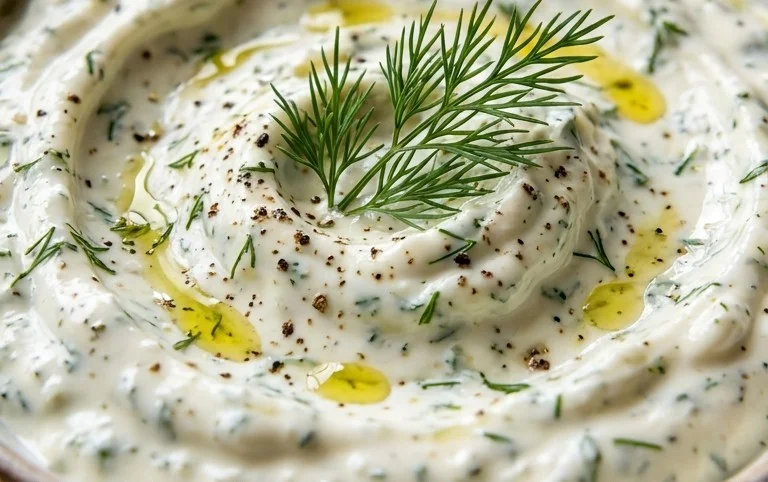
There you have it – a simple yet incredibly versatile dill dip recipe that’s guaranteed to become a staple in your appetizer repertoire! What makes this dill dip so fantastic is its refreshing flavor profile, the satisfying creaminess, and how effortlessly it elevates any gathering. It’s quick to whip up, uses readily available ingredients, and the bright taste of fresh dill is truly irresistible. Whether you’re hosting a party, enjoying a relaxed movie night, or just craving something delicious, this dip is your perfect companion.
Beyond the classic serving suggestions of fresh vegetables and chips, don’t be afraid to get creative! Consider slathering it on sandwiches, using it as a topping for baked potatoes, or even as a light dressing for salads. For variations, think about adding a pinch of garlic powder for an extra kick, a dash of lemon juice for more tang, or even some finely chopped chives for added herbaceousness. I truly encourage you to give this recipe a try – you won’t be disappointed!
Frequently Asked Questions:
Can I make this dill dip ahead of time?
Absolutely! This dill dip is actually best when made a few hours in advance, or even the day before. This allows the flavors to meld together beautifully, resulting in an even more delicious dip. Simply cover it tightly and store it in the refrigerator.
What are some good gluten-free serving options for this dip?
For gluten-free options, consider serving this dill dip with an assortment of fresh, crisp vegetables like carrot sticks, celery sticks, cucumber slices, bell pepper strips, and cherry tomatoes. Rice crackers or gluten-free pretzels are also excellent choices.
Dill Dip
A creamy and herbaceous dill dip perfect for vegetables, chips, or as a spread.
Ingredients
-
1 cup mayonnaise
-
1 cup sour cream
-
2 tablespoons onion flakes
-
3 tablespoons fresh dill, chopped
-
1 tablespoon fresh parsley, chopped
-
1 teaspoon seasoned salt
Instructions
-
Step 1
In a medium bowl, combine the mayonnaise and sour cream. Stir until well blended. -
Step 2
Add the onion flakes to the mixture. Mix thoroughly. -
Step 3
Stir in the chopped fresh dill. -
Step 4
Add the chopped fresh parsley and mix until evenly distributed. -
Step 5
Season with the seasoned salt. Taste and adjust seasoning if necessary. -
Step 6
For best flavor, cover and refrigerate for at least 30 minutes before serving. This allows the flavors to meld.
Important Information
Nutrition Facts (Per Serving)
It is important to consider this information as approximate and not to use it as definitive health advice.
Allergy Information
Please check ingredients for potential allergens and consult a health professional if in doubt.