Easy Instant Yeast Bread Recipe-Foolproof Baking
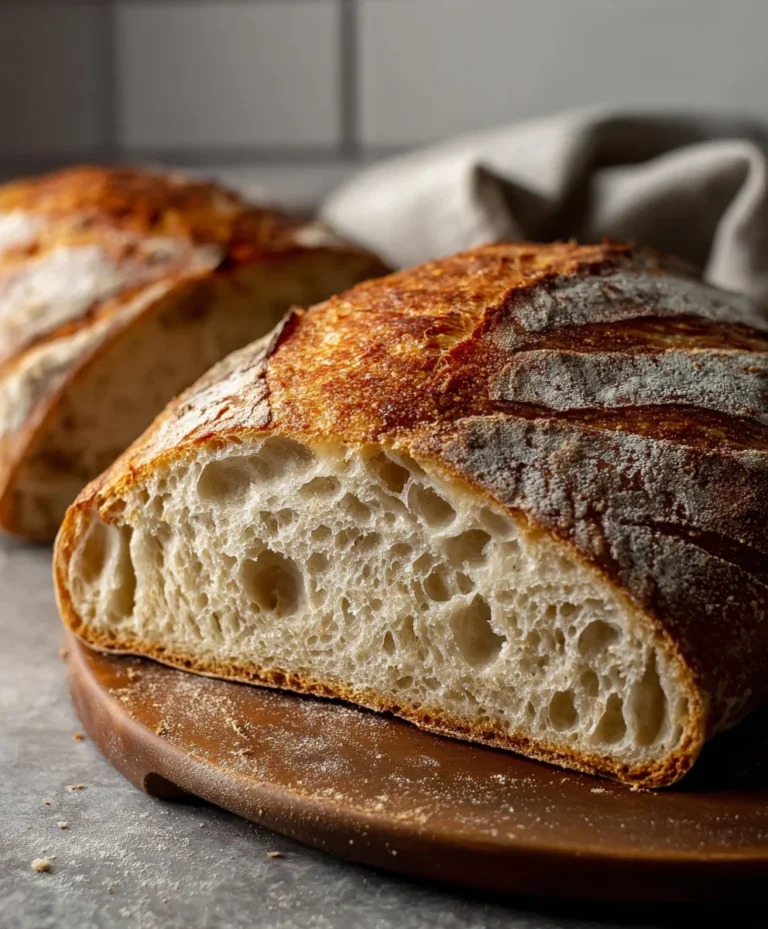
Bread Recipe With Instant Yeast is your gateway to effortless, delicious homemade bread, even if you’re a complete begin extractner. Have you ever dreamt of pulling a warm, fragrant loaf from your own oven, its crust perfectly golden and its crum extractb impossibly soft? This bread recipe with instant yeast makes that dream a tangible, edible reality. Forget the long waits and tricky proofing of traditional methods; instant yeast is a true game-changer, drastically simplifying the bread-making process without sacrificing flavor or texture. What truly makes this recipe special is its incredible reliability and speed, allowing you to enjoy fresh bread on a weeknight or impress guests with minimal fuss. People adore this dish because it delivers that satisfying, comforting homemade bread experience with surprising ease. Get ready to unlock the joy of baking your own perfect loaf!
Ingredients:
- 2 cups very warm water (I used tap water, ensuring it was not too hot to kill the yeast, around 105-115°F or 40-46°C)
- 1 packet rapid rise yeast (this is equivnon-alcoholic alent to 2 1/4 teaspoons of instant yeast, which is perfect for a quicker bake)
- ¼ cup granulated sugar (this feeds the yeast and adds a touch of sweetness to the final loaf)
- 2 Tablespoons vegetable oil (or any neutral cooking oil like canola or sunflower; this contributes to a tender crum extractb)
- 4¾-5¼ cups all purpose flour (I started with 4¾ cups and added more as needed; the exact amount can vary based on humidity and flour type)
- 1½ teaspoons salt (essential for flavor and also helps to strengthen the gluten structure in the dough)
Preparing the Dough
Activating the Yeast
The first crucial step in this bread recipe with instant yeast is to get our yeast ready to work its magic. In a large mixing bowl, combine the 2 cups of very warm water with the ¼ cup of granulated sugar and the entire packet of rapid rise yeast. Give it a gentle stir to help dissolve the sugar and distribute the yeast. You’ll want to let this mixture sit undisturbed for about 5 to 10 minutes. During this time, you should observe the surface of the water becoming foamy and bubbly. This foam is a visual indicator that the yeast is alive and active, ready to ferment and create those wonderful airy pockets in your bread. If you don’t see any foam, your yeast might be expired or the water was too hot or too cold, and you’ll need to start this step again with fresh yeast.
Combining Wet and Dry Ingredients
Once your yeast mixture is happily foamy, it’s time to add the other wet ingredients. Pour in the 2 tablespoons of vegetable oil. Then, gradually start incorporating the dry ingredients. Add the 1½ teaspoons of salt to the bowl. Now, begin extract adding the all-purpose flour. I like to add about 4 cups initially. Using a sturdy spoon or a dough whisk, mix everything together until a shaggy gin extractgh begins to form. At this stage, it will likely be quite sticky and wet. This is perfectly normal. Don’t be tempted to add too much flour just yet.
Kneading the Dough
Developing the Gluten
Now comes the part that really builds the structure of our bread: kneading. You can knead this dough by hand or with a stand mixer fitted with a dough hook. If kneading by hand, turn the shaggy dough out onto a lightly floured surface. It might be a bit sticky at first, so dust your hands and the surface lightly with a littlegin extracttra flour. Begin to push the dough away from you with the heel of your hand, then fold it back over itself. Rotate the dough a quarter turn and repeat. Continue this rhythmic push, fold, and turn motion for about 8 to 10 minutes. The dough will start to transform from a sticky, lumpy mass into a smooth, elastic ball. You’ll know it’s ready when it’s no longer sticking excessively to your hands or the counter, and it springs back slowly when you gently poke it with a finger. If using a stand mixer, knead on medium-low speed for about 6-8 minutes until the dough is smooth and pulls away from the sides of the bowl. Add additional flour, a tablespoon at a time, only if the dough remains too sticky to handle.
First Rise (Proofing)
Creating a Warm Environment
Once your dough has been thoroughly kneaded and has achieved that beautiful smooth, elastic texture, it’s time for its first rise, often called proofing. Lightly grease a clean, large bowl with a little bit of oil. Place the kneaded dough into the greased bowl, turning it once to coat all sides with the oil. This prevents a dry skin from forming on the dough as it rises. Cover the bowl tightly with plastic wrap or a clean kitchen towel. Find a warm, draft-free spot for the dough to rest. A slightly warm oven (turned off, but preheated for a few minutes and then cooled slightly) is ideal, or simply a warm spot on your kitchen counter on a warmer day. The dough needs to double in size, which will typically take about 45 minutes to 1 hour, depending on the temperature of your environment. Patience here is key for a light and airy loaf.
Shaping and Second Rise
Forming the Loaf and Allowing it to Puff Up
After the dough has impressively doubled in size, gently punch it down with your fist to release the built-up gases. Turn the dough out onto your lightly floured work surface once more. At this point, you can shape your bread. For a classic loaf, gently form the dough into an oblong shape that will fit your loaf pan. You can also shape it into a round boule or smaller rolls. Once shaped, place the dough into a greased loaf pan (if using) or onto a baking sheet lined with parchment paper. Cover it loosely with plastic wrap or a clean, lightly floured kitchen towel. Allow the dough to rise again for a second time. This rise is usually shorter, about 30 to 45 minutes, until the dough looks puffy and has increased in volume by about 50-75%. You can gently poke it; if the indentation slowly springs back, it’s ready to bake.
Baking the Bread
Achieving a Golden Crust
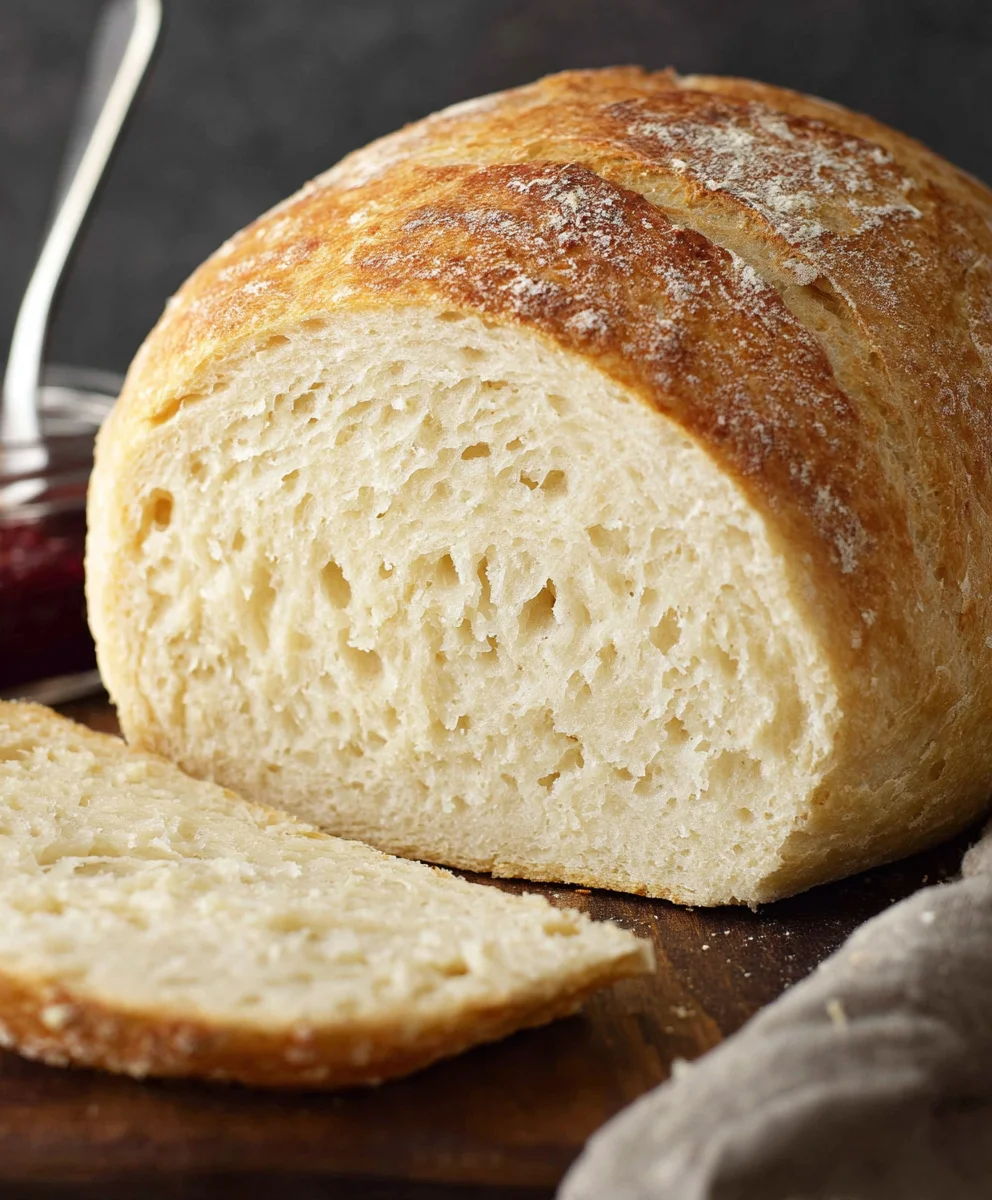
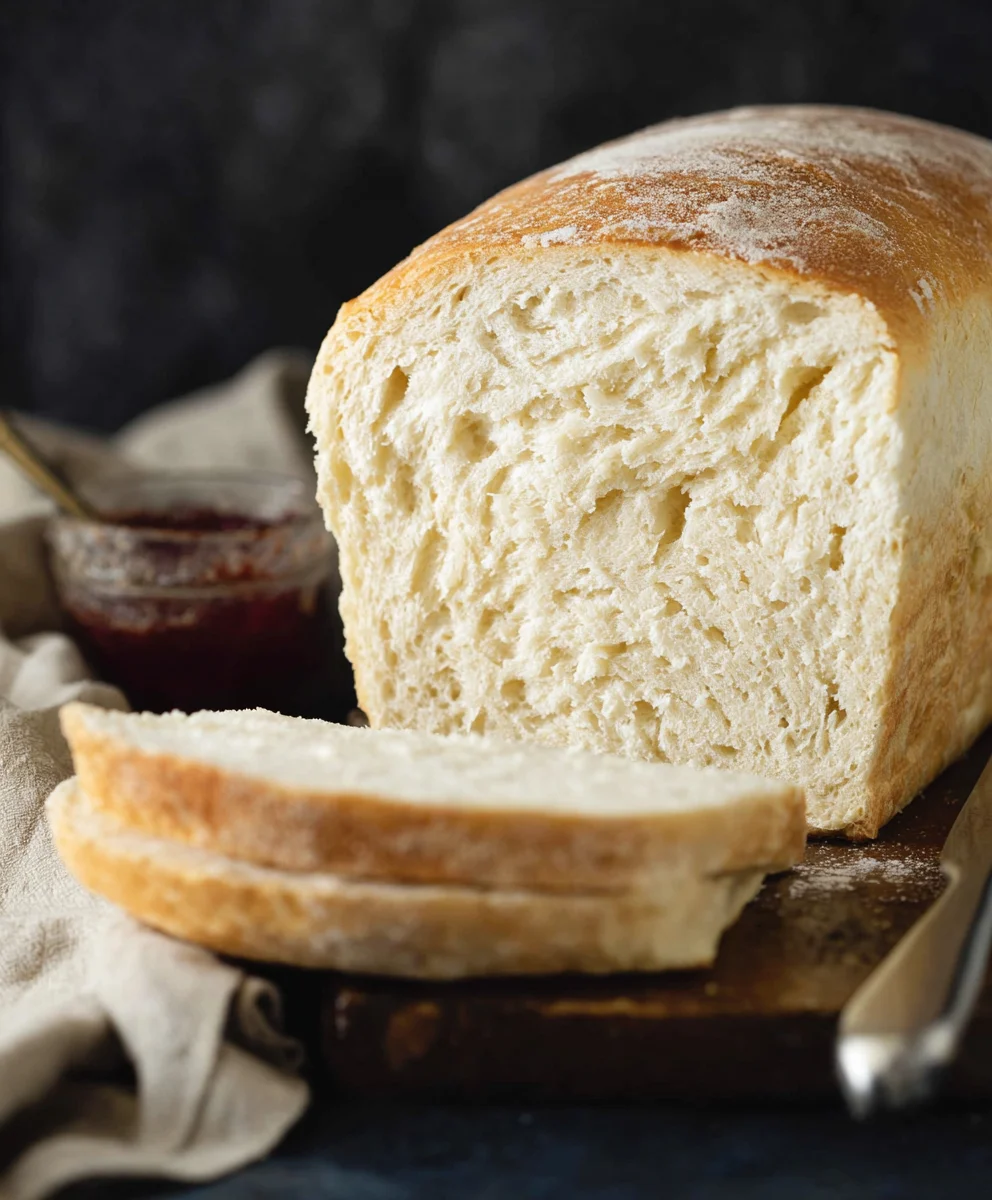
Preheat your oven to 375°F (190°C) during the last 15 minutes of the second rise. If you like a shiny crust, you can brush the top of your loaf with a little extra water or an egg wash just before it goes into the oven. Carefully place the loaf pan or baking sheet into the preheated oven. Bake for approximately 30 to 35 minutes, or until the crust is a deep golden brown and the internal temperature of the bread reaches 190-200°F (88-93°C) when measured with an instant-read thermometer. If you tap the bottom of the loaf, it should sound hollow. Once baked to perfection, carefully remove the bread from the oven and immediately turn it out of the loaf pan (if used) onto a wire cooling rack. This is important to prevent the bottom crust from becoming soggy. Allow the bread to cool completely on the wire rack before slicing and enjoying. This bread recipe with instant yeast is wonderfully versatile for sandwiches, toast, or just enjoying with butter.
Conclusion:
We’ve reached the end of our delightful journey creating the perfect Bread Recipe With Instant Yeast! I hope you’ve enjoyed learning how simple and rewarding it can be to bake your own delicious bread from scratch. This recipe is a fantastic starting point for any home baker, offering a consistently excellent loaf with minimal fuss thanks to the magic of instant yeast. Its versatility means you can adapt it to suit your every craving, proving that amazing bread doesn’t need to be complicated or time-consuming. Give it a try, and prepare to impress yourself and your loved ones with the aroma and taste of freshly baked bread. Happy baking!
Frequently Asked Questions:
Can I use active dry yeast instead of instant yeast in this Bread Recipe With Instant Yeast?
Yes, you can, but you’ll need to adjust the method slightly. Active dry yeast needs to be “proofed” first. Whisk it with a little warm water (around 110°F/43°C) and a pinch of sugar, and let it sit for about 5-10 minutes until it becomes foamy. Then, add this mixture to your other wet ingredients. Instant yeast can be added directly to the dry ingredients.
How can I make this Bread Recipe With Instant Yeast more flavorful?
There are many ways to elevate this basic bread! Consider adding herbs like rosemary or thyme to the dough, or incorporating a handful of shredded cheese. For a touch of sweetness, you could add a tablespoon of honey or maple syrup to the wet ingredients. Even a pinch of garlic powder or onion powder can add a wonderful savory note.
What are some good serving suggestions for the Bread Recipe With Instant Yeast?
This bread is incredibly versatile! It makes fantastic toast, perfect for your morning butter and jam. It’s also ideal for sandwiches, offering a sturdy yet tender base. You can serve it alongside soups and stews for a comforting meal, or simply enjoy it warm with a drizzle of olive oil and a sprinkle of sea salt. It’s also wonderful as garlic bread or used to make croutons!
Easy Instant Yeast Bread Recipe-Foolproof Baking
A foolproof and easy recipe for homemade instant yeast bread, perfect for beginners. This recipe yields a soft, fluffy loaf with a golden crust.
Ingredients
-
2 cups very warm water
-
1 packet rapid rise yeast (or 2 1/4 teaspoons)
-
1/4 cup granulated sugar
-
2 Tablespoons vegetable oil
-
4 3/4 – 5 1/4 cups all purpose flour
-
1 1/2 teaspoons salt
Instructions
-
Step 1
In a large bowl, combine 2 cups very warm water, 1/4 cup granulated sugar, and 1 packet rapid rise yeast. Stir gently and let sit for 5-10 minutes until foamy. -
Step 2
Add 2 tablespoons vegetable oil and 1 1/2 teaspoons salt to the yeast mixture. Gradually add about 4 cups of all-purpose flour and mix until a shaggy dough forms. -
Step 3
Turn dough onto a lightly floured surface and knead for 8-10 minutes by hand, or 6-8 minutes in a stand mixer, until smooth and elastic. Add flour gradually if too sticky. -
Step 4
Place dough in a lightly oiled bowl, cover, and let rise in a warm place for 45-60 minutes, or until doubled in size. -
Step 5
Punch down dough, shape into a loaf, and place in a greased loaf pan. Cover and let rise for another 30-45 minutes until puffy. -
Step 6
Preheat oven to 375°F (190°C). Bake for 30-35 minutes until golden brown and internal temperature reaches 190-200°F (88-93°C). Cool completely on a wire rack before slicing.
Important Information
Nutrition Facts (Per Serving)
It is important to consider this information as approximate and not to use it as definitive health advice.
Allergy Information
Please check ingredients for potential allergens and consult a health professional if in doubt.