Cherry Brownie Ice Cream Sandwiches-Sweet Treat
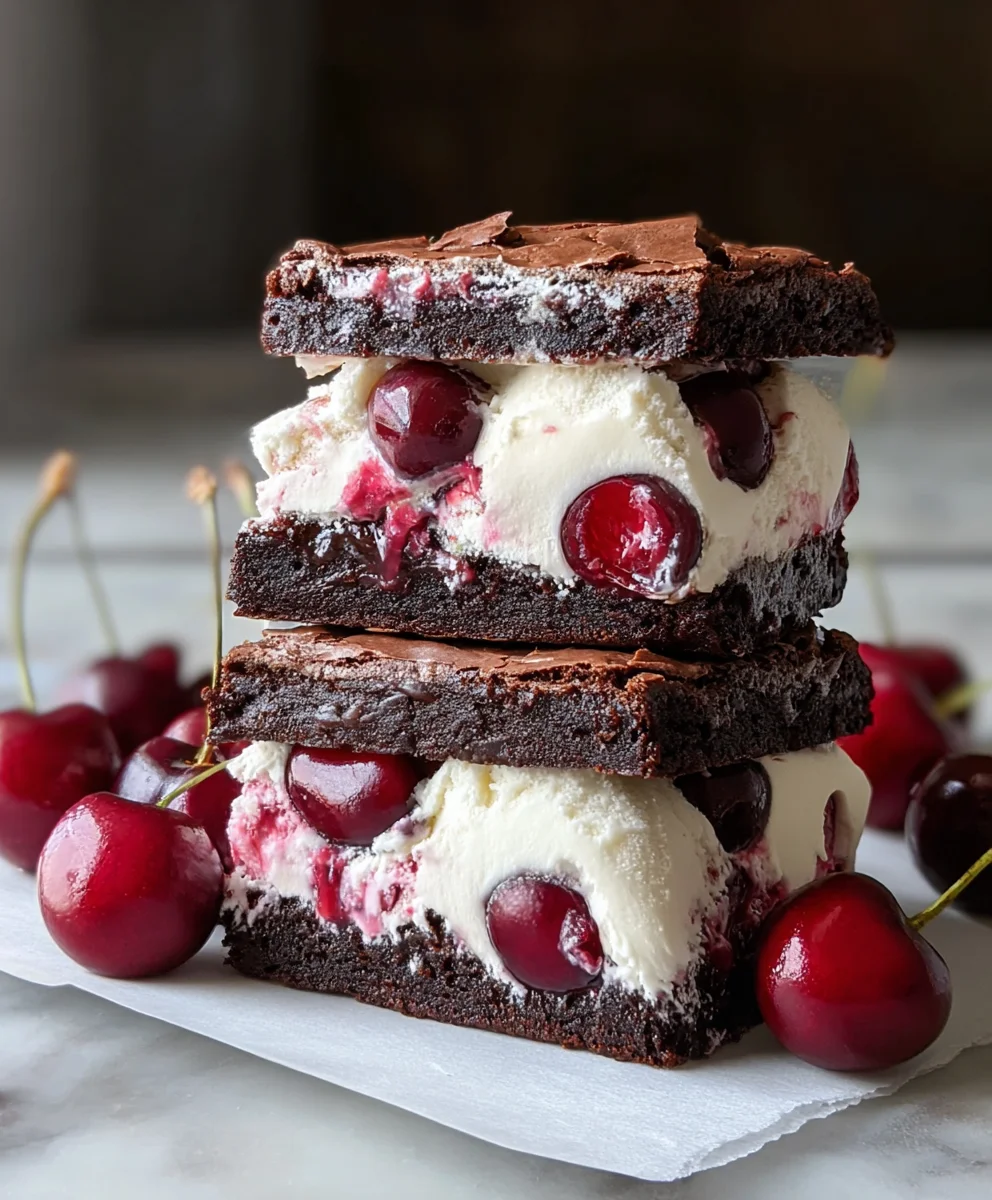
Cherry Brownie Ice Cream Sandwiches are more than just a dessert; they’re a nostalgic journey to summer days and pure, unadulterated joy. Imagin extracte the perfect bite: a fudgy, rich brownie giving way to cool, creamy vanilla ice cream, all punctuated by the sweet-tart burst of fresh cherries. It’s a symphony of textures and flavors that instantly elevates any occasion, from a casual backyard barbecue to a sophisticated dessert spread. What makes these so universally beloved? It’s the irresistible combination of classic indulgence – the deeply satisfying brownie – and the refreshing lightness of ice cream, all brought together with the vibrant zing of cherries. This isn’t your average store-bought treat; these Cherry Brownie Ice Cream Sandwiches are a homemade masterpiece, a delightful project that promises a reward that’s truly worth savoring.
Why You’ll Fall in Love
The magic of homemade Cherry Brownie Ice Cream Sandwiches lies in their perfect balance. The chewy, decadent brownie provides a sturdy yet yielding base, while the smooth, melt-in-your-mouth ice cream offers a delightful contrast. The star, however, is the cherry. Whether you use fresh, macerated cherries or a luscious cherry compote, their bright, fruity notes cut through the richness, preventing the dessert from becoming too heavy. It’s a flavor profile that’s both comforting and exciting, appealing to dessert lovers of all ages. Plus, assembling these beauties is almost as fun as eating them!
Get Ready to Indulge
This recipe is designed to be straightforward, allowing you to create these show-stopping treats in your own kitchen. We’ll guide you through crafting the perfect chewy brownie base, selecting the creamiest ice cream, and preparing the vibrant cherry element that will make your Cherry Brownie Ice Cream Sandwiches truly unforgettable. Prepare for compliments – these are guaranteed to be a hit!
Ingredients:
- ½ cup unsalted butter
- ½ cup granulated sugar
- ½ cup packed brown sugar
- 2 large eggs
- 1 teaspoon vanilla extract
- ⅓ cup unsweetened cocoa powder
- ½ cup all-purpose flour
- ¼ teaspoon salt
- 1½ cups vanilla ice cream, slightly softened
- ½ cup chopped cherries (fresh or frozen, pitted if fresh)
- ¼ cup melted chocolate chips (for drizzling)
Baking the Cherry Brownie Discs
Step 1: Creaming the Sugars and Butter
To begin extract crafting these delightful Cherry Brownie Ice Cream Sandwiches, let’s start with the brownie base. In a medium-sized mixing bowl, you’ll want to combine your ½ cup of unsalted butter, which should be softened to room temperature for easy incorporation. Add ½ cup of granulated sugar and ½ cup of packed brown sugar to the butter. Using an electric mixer on medium speed, or a sturdy whisk if you’re feeling particularly energetic, cream these ingredients together until the mixture is light, fluffy, and a pnon-alcoholic ale golden color. This process, known as creaming, is crucial for incorporating air into the batter, which contributes to a tender brownie texture. It usually takes about 2 to 3 minutes of consistent mixing. Don’t rush this step, as it sets the foundation for a wonderfully rich brownie.
Step 2: Incorporating Wet Ingredients and Dry Mix
Next, we’ll introduce the wet ingredients. Crack in your 2 large eggs, one at a time, mixing well after each addition until fully combined. Scrape down the sides of the bowl periodically to ensure all the butter-sugar mixture is incorporated. Then, stir in the 1 teaspoon of vanilla extract. In a separate, smaller bowl, whisk together your ⅓ cup of unsweetened cocoa powder, ½ cup of all-purpose flour, and ¼ teaspoon of salt. This ensures the dry ingredients are evenly distributed and prevents pockets of flour or cocoa from forming in your brownies. Gradually add this dry ingredient mixture to the wet ingredients in the main bowl, mixing on low speed or by hand until just combined. Be careful not to overmix at this stage, as overmixing can develop the gluten in the flour, leading to tougher brownies. A few streaks of flour are acceptable; they will disappear during baking.
Step 3: Shaping and Baking the Brownie Discs
Now it’s time to shape our brownie discs. Preheat your oven to 350°F (175°C). Line two baking sheets with parchment paper. This prevents sticking and makes cleanup a breeze. Drop rounded tablespoons of the brownie batter onto the prepared baking sheets, leaving about 2 inches between each mound. Aim for roughly 2-inch diameter circles. You can gently flatten them slightly with the back of a spoon if you prefer a thinner cookie, but remember they will spread a bit as they bake. Bake for 10-12 minutes, or until the edges are set and a toothpick inserted into the center comes out with moist crum extractbs attached. These are meant to be slightly fudgy brownie cookies, so don’t overbake them. Allow the brownie discs to cool on the baking sheets for about 5 minutes before transferring them to a wire rack to cool completely. You should aim for about 12-16 brownie discs, depending on your portioning.
Step 4: Assembling the Cherry Brownie Ice Cream Sandwiches
Once your brownie discs have cooled completely, it’s time for the fun part: assembly! Take your 1½ cups of vanilla ice cream and ensure it’s slightly softened. This is key to easily spreading and sandwiching. If your ice cream is too hard, you won’t be able to scoop and spread it effectively. Place one brownie disc flat on a parchment-lined tray or plate. Scoop a generous portion of the softened vanilla ice cream onto the center of the brownie. Then, gently press in your ½ cup of chopped cherries (if using fresh, make sure they are pitted, and if using frozen, they can be added directly). Ensure the cherries are distributed relatively evenly within the ice cream.
Step 5: Completing and Freezing the Sandwiches
Carefully place a second brownie disc on top of the ice cream and cherry mixture, pressing down gently to create a sandwich. You want the ice cream to spread outwards slightly, reaching the edges of the brownie. Use a spatula or offset knife to neaten the edges if needed, smoothing out any excess ice cream. Repeat this process with the remaining brownie discs and ice cream until you have your desired number of Cherry Brownie Ice Cream Sandwiches. Once assembled, place the tray of sandwiches into the freezer for at least 2-3 hours, or until the ice cream is firm and the sandwiches hold their shape. This freezing step is essential to ensure they don’t melt into a delicious but messy puddle when you’re ready to enjoy them. Before serving, you can get creative and drizzle the ¼ cup of melted chocolate chips over the tops of the frozen sandwiches for an extra touch of decadence. Let them sit at room temperature for a minute or two befogin extractindulging.
Conclusion:
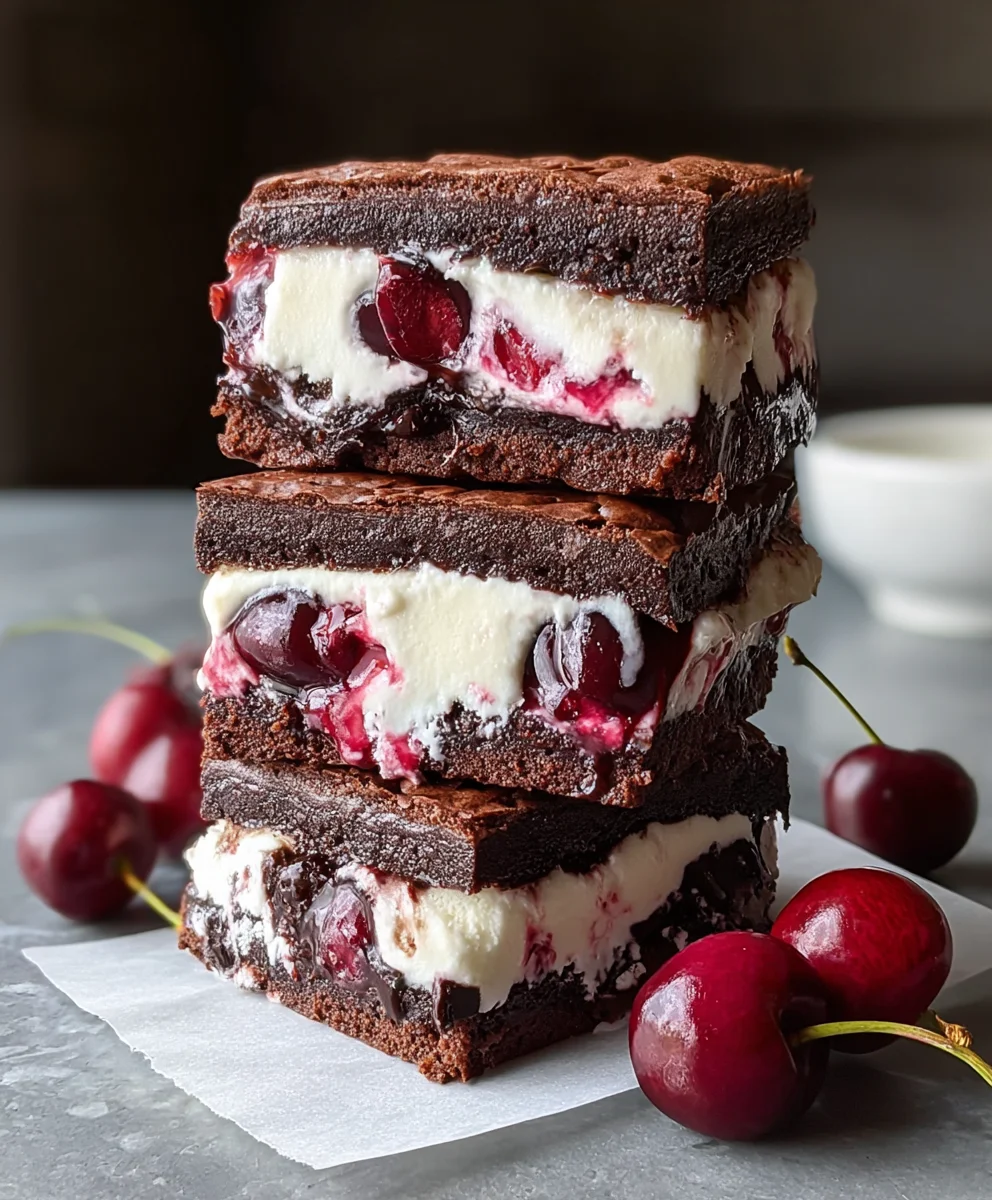
You’ve now unlocked the secret to creating incredibly delicious Cherry Brownie Ice Cream Sandwiches! This recipe is a delightful fusion of rich, fudgy brownies and creamy, cool ice cream, with the vibrant burst of cherries adding a perfectly tart counterpoint. We hope you have as much fun making these as you will devouring them. They are truly a showstopper for any occasion, from casual gatherings to special celebrations. Imagin extracte the smiles on faces as they bite into these decadent treats!
For serving suggestions, these Cherry Brownie Ice Cream Sandwiches are best enjoyed straight from the freezer. You can also elevate them by a light dusting of cocoa powder or a drizzle of chocolate sauce before serving. For variations, feel free to experiment with different ice cream flavors like chocolate chip cookie dough or vanilla bean. You could also swap the cherries for raspberries or even a swirl of cherry jam within the brownie batter itself. Don’t be afraid to get creative and make them your own!
Frequently Asked Questions:
Q1: How long can I store the Cherry Brownie Ice Cream Sandwiches?
These Cherry Brownie Ice Cream Sandwiches can be stored in an airtight container in the freezer for up to 2 weeks. Ensure they are well-wrapped to prevent freezer burn.
Q2: Can I make the brownie base ahead of time?
Absolutely! You can bake the brownie base a day or two in advance and store it at room temperature, well-wrapped. This makes assembling the Cherry Brownie Ice Cream Sandwiches even quicker when you’re ready to enjoy them.
Cherry Brownie Ice Cream Sandwiches
Deliciously fudgy brownie cookies sandwiched with creamy vanilla ice cream and tart cherries, drizzled with melted chocolate.
Ingredients
-
½ cup unsalted butter
-
½ cup granulated sugar
-
½ cup packed brown sugar
-
2 large eggs
-
1 teaspoon vanilla extract
-
⅓ cup unsweetened cocoa powder
-
½ cup all-purpose flour
-
¼ teaspoon salt
-
1½ cups vanilla ice cream, slightly softened
-
½ cup chopped cherries (fresh or frozen, pitted if fresh)
-
¼ cup melted chocolate chips (for drizzling)
Instructions
-
Step 1
Cream softened unsalted butter with granulated sugar and packed brown sugar using an electric mixer until light, fluffy, and golden brown. -
Step 2
Beat in eggs one at a time, then stir in vanilla extract. In a separate bowl, whisk together cocoa powder, all-purpose flour, and salt. Gradually add dry ingredients to wet ingredients, mixing until just combined. -
Step 3
Preheat oven to 350°F (175°C). Line baking sheets with parchment paper. Drop rounded tablespoons of batter onto sheets, shaping into 2-inch circles. Bake for 10-12 minutes until edges are set. Cool completely on a wire rack. -
Step 4
Place one brownie disc on parchment paper. Top with a generous scoop of slightly softened vanilla ice cream. Gently press chopped cherries into the ice cream. -
Step 5
Place a second brownie disc on top to form a sandwich. Repeat with remaining discs and ice cream. Freeze for at least 2-3 hours until firm. -
Step 6
Before serving, drizzle with melted chocolate chips. Let sit at room temperature for a minute or two before enjoying.
Important Information
Nutrition Facts (Per Serving)
It is important to consider this information as approximate and not to use it as definitive health advice.
Allergy Information
Please check ingredients for potential allergens and consult a health professional if in doubt.