Vanilla Custard Cream Squares-Easy Dessert Recipe
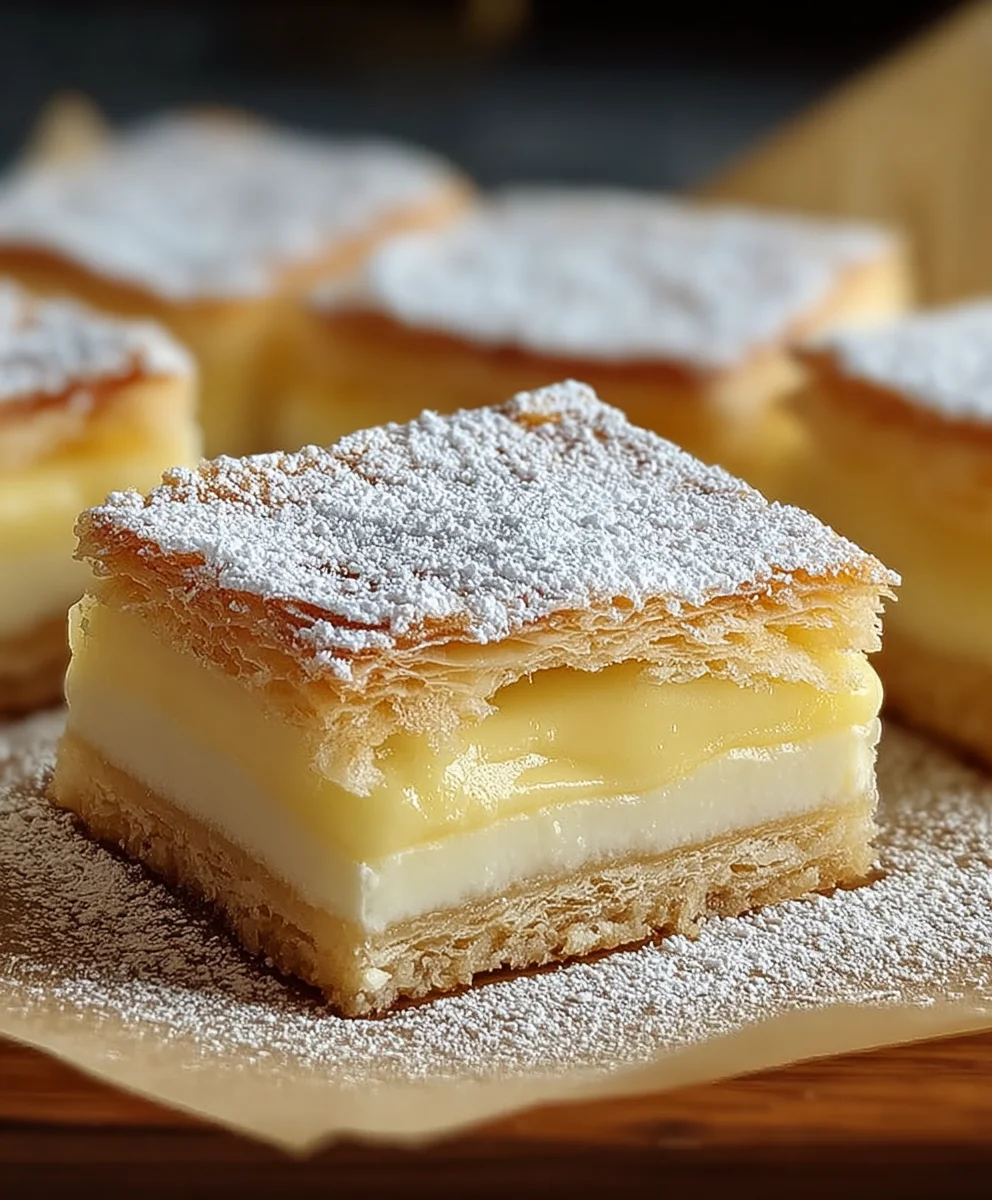
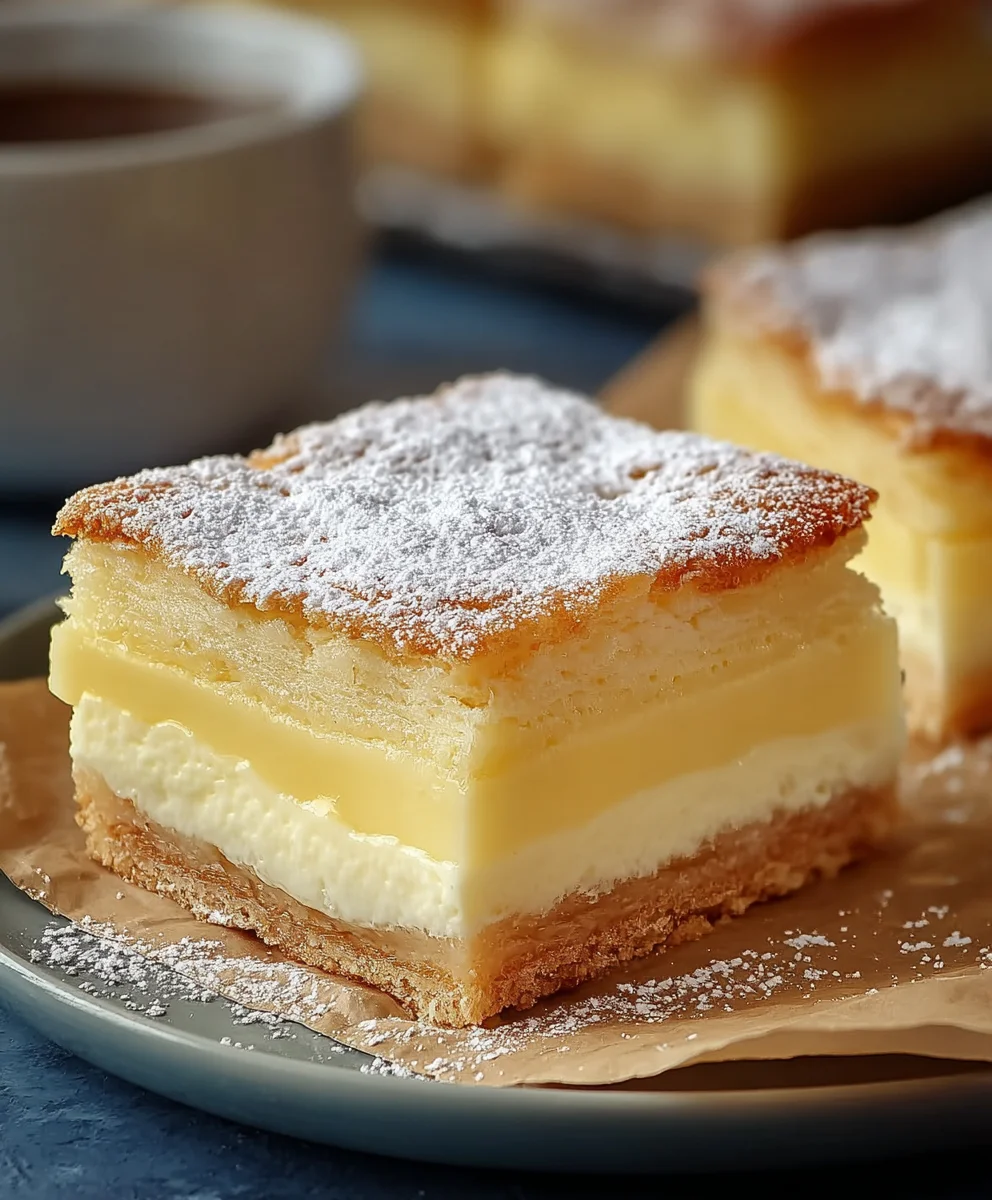
Vanilla Custard Cream Squares are more than just a dessert; they’re a nostalgic embrace, a sweet whisper of childhood memories, and a testament to the simple elegance of classic baking. Imagin extracte a delicate, buttery pastry base giving way to a rich, impossibly smooth vanilla custard filling, all topped with a dusting of powdered sugar or a drizzle of caramel. Is it any wonder why these delightful Vanilla Custard Cream Squares hold such a special place in our hearts and on our dessert tables? They offer that perfect balance of creamy indulgence and satisfying texture, making them an irresistible treat for any occasion. What truly elevates these squares is the pure, unadulterated flavor of vanilla, which sings through every creamy bite, creating an experience that is both comforting and utterly luxurious.
Ingredients:
- 2 sheets puff pastry, thawed but kept cold
- 4 cups whole milk, divided
- 1 1/2 cups granulated sugar
- 1 1/4 cups all-purpose flour
- 8 large eggs, carefully separated
- 3 teaspoons pure vanilla extract
- 2 tablespoons premium rum extract extract (optional)
- 1/4 teaspoon salt
- 2 cups heavy whipping cream, thoroughly chilled
- 2 tablespoons powdered sugar, plus extra for dusting
Preparing the Puff Pastry Base
Preheating and Preparing the Pans
First, we need to get our oven ready. Preheat your oven to 400 degrees Fahrenheit (200 degrees Celsius). This ensures the oven is at the perfect temperature when our pastry is ready to bake, leading to that beautiful, flaky puff. While the oven is heating, prepare two 9×13 inch baking sheets. You can lightly grease them or line them with parchment paper. Parchment paper is my preferred method as it prevents sticking and makes cleanup a breeze.
Rolling and Docking the Pastry
Take your thawed puff pastry sheets and gently unfold them. If they feel a little sticky, a very light dusting of all-purpose flour on your work surface and the pastry itself can help. We want to roll them out just a tiny bit to smooth out any creases from the packagin extractg and to ensure an even thickness. Aim for approximately a 10×14 inch rectangle for each sheet. Carefully transfer each sheet onto your prepared baking sheets. Now, this next step is crucial for preventing the pastry from puffing up too much and creating an uneven surface: docking. Use a fork to prick the pastry all over, making sure to get into every corner. This creates small holes that allow steam to escape during baking, resulting in a flatter, more stable base for our delicious vanilla custard cream.
Baking the Puff Pastry
Place the prepared puff pastry sheets into the preheated oven. Bake for approximately 15 to 20 minutes, or until the pastry is a beautiful golden brown and feels firm to the touch. It should be puffed and crisp. Once baked, remove the pastry from the oven and, while still warm, carefully press down any overly puffed areas with a spatula or the back of a large spoon. This will help create a more level surface for our custard filling. Let the pastry cool completely on the baking sheets. This cooling period is important; rushing this step can lead to a soggy bottom layer.
Crafting the Rich Vanilla Custard
Warming the Milk and Sugar
Now, let’s move on to the star of the show: the vanilla custard. In a large, heavy-bottomed saucepan, combine 3 1/2 cups of the whole milk with 1 cup of the granulated sugar. We reserve the remaining 1/2 cup of milk and 1/2 cup of sugar for later. Place the saucepan over medium heat. Stir constantly until the sugar is completely dissolved and the milk isgin extractst beginning to simmer around the edges. Be careful not to let it boil vigorously, as this can scald the milk. Once it’s hot and steamy, remove it from the heat.
Creating the Egg Yolk Mixture
In a separate, large bowl, whisk together the 1 1/4 cups of all-purpose flour and the remaining 1/2 cup of granulated sugar. This will help prevent lumps when we incorporate the wet ingredients. Now, add the 8 large egg yolks to this dry mixture. Use a whisk or an electric mixer on low speed to blend them until they are well combined and have a pnon-alcoholic ale yellow color. It’s important to do this thoroughly before adding any liquid to ensure a smooth custard.
Tempering the Egg Yolks
This is a critical step to prevent scrambled eggs in your custard. Slowly, and I mean verygin extractm> slowly, begin to ladle about a cup of the warm milk mixture into the egg yolk mixture, whisking vigorously as you pour. This gradual introduction of heat “tempers” the egg yolks, raising their temperature gently without cooking them. Once you’ve added that first cup and the mixture is smoothly incorporated, you can then pour the tempered egg yolk mixture back into the saucepan with the remaining warm milk.
Cooking the Custard to Perfection
Return the saucepan to medium-low heat. Stir the custard constantly with a wooden spoon or a heatproof spatula, making sure to scrape the bottom and sides of the pan to prevent any sticking or scorching. This process can take about 8 to 10 minutes. You’ll know the custard is ready when it has thickened enough to coat the back of your spoon; if you run your finger through it, a line should hold its shape. Do not let the custard boil, as this can cause it to curdle. Once thickened, remove the saucepan from the heat immediately. Stir in the 3 teaspoons of pure vanilla extract and the optional 2 tablespoons of rum extractmium rum extract. The aroma will be incredible! To get the smoothest possible custard, you can strain it through a fine-mesh sieve into a clean bowl. This will catch any tiny bits of cooked egg or flour that might have formed. Cover the surface of the custard directly with plastic wrap. This prevents a skin from forming on top as it cools. Let the custard cool at room temperature for about 30 minutes, then refrigerate for at least 2 hours, or until completely cold and firm.
Whipping the Cream and Assembling the Squares
Whipping the Cream
Once the custard is thoroughly chilled and firm, it’s time to prepare the topping. In a large, chilled bowl, combine the 2 cups of thoroughly chilled heavy whipping cream with the 2 tablespoons of powdered sugar. Using an electric mixer with the whisk attachment, start on low speed and gradually increase to medium-high. Whip the cream until it forms stiff peaks. This means that when you lift the beaters, the cream should stand up straight without drooping. Be careful not to over-whip, or you’ll end up with butter!
Assembling the Vanilla Custard Cream Squares
Now for the final assembly. Carefully cut each of the cooled puff pastry sheets into two equal rectangles, giving you four rectangles in total. Place one rectangle of cooled puff pastry on your serving platter. Spread half of the chilled vanilla custard evenly over the pastry. Then, carefully spread half of the whipped cream on top of the custard layer. Repeat with another layer of puff pastry, the remaining custard, and the remaining whipped cream. Place the final puff pastry rectangle on top.
Finishing Touches and Serving
For a beautiful presentation, dust the top layer of puff pastry generously with extra powdered sugar using a fine-mesh sieve. You can also get creative with designs if you like. For the best texture and flavor, let the assembled Vanilla Custard Cream Squares chill in the refrigerator for at least 30 minutes before slicing and serving. This allows the layers to meld together slightly. When slicing, use a sharp knife and make clean cuts to avoid smushing the layers. Enjoy this delightful dessert!
Conclusion:
You’ve now mastered the art of creating delightful Vanilla Custard Cream Squares! This recipe offers a perfect balance of creamy, sweet custard encased in a tender, buttery pastry. The simplicity of the ingredients allows the pure vanilla flavor to shine, making these squares a truly comforting and elegant treat. We hope you enjoy making and sharing these wonderful confections as much as we do.
For serving suggestions, Vanilla Custard Cream Squares are fantastic on their own, but they also pair beautifully with fresh berries, a dusting of powdered sugar, or a dollop of whipped cream for an extra touch of indulgence. They are perfect for afternoon tea, potlucks, or simply as a sweet ending to any meal.
Feel free to explore variations! You can infuse your custard with a hint of lemon zest for a brighter flavor, or add a touch of almond extract for a nutty nuance. For a more decadent version, consider drizzling melted chocolate over the finished squares. Don’t be afraid to experiment and make these Vanilla Custard Cream Squares your own!
FAQs
Can I make the Vanilla Custard Cream Squares ahead of time?
Yes, absolutely! Vanilla Custard Cream Squares can be made a day in advance and stored in an airtight container in the refrigerator. This allows the flavors to meld beautifully and makes them even more convenient for entertaining.
How should I store leftover Vanilla Custard Cream Squares?
Leftover Vanilla Custard Cream Squares should be stored in an airtight container in the refrigerator. They will keep well for up to 3 days. Ensure the container is well-senon-alcoholic aled to prevent the custard from drying out or absorbing odors from other foods.
Can I use milk instead of heavy cream for the custard?
While you can technically use milk, the custard will be significantly less rich and creamy. Heavy cream is recommended for achieving the signature velvety texture and decadent flavor of traditional custard. If you opt for milk, you may need to adjust the cornstarch to thicken it properly.
Vanilla Custard Cream Squares-Easy Dessert Recipe
Flaky puff pastry layers filled with rich vanilla custard and topped with whipped cream. A delightful and easy dessert.
Ingredients
-
2 sheets puff pastry, thawed but kept cold
-
4 cups whole milk, divided
-
1 1/2 cups granulated sugar
-
1 1/4 cups all-purpose flour
-
8 large egg yolks
-
3 teaspoons pure vanilla extract
-
2 tablespoons non-alcoholic rum extract (optional)
-
1/4 teaspoon salt
-
2 cups heavy whipping cream, thoroughly chilled
-
2 tablespoons powdered sugar, plus extra for dusting
Instructions
-
Step 1
Preheat oven to 400°F (200°C). Prepare two 9×13 inch baking sheets. Gently unfold thawed puff pastry sheets, roll lightly to smooth creases, and transfer to prepared baking sheets. Dock the pastry all over with a fork. Bake for 15-20 minutes until golden brown and crisp. Press down any puffed areas while warm and let cool completely. -
Step 2
In a large saucepan, combine 3 1/2 cups milk with 1 cup sugar. Heat over medium heat, stirring until sugar dissolves and milk is simmering. Remove from heat. -
Step 3
In a separate bowl, whisk together flour and remaining 1/2 cup sugar. Add egg yolks and whisk until well combined and pale yellow. -
Step 4
Slowly ladle about 1 cup of warm milk mixture into the egg yolk mixture, whisking vigorously. Pour tempered egg yolk mixture back into the saucepan with remaining milk. -
Step 5
Cook over medium-low heat, stirring constantly, for 8-10 minutes until thickened to coat the back of a spoon. Remove from heat, stir in vanilla extract and optional non-alcoholic rum extract. Strain into a clean bowl, cover surface with plastic wrap, and cool to room temperature, then refrigerate for at least 2 hours. -
Step 6
In a chilled bowl, whip heavy cream with 2 tablespoons powdered sugar until stiff peaks form. -
Step 7
Cut each cooled puff pastry sheet into two equal rectangles. Place one pastry rectangle on a serving platter. Spread half of the chilled custard evenly over the pastry, followed by half of the whipped cream. Repeat with another pastry layer, remaining custard, and remaining whipped cream. Top with the final pastry rectangle. -
Step 8
Dust the top with extra powdered sugar. Chill for at least 30 minutes before slicing and serving.
Important Information
Nutrition Facts (Per Serving)
It is important to consider this information as approximate and not to use it as definitive health advice.
Allergy Information
Please check ingredients for potential allergens and consult a health professional if in doubt.