Jalapeno Popper Cheese Ball-Spicy Party Dip
Get ready for a flavor explosion with this incredible Jalapeno Popper Cheese Ball!
This isn’t just any appetizer; it’s a showstopper, a crowd-pleaser, and quite possibly, your new go-to for parties and game days. We all love the irresistible combination of creamy cheese, spicy jalapenos, and savory beef bacon, and the Jalapeno Popper Cheese Ball delivers all of that goodness in one perfectly formed orb. What makes this particular Jalapeno Popper Cheese Ball so special? It’s the perfect balance of heat and richness, the delightful crunch from the beef bacon coating, and the unbelievably smooth, tangy cheese blend that melts in your mouth with every bite. It’s the ultimate indulgence that’s surprisingly simple to make. Get ready to impress your guests and yourself with this sensational creation!
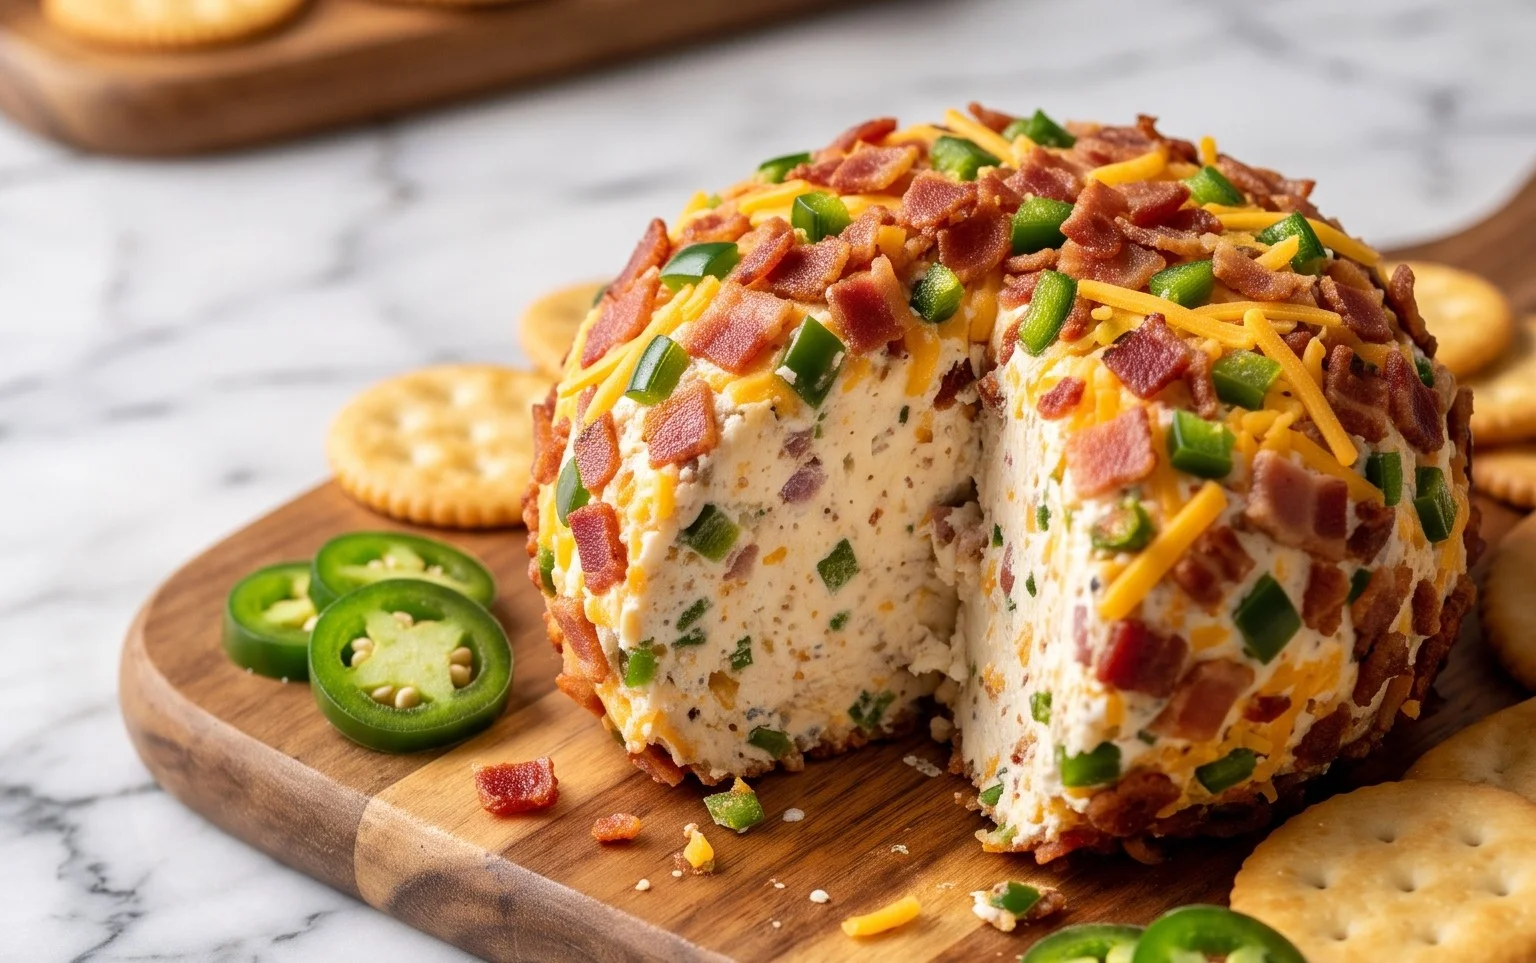
Jalapeno Popper Cheese Ball
This Jalapeno Popper Cheese Ball is an absolute showstopper, perfect for game days, holiday gatherings, or just when you’re craving a flavor explosion. It captures all the irresistible elements of your favorite jalapeno popper appetizer – the creamy, cheesy goodness, the smoky, savory beef bacon, and that delightful kick of jalapeno – all rolled into one festive and dippable delight. Get ready to impress your guests (and yourself!) with this easy yet incredibly delicious creation. It’s the kind of appetizer that disappears lightning fast, so I highly recommend making a double batch if you have a larger crowd!
Ingredients:
Instructions:
First things first, let’s get our flavor base ready. In a large mixing bowl, combine the softened cream cheese, sour cream, garlic powder, onion powder, and fresh ground black pepper. This is where the magic starts to happen. The cream cheese provides that luxurious, smooth texture, while the sour cream adds a subtle tang and helps to bind everything together. The garlic and onion powders are our secret weapons for delivering those classic savory notes that make everything taste so good, and the black pepper adds a little warmth and depth. Grab a sturdy spoon or a hand mixer on low speed and beat these ingredients together until they are completely smooth and well combined. You want a consistent texture with no lumps of cream cheese visible. This step is crucial for ensuring a uniformly delicious cheese ball. Make sure your cream cheese is truly softened; if it’s too cold, it will be difficult to mix smoothly, and you might end up with a lumpy cheese ball, which is nobody’s favorite. Leaving them out on the counter for about an hour should do the trick, depending on your room temperature.
Now it’s time to incorporate the stars of the show! To the cream cheese mixture, add 1 and 1/2 cups of the shredded sharp cheddar cheese, half of the chopped crispy beef beef bacon, half of the minced jalapenos, and half of the chopped green onions. We’re reserving the other half of each of these for the coating later, which will give our cheese ball that extra pop of flavor and visual appeal. Gently fold these ingredients into the cream cheese mixture. You don’t want to overmix here; we want to distribute them evenly without completely mashing them. The goal is to have distinct pockets of cheese, beef bacon, jalapeno, and onion throughout the cheese ball, so you get a burst of flavor with every bite. Taste a small amount at this stage (carefully, of course!) to adjust seasonings if you feel it needs a little more salt or pepper, though with the beef bacon and cheddar, it’s usually perfect as is.
Once everything is nicely incorporated, it’s time to shape our cheese ball. Turn the mixture out onto a large piece of plastic wrap. Using the plastic wrap to help you, shape the mixture into a ball. You can do this by gathering the edges of the plastic wrap and twisting them to help form and compact the ball. Alternatively, you can use slightly damp hands to gently form the ball directly, but the plastic wrap method usually results in a smoother, more cohesive shape. Once you have your ball, wrap it tightly in the plastic wrap and refrigerate it for at least 2 hours, or preferably for 4 hours, or even overnight. This chilling step is absolutely essential. It allows the flavors to meld together beautifully and, more importantly, firms up the cheese ball so it’s easy to handle and coat. If you try to coat it too soon, it will be too soft and messy. Don’t skip this chilling phase – it’s the secret to a perfectly formed and coated cheese ball!
While your cheese ball is chilling, let’s get our coating ready. In a shallow dish or on a plate, combine the reserved 1/2 cup of shredded sharp cheddar cheese, the reserved half of the chopped crispy beef beef bacon, the reserved half of the minced jalapenos, and the reserved half of the chopped green onions. Give these ingredients a good stir to combine them thoroughly. This mixture is going to be the glorious outer layer of our cheese ball, providing a delightful crunch and an extra punch of flavor. You can adjust the ratio of these coating ingredients to your preference. If you love extra beef bacon, go for it! If you prefer more jalapeno heat, add a bit more. The key is to have a good, even distribution of all the delicious components.
The final, most exciting step: coating the cheese ball! Once your cheese ball has chilled and is firm, unwrap it from the plastic wrap. Gently place the chilled cheese ball into the prepared coating mixture. Using your hands or a spatula, carefully roll and press the coating mixture all over the cheese ball, ensuring it’s evenly covered on all sides. You want a nice, thick coating that adheres well. If any spots feel a little bare, just press a little more of the coating mixture onto them. The stickiness of the chilled cheese ball will help the coating adhere perfectly. Once it’s beautifully coated, you can carefully transfer it back to a serving dish. It’s best to let it sit at room temperature for about 15-20 minutes before serving to allow the cream cheese to soften just slightly, making it easier to dip and enjoy. Serve with your favorite crackers, pretzels, or vegetable sticks, and watch it disappear!
Conclusion:
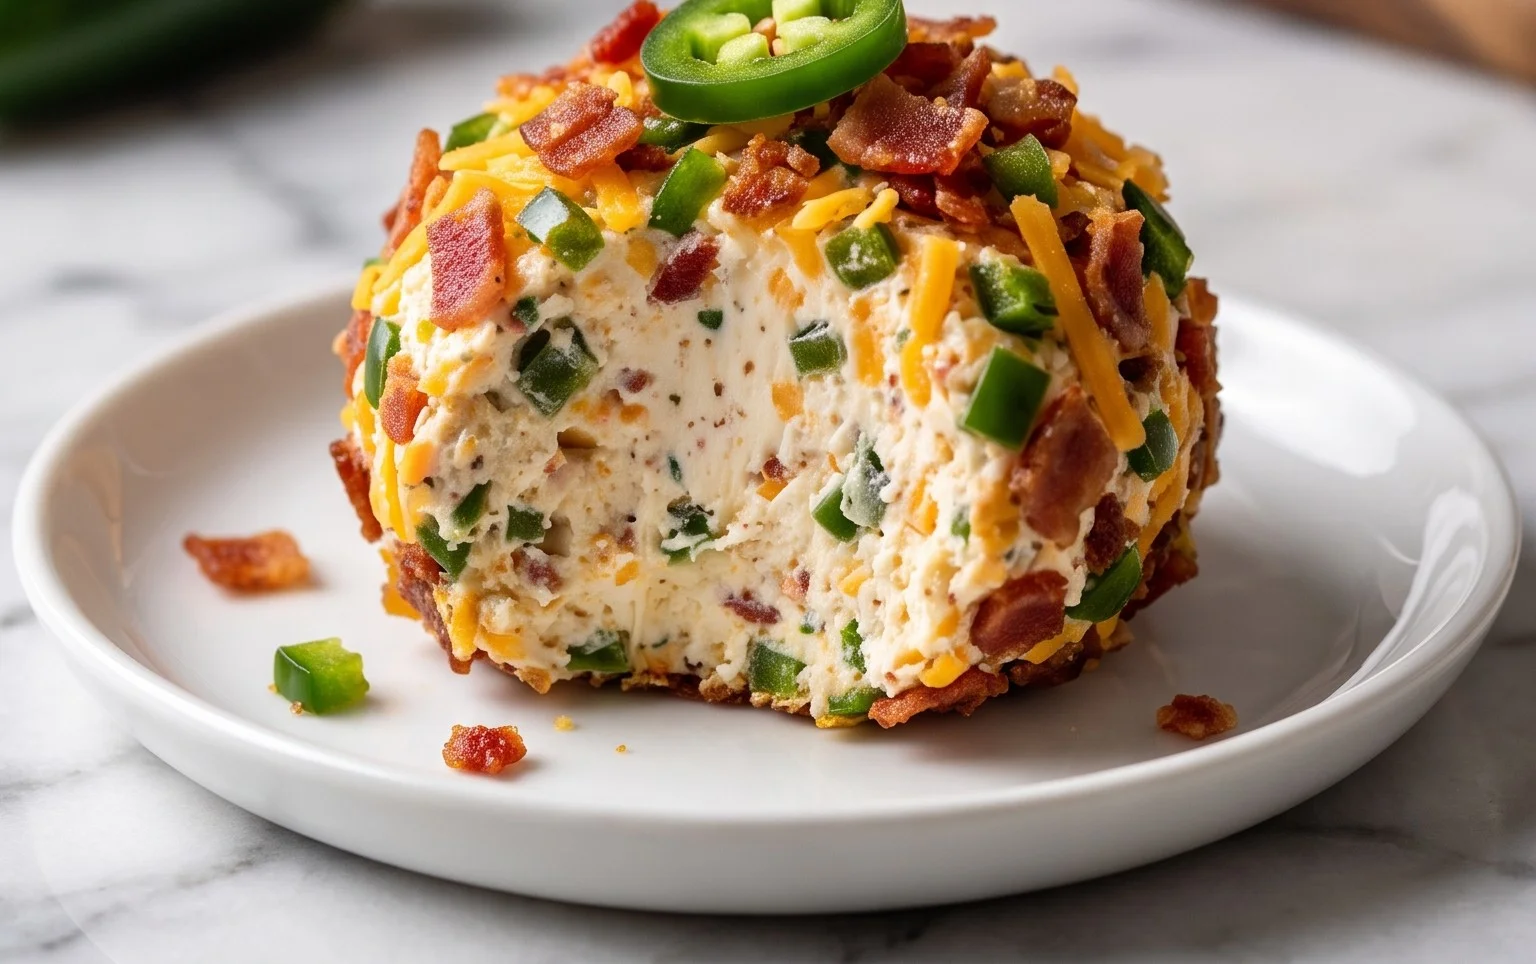
I hope you’ve enjoyed learning how to create this absolutely irresistible Jalapeno Popper Cheese Ball! This recipe is a guaranteed crowd-pleaser, perfectly blending the creamy, tangy goodness of a classic cheese ball with the spicy kick and smoky notes of your favorite jalapeno poppers. It’s incredibly versatile, making it the ideal appetizer for game days, holiday gatherings, or even just a fun weekend treat. The combination of textures – the smooth cheese, the crisp beef bacon, the tender jalapenos – creates a flavor explosion that will have everyone coming back for more. Don’t be afraid to get creative with your toppings and serving accompaniments to make it truly your own!
Serving this cheesy delight is part of the fun! I love pairing it with a variety of dippers. Think hearty crackers, crisp baguette slices, fresh vegetable sticks like celery and bell peppers, or even pretzel rods for a salty crunch. For variations, consider adding some finely chopped chives for a fresh oniony bite, or a pinch of smoked paprika to the cheese mixture for an extra layer of smoky depth. You could even swirl in a tablespoon of your favorite hot sauce for more heat. Give this Jalapeno Popper Cheese Ball a try – I promise you won’t be disappointed!
Frequently Asked Questions:
Can I make this Jalapeno Popper Cheese Ball ahead of time?
Absolutely! This cheese ball is fantastic for making ahead. You can prepare it up to 2 days in advance and store it, tightly wrapped in plastic wrap, in the refrigerator. Just add the beef bacon and any other final toppings right before serving to maintain their crispness and visual appeal.
What if I don’t like spicy food? Can I reduce the heat?
Yes, you can easily control the spice level! For a milder version, simply remove the seeds and membranes from the jalapenos before chopping them. You can also reduce the number of jalapenos used or substitute them with milder peppers like poblano peppers. For a smoky but not spicy option, consider using roasted red peppers instead.
Jalapeno Popper Cheese Ball
A creamy, cheesy, and spicy cheese ball with all the flavors of a jalapeno popper, perfect for parties.
Ingredients
-
2 boxes (8 ounces each) cream cheese, slightly softened
-
2 tablespoons sour cream
-
3/4 teaspoon garlic powder
-
1/2 teaspoon onion powder
-
1/4 teaspoon fresh ground black pepper
-
2 cups shredded sharp cheddar cheese (reserve 1/2 cup)
-
10 slices crispy cooked pork bacon, chopped (reserve half)
-
2 jalapenos, minced (reserve half)
-
1/2 cup chopped green onions (reserve half)
Instructions
-
Step 1
In a large bowl, beat the softened cream cheese until smooth. Stir in the sour cream, garlic powder, onion powder, and black pepper. -
Step 2
Stir in 1 1/2 cups of the shredded cheddar cheese, half of the chopped bacon, half of the minced jalapenos, and half of the chopped green onions until well combined. -
Step 3
Shape the mixture into a ball or log on a serving platter. -
Step 4
In a small bowl, combine the reserved 1/2 cup cheddar cheese, remaining chopped bacon, remaining minced jalapenos, and remaining chopped green onions. -
Step 5
Press the reserved mixture onto the outside of the cheese ball to coat. -
Step 6
Chill for at least 1 hour before serving with crackers or vegetables.
Important Information
Nutrition Facts (Per Serving)
It is important to consider this information as approximate and not to use it as definitive health advice.
Allergy Information
Please check ingredients for potential allergens and consult a health professional if in doubt.