Greek Yogurt Bagels-High Protein Twist
Greek Yogurt Bagels: A High-Protein Twist on a Classic Favorite have taken the breakfast and brunch world by storm, and for good reason! If you’re anything like me, the allure of a perfectly chewy, slightly tangy bagel is hard to resist, especially when you can enjoy it knowing it’s packed with extra goodness. What makes these Greek Yogurt Bagels so incredibly popular? It’s the ingenious swap of some traditional ingredients for hearty Greek yogurt. This simple substitution transforms a beloved carb-heavy treat into a more satisfying, protein-rich meal that keeps you energized throughout your morning, making them a perfect option for a post-workout refuel or a quick, healthy breakfast on the go. Get ready to discover why this recipe is a game-changer for bagel lovers everywhere!
Ingredients:
- 1 cup all-purpose flour (or substitute with whole wheat flour for a nuttier flavor and added fiber)
- 2 tsp baking powder
- 1/4 tsp salt
- 1 cup Greek yogurt (a thick consistency is highly recommended for the best texture; plain, full-fat Greek yogurt will yield the chewiest results)
- 1 egg (for the egg wash, to give the bagels a beautiful golden sheen)
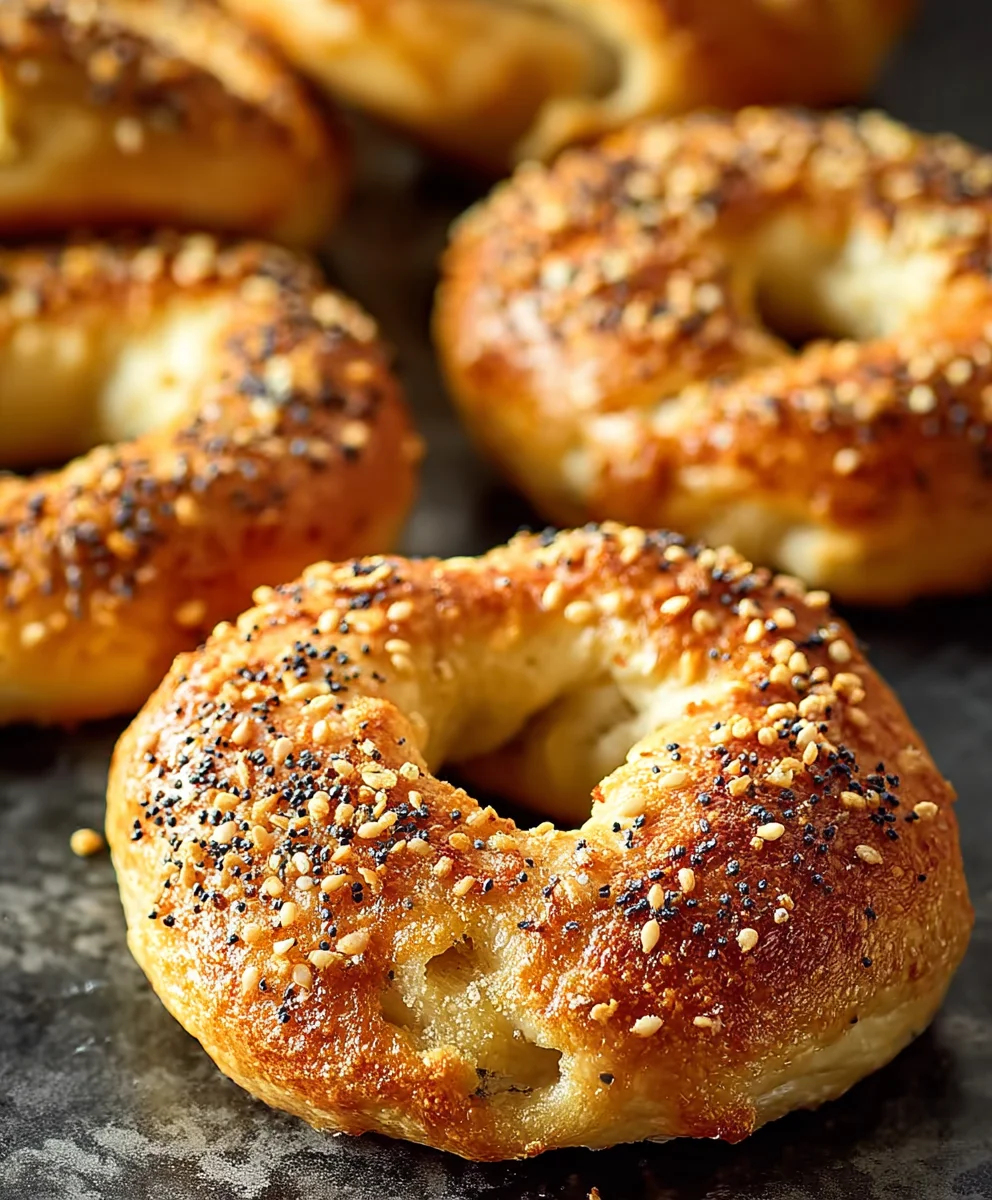
- Optional toppings: Everything bagel seasoning, cinnamon sugar, shredded cheese, garlic & herb blend, mini chocolate chips (choose your favorites to customize your bagels!)
Making Your Greek Yogurt Bagels
Mixing the Dough
- In a medium-sized mixing bowl, whisk together the all-purpose flour, baking powder, and salt. This dry ingredient mixture is the foundation of our bagels, ensuring they have a good structure and a hint of savory flavor from the salt. Make sure these are well combined before moving on to the wet ingredients.
- Add the Greek yogurt to the dry ingredients. Using a spoon or spatula, begin extract to mix everything together until a shaggy dough forms. It might seem a little sticky at this stage, and that’s perfectly normal. The yogurt will hydrate the flour and start to create a cohesive dough.
- Turn the dough out onto a lightly floured surface. Now comes the gentle kneading part. Knead the dough for about 3 to 5 minutes. The goal here isn’t to develop gluten like you would with traditional yeasted bagels. Instead, you’re just aiming to bring everything together into a smooth, workable ball. Avoid over-kneading, as this can make the bagels tough. The dough should feel slightly tacky but not so sticky that it adheres excessively to your hands or the surface. If it’s too wet, add a tiny pinch more flour, a quarter teaspoon at a time. If it’s too dry, a tiny splash of water can help, but be very conservative.
Shaping the Bagels
- Once your dough is smooth and manageable, divide it into 4 equal portions. Roll each portion into a ball, and then gently flatten each ball into a disc. Using your thumb or the end of a wooden spoon, create a hole in the center of each disc, making sure the hole is about ½ inch in diameter. You can then gently stretch and shape the dough around the hole to form a classic bagel ring. The key is to keep the dough relatively thick; these aren’t meant to be thin and crispy like some commercial bagels. A thicker bagel provides a more satisfying chew.
- Prepare a baking sheet by lining it with parchment paper. This prevents the bagels from sticking and makes for easy cleanup. Arrange your shaped bagels on the prepared baking sheet, ensuring there’s a little space between them to allow for even baking. At this point, you can add your desired toppings. If you’re using everything bagel seasoning or shredded cheese, gently press them onto the tops of the bagels. For cinnamon sugar, you might want to lightly brush the tops with a little water first to help the sugar adhere. For chocolate chips, simply press them into the dough.
Baking to Perfection
- Preheat your oven to 375°F (190°C). While the oven is heating, let the shaped bagels rest for about 10 minutes. This short rest helps them firm up slightly.
- In a small bowl, whisk together the egg with about 1 teaspoon of water to create an egg wash. Using a pastry brush, generously brush the tops and sides of each bagel with the egg wash. This is what will give them that irresistible golden-brown finish and a slightly shiny exterior.
- Place the baking sheet with the bagels into the preheated oven. Bake for 20 to 25 minutes, or until the bagels are puffed up and golden brown. The exact baking time will depend on your oven, so keep an eye on them. You’re looking for a firm exterior and a golden hue. If you tap the bottom of a bagel, it should sound slightly hollow.
Conclusion:
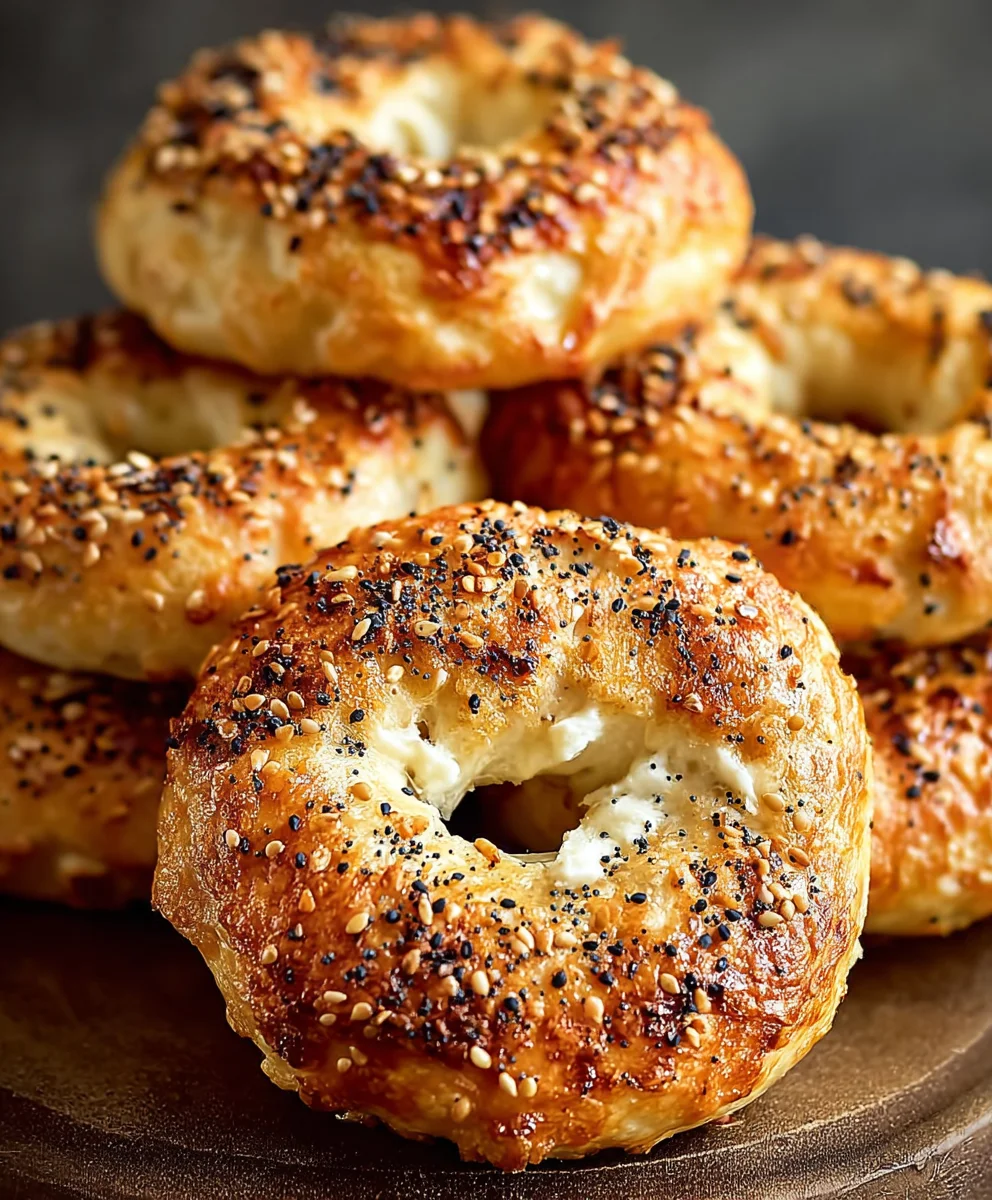
There you have it! You’ve successfully crafted your own batch of Greek Yogurt Bagels: A High-Protein Twist on a Classic Favorite. We hope you enjoyed this journey into creating a healthier, more satisfying version of a beloved breakfast staple. These bagels are incredibly versatile, offering a delightful chewy texture with a protein boost that will keep you feeling full and energized. Don’t be afraid to experiment and make them your own – that’s part of the fun of baking!
For serving suggestions, we love these Greek Yogurt Bagels: A High-Protein Twist on a Classic Favorite toasted and topped with cream cheese and smoked salmon, or even as the base for a hearty breakfast sandwich with eggs and avocado. For variations, consider adding poppy seeds, sesame seeds, or even a pinch of garlic powder to the dough for a savory twist. You can also experiment with different flours, though keep in mind it might slightly alter the texture.
We truly encourage you to give this recipe a try. It’s a rewarding experience to bake something so delicious and nutritious from scratch. Enjoy every bite of your homemade Greek Yogurt Bagels: A High-Protein Twist on a Classic Favorite!
FAQs:
Can I make these Greek Yogurt Bagels ahead of time?
Absolutely! Once cooled, you can store your Greek Yogurt Bagels: A High-Protein Twist on a Classic Favorite in an airtight container at room temperature for up to 2 days, or freeze them for longer storage. Simply toast them from frozen for a quick and easy breakfast.
Why are my Greek Yogurt Bagels not as chewy as traditional bagels?
The yogurt in the dough can contribute to a slightly softer texture compared to traditional bagels made with just flour, water, yeast, and malt. However, the boiling step is crucial for achieving that characteristic chewy exterior. Ensure your water is boiling vigorously when you add the bagels.
Greek Yogurt Bagels-High Protein Twist
A quick and easy recipe for delicious, high-protein bagels using Greek yogurt, offering a chewy texture and a delightful twist on traditional bagels.
Ingredients
-
1 cup all-purpose flour
-
2 tsp baking powder
-
1/4 tsp salt
-
1 cup Greek yogurt (thick consistency recommended)
-
1 egg (for egg wash)
-
Optional toppings: Everything bagel seasoning, cinnamon sugar, shredded cheese, garlic & herb blend, mini chocolate chips
Instructions
-
Step 1
In a mixing bowl, whisk together the flour, baking powder, and salt. -
Step 2
Add the Greek yogurt to the dry ingredients and mix until a shaggy dough forms. -
Step 3
Turn the dough onto a lightly floured surface and knead gently for 3-5 minutes until smooth and workable. -
Step 4
Divide the dough into 4 equal portions, roll into balls, flatten into discs, and create a hole in the center to form bagel rings. -
Step 5
Prepare a baking sheet with parchment paper, arrange the bagels, and add desired toppings. -
Step 6
Preheat oven to 375°F (190°C) and let bagels rest for 10 minutes. -
Step 7
Whisk the egg with 1 tsp of water to create an egg wash and brush the bagels. -
Step 8
Bake for 20-25 minutes, or until puffed and golden brown.
Important Information
Nutrition Facts (Per Serving)
It is important to consider this information as approximate and not to use it as definitive health advice.
Allergy Information
Please check ingredients for potential allergens and consult a health professional if in doubt.