Easy Rustic Bread Recipe – Bake This Delicious Loaf
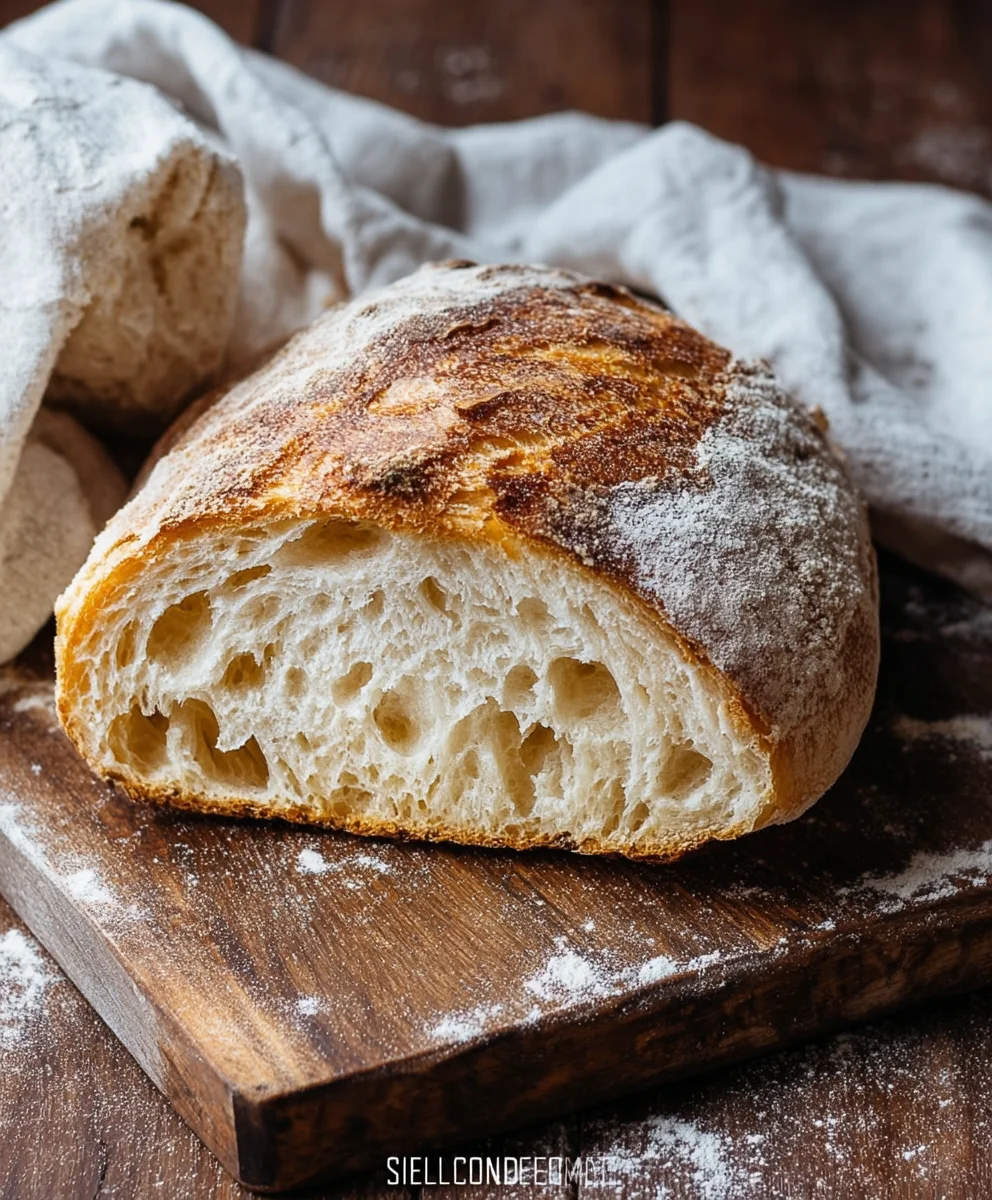
Rustic Bread Recipe perfection is within your reach! There’s something undeniably magical about a warm, crusty loaf, still radiating the heat of the oven, with an interior that’s soft, airy, and utterly satisfying. This isn’t just bread; it’s a sensory experience. People adore this particular Rustic Bread Recipe because it taps into a primal comfort, a feeling of home and nourishment that’s hard to replicate. It’s the perfect accompaniment to almost any meal, from a hearty soup to a simple spread of butter, and it’s a star on its own when toasted and drizzled with olive oil. What makes this version truly special is its deceptive simplicity. While it looks and tastes like it came from a Parisian boulangerie, the process is surprisingly straightforward, designed to yield incredible results even for novice bakers. Get ready to fill your kitchen with the irresistible aroma of freshly baked bread!
Ingredients:
- 3 cups warm water
- 2 ¼ teaspoons (1 packet) active dry yeast
- 1 Tablespoon sugar
- 6 cups (approximately 750 grams) all-purpose flour
- 3 teaspoons salt
Getting Started: Activating the Yeast
The first crucial step in creating our delicious rustic bread is to awaken the yeast. This process is called “proofing” or “activating” the yeast, and it ensures your bread will rise beautifully. In a large mixing bowl – the one you’ll eventually mix everything in – pour in the 3 cups of warm water. It’s important that the water is warm, not hot or cold. Aim for a temperature that feels comfortably warm to your finger, around 105-115°F (40-46°C). If the water is too hot, it will kill the yeast, and if it’s too cold, it won’t activate properly. To this warm water, sprinkle in your 2 ¼ teaspoons of active dry yeast. Then, add the 1 Tablespoon of sugar. The sugar is the yeast’s food source; it helps it to bloom and become active. Gently stir this mixture just enough to combine the ingredients. Don’t over-stir. Now, let this sit undisturbed for about 5 to 10 minutes. You should start to see a foamy, bubbly layer form on the surface of the water. This is a clear indication that your yeast is alive and ready to work its magic! If you don’t see any foam after 10 minutes, your yeast might be old or the water wasn’t the right temperature, and you’ll need to start this step over with fresh yeast.
Combining the Dough: Building the Foundation
Once your yeast mixture is happily foamy, it’s time to add the dry ingredients. To the activated yeast mixture in your large bowl, add the 6 cups of all-purpose flour. Don’t dump it all in at once; adding it in stages can sometimes make mixing easier, though for this recipe, adding it all is perfectly fine. Next, add the 3 teaspoons of salt. The salt is essential for flavor, and it also plays a role in controlling the yeast’s activity and strengthening the gluten structure of the dough. Now, using a sturdy spoon, a Danish dough whisk, or even your hands, begin extract to mix everything together. Your goal is to incorporate all the flour into the wet ingredients until a shaggy gin extractgh begins to form. It will look rough and unappealing at this stage, and that’s completely normal. Don’t worry about making it smooth just yet. You want to ensure there are no dry pockets of flour remaining. Continue mixing until the dough starts to pull away from the sides of the bowl, even if it’s still a bit sticky.
Kneading the Dough: Developing the Gluten
This is where we develop the gluten, which gives our bread its structure and chew. Lightly flour a clean work surface – a countertop or a large cutting board will do. Turn the shaggy dough out onto the floured surface. It will likely be sticky. Resist the urge to add too much extra flour; a little sticking is okay and will help create a begin extractr texture. Begin to knead the dough. The basic kneading motion involves pushing the dough away from you with the heels of your hands, then folding it back over on itself, and rotating it a quarter turn. Repeat this process. Initially, the dough will be very sticky and might cling to your hands and the surface. Keep kneading, and as you work the dough, you’ll notice it becoming smoother, more elastic, and less sticky. This process typically takes about 8 to 10 minutes of consistent kneading. You’re looking for a dough that is smooth to the touch, elastic, and springs back slowly when you gently poke it with your finger. If it’s still very sticky after several minutes, you can add a tiny bit more flour, a tablespoon at a time, but be sparing. A properly kneaded dough is key to a good crum extractb.
First Rise: Letting the Dough Double
Now that our dough has been kneaded to perfection, it needs time to rest and rise. Lightly grease your large mixing bowl with a little bit of oil or cooking spray. Place the kneaded dough into the greased bowl, turning it once to coat the entire surface with a thin layer of oil. This prevents a dry skin from forming as the dough rises. Cover the bowl tightly with plastic wrap or a clean kitchen towel. Find a warm, draft-free spot in your kitchen. An oven that has been turned off but still retains a little residual warmth is ideal, or simply a sunny spot on the counter. Allow the dough to rise for approximately 1 to 1.5 hours, or until it has doubled in size. You’ll know it’s ready when it looks noticeably puffier and fills the bowl much more than before. This slow rise develops flavor and creates the airy texture we love in rustic bread. Don’t rush this step; patience here will be rewarded.
Shaping and Second Rise: Preparing for the Oven
Once your dough has impressively doubled, it’s time to give it a gentle punch down. This is exactly what it sounds like: gently press down into the center of the risen dough with your fist to deflate it. This releases the large air bubbles and redistributes the yeast. Turn the dough out onto a lightly floured surface once more. At this point, you can shape your bread. For a classic rustic loaf, you can simply form it into a round ball or an oval. Gently cup your hands around the dough and tuck the edges underneath to create surface tension. If you prefer, you can also shape it into a traditional boule (round) or batard (oval). Place the shaped dough onto a baking sheet that has been lined with parchment paper or sprinkled with cornmeal. This will help prevent sticking. Cover the shaped loaf loosely with plastic wrap or a clean kitchen towel and let it rise again for another 30 to 45 minutes, or until it looks puffy again. This second rise, or “proofing,” is crucial for a light and airy interior.
Baking the Rustic Bread: The Golden Finish
Preheat your oven to 425°F (220°C) during the second rise. If you have a baking stone or a cast-iron skillet, placing it in the oven while it preheats will help create a wonderfully crisp crust. Just before baking, you can optionally score the top of your loaf with a sharp knife or a razor blade. This not only looks beautiful but also allows the bread to expand evenly in the oven. Carefully transfer the shaped and proofed dough to the preheated oven. If you’re using a baking stone, slide the parchment paper with the dough onto the hot stone. For an extra crispy crust, you can create steam in the oven by placing a shallow metal pan filled with hot water on the bottom rack as you preheat. Bake for 30 to 40 minutes, or until the crust is a deep golden brown and the internal temperature of the bread reaches 200-210°F (93-99°C) when measured with an instant-read thermometer. The bottom of the loaf should also sound hollow when tapped. Once baked, carefully remove the bread from the oven and transfer it to a wire rack to cool completely. This cooling period is essential for the texture to set properly. Enjoy your homemade rustic bread!
Conclusion:
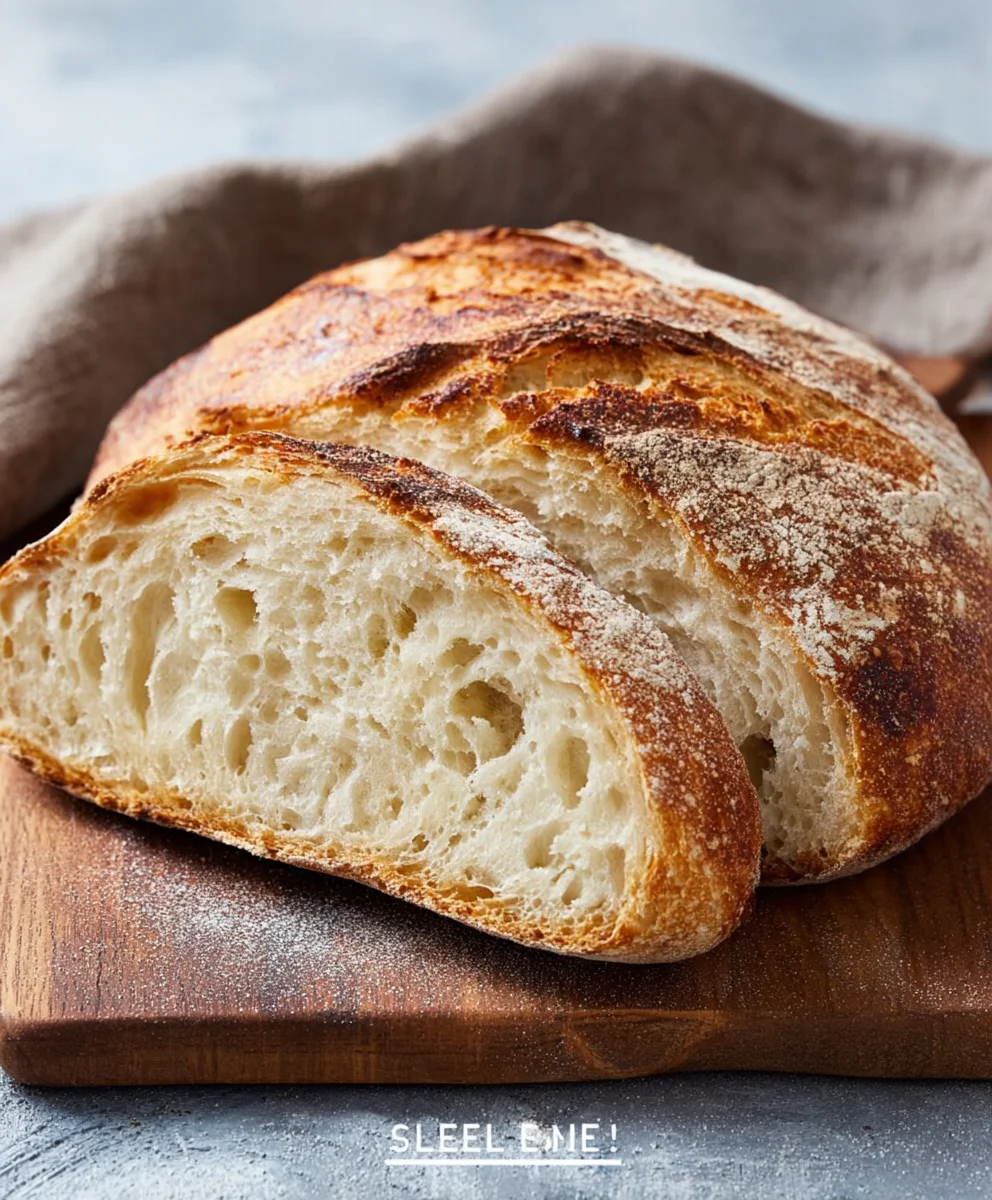
And there you have it! With our simple yet rewarding Rustic Bread Recipe, you can now enjoy the unparalleled joy of freshly baked, crusty bread right from your own kitchen. This recipe emphasizes ease and deliciousness, perfect for begin extractners and experienced bakers alike. The satisfying aroma that fills your home as it bakes is jusgin extracthe beginning of the pleasure. The slightly chewy interior, encased in a beautifully golden, crackling crust, is a testament to the magic of simple ingredients coming together.
This versatile bread is perfect for any meal. Serve it warm with a generous slathering of butter, alongside hearty soups and stews, or use it to build incredible sandwiches. For a delightful twist, consider brushing the crust with a little olive oil and herbs before baking, or incorporating a handful of seeds like sunflower or pumpkin into the dough for added texture and flavour.
Don’t be afraid to experiment! Baking is a journey, and this Rustic Bread Recipe is an excellent starting point. Embrace the process, savour the aromas, and most importantly, enjoy the incredibly satisfying taste of your homemade creation. We encourage you to bake it often and share the deliciousness with your loved ones!
Frequently Asked Questions:
Q: My Rustic Bread Recipe didn’t get a very crispy crust. What could I have done differently?
A: A crispy crust often comes down to moisture and heat. Ensure your oven is fully preheated, ideally with a baking stone or a cast-iron skillet inside to retain heat. For the first 15-20 minutes of baking, introducing steam into the oven can significantly help achieve a crispier crust. You can do this by placing a pan of hot water on the bottom rack of your oven or by spraying the oven walls with water. Also, ensure the bread is baked until it’s deeply golden brown, as this indicates the crust has fully developed.
Q: Can I make this Rustic Bread Recipe ahead of time and store it?
A: Absolutely! Once completely cooled, this Rustic Bread Recipe stores well. You can keep it at room temperature in a paper bag or bread box for 2-3 days. For longer storage, slice the bread and freeze it in an airtight bag or container. It thaws beautifully and can be reheated in a toaster or a low oven to regain some of its crispiness.
Easy Rustic Bread Recipe – Bake This Delicious Loaf
A simple and delicious recipe for homemade rustic bread with a wonderfully crisp crust and airy interior.
Ingredients
-
3 cups warm water
-
2 ¼ teaspoons active dry yeast
-
1 Tablespoon sugar
-
6 cups all-purpose flour
-
3 teaspoons salt
Instructions
-
Step 1
Activate the yeast by combining warm water (105-115°F), active dry yeast, and sugar in a large bowl. Let sit for 5-10 minutes until foamy. -
Step 2
Add flour and salt to the activated yeast mixture. Mix with a spoon or hands until a shaggy dough forms and pulls away from the sides of the bowl. -
Step 3
Turn dough onto a lightly floured surface and knead for 8-10 minutes until smooth, elastic, and springs back when poked. -
Step 4
Place kneaded dough in a lightly oiled bowl, cover, and let rise in a warm, draft-free spot for 1-1.5 hours, or until doubled in size. -
Step 5
Gently punch down the risen dough, shape into a round or oval loaf, and place on a parchment-lined baking sheet. Cover loosely and let rise again for 30-45 minutes. -
Step 6
Preheat oven to 425°F (220°C). Optionally score the top of the loaf. Bake for 30-40 minutes until deep golden brown and internal temperature reaches 200-210°F. Cool completely on a wire rack.
Important Information
Nutrition Facts (Per Serving)
It is important to consider this information as approximate and not to use it as definitive health advice.
Allergy Information
Please check ingredients for potential allergens and consult a health professional if in doubt.