Easy No-Knead Sandwich Rolls – Hour Dough
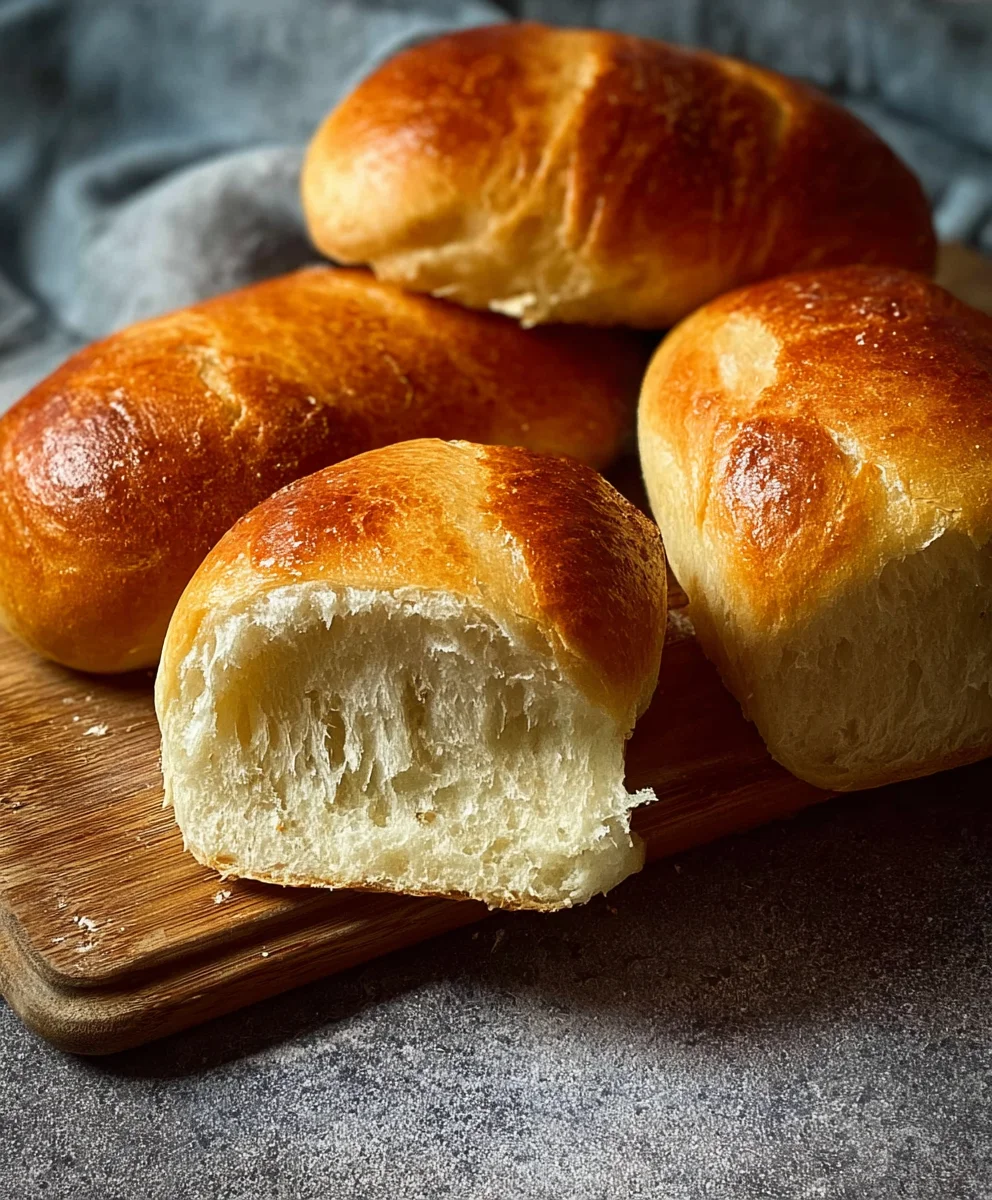
Sandwich Rolls -No Knead -2 Hours, that’s the magic phrase for unlocking oven-fresh, pillowy soft rolls ready for your favorite fillings in a remarkably short amount of time. Are you tired of weekend baking feeling like a marathon? Do you crave that wonderful aroma of homemade bread wafting through your kitchen without spending hours tirelessly kneading dough? I hear you! This recipe for Sandwich Rolls -No Knead -2 Hours is an absolute game-changer. It’s designed for busy individuals, novice bakers, and anyone who appreciates the simple joy of warm, freshly baked bread. What makes these rolls so incredibly special? It’s the foolproof, no-knead method that allows the yeast to do all the hard work, creating a beautiful texture and incredible flavor. They are wonderfully versatile, perfect for everything from classic deli sandwiches to holding your favorite burger, or even just enjoyed with a smear of butter. Prepare to impress yourself and your loved ones with these effortless, delightful rolls.
Ingredients:
- 4 1/2 cups (600g) bread flour (you can also use all-purpose flour or white flour if bread flour isn’t available)
- 1 3/4 cups (420-450ml) warm water (around 95-105 degrees Fahrenheit, or 35-40 degrees Celsius)
- 2 tablespoons instant or quick yeast
- 1 tablespoon sugar
- 2 teaspoons salt
Mixing the Dough
The beauty of these sandwich rolls is their “no-knead” nature, meaning you don’t have to spend precious time and effort working the dough. We’ll start by combining our dry ingredients in a large mixing bowl. Add the bread flour, instant yeast, sugar, and salt. Give them a quick whisk to ensure everything is evenly distributed. This is important so the yeast and salt are not in direct contact with each other in high concentrations initially, which can sometimes inhibit yeast activity. Now, pour in the warm water. The warmth of the water is crucial for activating the yeast. Too cold, and the yeast will be sluggish; too hot, and you risk killing it. Aim for that pleasant warm-to-the-touch temperature.
Using a sturdy spoon or a spatula, mix everything together until just combined. You’ll notice the mixture will be quite shaggy and wet – this is perfectly normal and exactly what we’re looking for in a no-knead dough. Don’t be tempted to add more flour at this stage, even if it looks stickier than you’re used to. The high hydration is key to developing the gluten structure without any manual kneading. Scrape down the sides of the bowl to make sure all the dry bits of flour are incorporated into the wet mixture. The goal here is simply to hydrate the flour.
First Rise: The Magic Happens
Once your shaggy dough is mixed, cover the bowl tightly with plastic wrap or a damp kitchen towel. Find a warm, draft-free spot for the dough to rest. This could be on your counter, especially if your kitchen is on the warmer side, or even in a slightly warmed oven that has been turned off. We want the dough to double in size, and this typically takes about 1 to 1.5 hours, depending on your kitchen’s ambient temperature. During this time, the yeast will be busily fermenting, producing carbon dioxide gas that will create those lovely airy pockets in your bread rolls. You’ll see the dough puff up and become much smoother and more cohesive than when you first mixed it. It will also develop a bubbly surface. This extended, unhurried rise is the core of the no-knead method and develops fantastic flavor.
Shaping the Rolls
After the first rise, the dough will have significantly expanded. Generously flour your work surface. You might also want to lightly flour your hands. Gently tip the dough out of the bowl onto the floured surface. The dough will be airy and soft. Try to handle it as little as possible to preserve those precious air bubbles. You can divide the dough into your desired number of rolls. For standard sandwich rolls, you might aim for 8 to 10 portions. To shape them, gently pat the dough into a rough rectangle. Then, fold the top edge down to the middle, and the bottom edge up to the middle, as if you were folding a letter. Gently press the seams together. Finally, gently cup your hands around the dough and roll it briefly on the counter to create a taut surface and a nice round shape. Don’t overwork it; a gentle shaping is all that’s needed.
Place your shaped rolls onto a baking sheet lined with parchment paper, leaving some space between them as they will expand further. You can use a bench scraper or your hands to help transfer them if they are sticking. Ensure the parchment paper is large enough to catch any potential overflow. For extra assurance against sticking, you can lightly grease the parchment paper as well.
Second Rise and Baking
Once shaped, cover the rolls loosely with plastic wrap or a clean kitchen towel and let them rest for another 30-45 minutes. This second rise, or proofing, allows the rolls to relax and puff up even more before baking. While the rolls are proofing, preheat your oven to 450 degrees Fahrenheit (230 degrees Celsius). It’s important to have your oven fully preheated to ensure a good oven spring. Some bakers like to place a shallow pan of water on the bottom rack of the oven during preheating to create steam. This steam helps the crust develop a beautiful golden-brown color and a crispier texture, much like a professional bakery.
After the second rise, the rolls should look visibly puffy and be nearly doubled in size again. They’ll feel light and airy to the touch. Carefully transfer the baking sheet to the preheated oven. Bake for approximately 15-20 minutes, or until the rolls are a deep golden brown and sound hollow when tapped on the bottom. If you’re using the steam method, remove the pan of water after the first 10 minutes of baking to allow the crust to fully crisp up.
Cooling and Enjoying
Once baked to perfection, immediately remove the rolls from the baking sheet and place them on a wire rack to cool completely. This prevents the bottoms from becoming soggy. Resist the urge to cut into them while they’re still warm, as the interior structure needs a moment to set. Once cooled, these sandwich rolls are ready to be sliced and filled with your favorite ingredients. They are fantastic for any kind of sandwich, from breakfast egg sandwiches to hearty lunch creations. The texture will be wonderfully soft on the inside with a slight chew, and the crust will have a satisfying bite.
Conclusion:
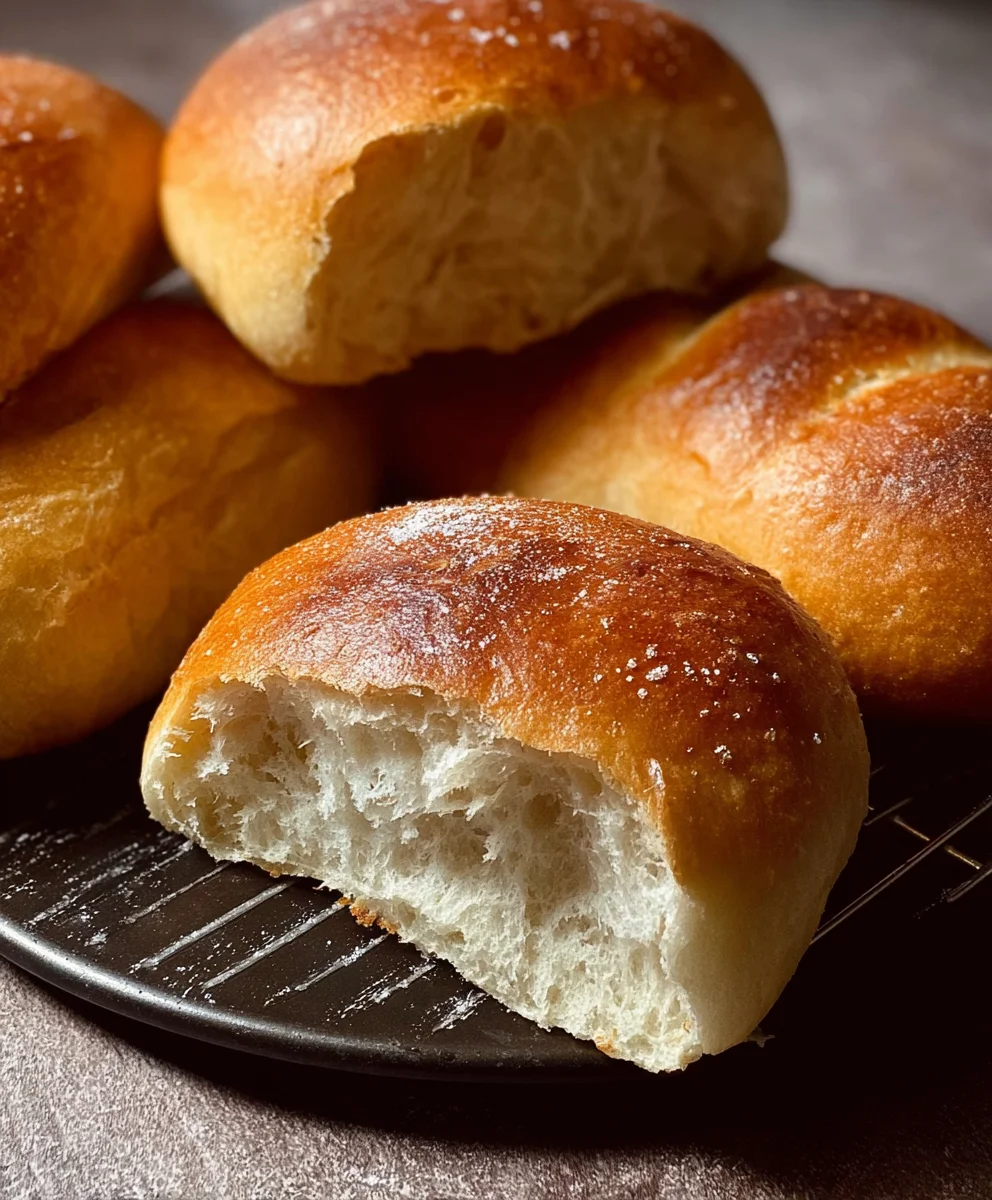
And there you have it – your perfect batch of Sandwich Rolls -No Knead -2 Hours is ready to impress! This simple, no-knead method truly delivers wonderfully soft and airy rolls that are ideal for any sandwich creation or even just enjoyed warm with a smear of butter. We’ve walked through the effortless steps, proving that delicious homemade bread doesn’t need to be time-consuming or complicated. Whether you’re a seasoned baker or just starting out, these Sandwich Rolls -No Knead -2 Hours are a fantastic addition to your repertoire. Don’t hesitate to get creative with your fillings – from classic deli meats and cheeses to vibrant vegetarian options, these rolls are the ultimate edible canvas.
For serving suggestions, consider using them for your weekend brunch sandwiches, packing them for delightful picnic lunches, or even as a side for your favorite soups and stews. Want to switch things up? Try incorporating a sprinkle of herbs into the dough, or brush the tops with garlic butter before baking for an extra flavor boost. The possibilities are truly endless! We encourage you to give this recipe a try; the satisfaction of pulling these golden, fragrant rolls from your oven is unparalleled. Enjoy every delicious bite!
Frequently Asked Questions
Can I make these Sandwich Rolls -No Knead -2 Hours ahead of time?
Yes, absolutely! Once completely cooled, these rolls can be stored in an airtight container at room temperature for up to 2-3 days. For longer storage, you can freeze them for up to 2-3 months. Simply thaw at room temperature or gently warm them in the oven before serving.
What if my dough is too sticky or too dry?
The beauty of no-knead recipes is their forgiving nature. If the dough feels too sticky, add a tablespoon of flour at a time until it’s manageable. If it seems too dry and crum extractbly, gradually add a tablespoon of water until it comes together. Remember, you’re aiming for a shaggy, slightly sticky dough.
Easy No-Knead Sandwich Rolls – Hour Dough
Simple and delicious no-knead sandwich rolls that rise beautifully in about an hour, perfect for any sandwich filling.
Ingredients
-
4 1/2 cups (600g) bread flour (all-purpose flour or white flour)
-
1 3/4 cups (420-450ml) warm water (35-40 degrees Celsius)
-
2 tablespoons instant or quick yeast
-
1 tablespoon sugar
-
2 teaspoons salt
Instructions
-
Step 1
In a large mixing bowl, whisk together bread flour, instant yeast, sugar, and salt. Pour in the warm water and mix with a spoon or spatula until just combined into a shaggy, wet dough. Scrape down the sides of the bowl. -
Step 2
Cover the bowl tightly with plastic wrap or a damp kitchen towel and let it rise in a warm, draft-free spot for 1 to 1.5 hours, or until doubled in size and bubbly. -
Step 3
Generously flour a work surface and your hands. Gently tip the dough out and handle it minimally. Divide the dough into 8-10 portions for sandwich rolls. Shape each portion by folding into a rough rectangle, then folding in half like a letter, and gently cupping your hands to create a taut surface and round shape. -
Step 4
Place the shaped rolls onto a baking sheet lined with parchment paper, leaving space between them. Cover loosely and let rest for another 30-45 minutes for a second rise. -
Step 5
Preheat your oven to 450 degrees Fahrenheit (230 degrees Celsius). Optionally, place a shallow pan of water on the bottom rack for steam. -
Step 6
Bake for 15-20 minutes, or until deep golden brown and hollow sounding when tapped. Remove the water pan after the first 10 minutes if using the steam method. -
Step 7
Immediately transfer the baked rolls to a wire rack to cool completely before slicing and serving.
Important Information
Nutrition Facts (Per Serving)
It is important to consider this information as approximate and not to use it as definitive health advice.
Allergy Information
Please check ingredients for potential allergens and consult a health professional if in doubt.