Easy No Knead Crusty Rolls Recipe
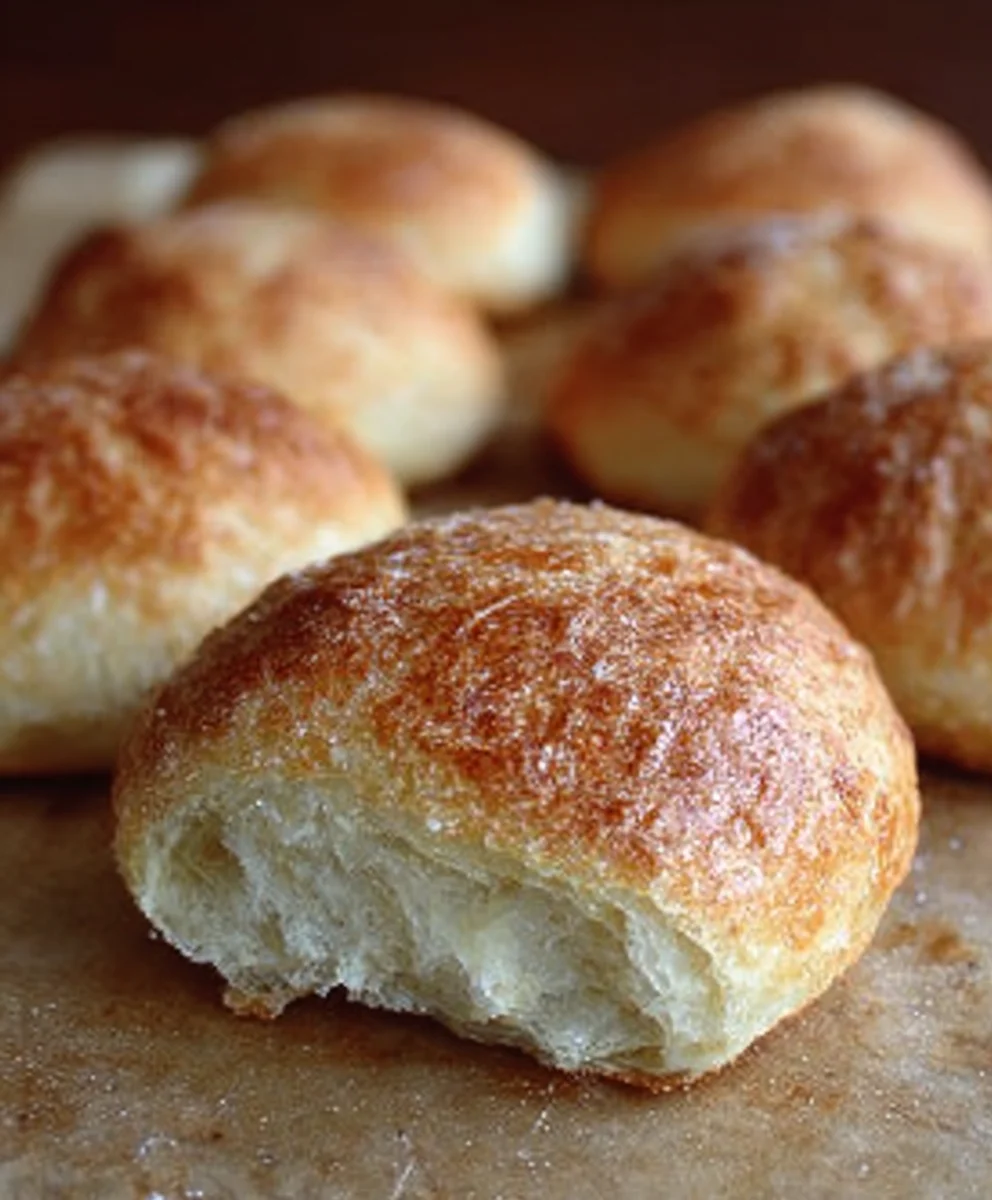
No Knead Crusty Rolls are a gateway to pure baking bliss, transforming humble pantry staples into something truly spectacular. There’s an undeniable magic in pulling these golden, fragrant beauties from your oven, a testament to simple ingredients and a touch of patience. We love them, and you will too, because they deliver that sought-after bakery-quality crunch on the outside with a tender, airy crum extractb within, all without the strenuous effort of traditional kneading. Imagin extracte the satisfaction of slicing into a warm, fresh roll, its crust crackling softly, perfect for slathering with butter or accompanying your favorite soup. What makes these No Knead Crusty Rolls so special is their surprising ease of preparation. They prove that you don’t need to be a seasoned baker or possess superhuman arm strength to achieve impressive results. This recipe is designed for everyone, whether yougin extract a beginner intimidated by yeast or an experienced cook looking for a foolproof, rewarding bake. Get ready to impress yourself and everyone around your table with these delightful rolls!
Ingredients:
- 1 ½ cups warm water (about 105-115°F or 40-46°C)
- 2 ¼ teaspoons active dry yeast
- 1 teaspoon granulated sugar
- 3 ½ cups all-purpose flour, plus more for dusting
- 1 teaspoon salt
- 2 tablespoons olive oil, plus more for greasing
- Optional: Coarse sea salt, for sprinkling
Preparing the Dough
Activating the Yeast
The magic of these no-knead crusty rolls starts with a simple, patient process. First, let’s get our yeast ready. In a large mixing bowl, combine the warm water, granulated sugar, and active dry yeast. Give it a gentle stir to combine. The sugar acts as food for the yeast, helping it to wake up and become active. You want the water to be warm, not hot, as excessive heat can kill the yeast. If you don’t have a thermometer, aim for a temperature that feels comfortably warm to the touch. Let this mixture sit undisturbed for about 5 to 10 minutes. You should see it become foamy and bubbly on the surface. This indicates that your yeast is alive and ready to work its magic, creating the lift and airy texture in our rolls. If you don’t see any foam after 10 minutes, your yeast might be expired, and you’ll need to start with a fresh packet.
Mixing the Dough
Once the yeast is foamy, add the all-purpose flour and salt to the same bowl. Pour in the 2 tablespoons of olive oil. The olive oil will contribute to a tender crum extractb and help prevent the dough from sticking excessively. Now, using a sturdy spoon or a spatula, mix everything together until a shaggy, sticky dough forms. Don’t worry about it being perfectly smooth at this stage; it’s supposed to be quite wet and unmanageable. The beauty of no-knead bread is that it relies on time and hydration rather than vigorous kneading to develop gluten. Resist the urge to add more flour, even if it looks very sticky. We’ll handle that later. Make sure all the dry flour is incorporated into the wet ingredients.
The Overnight Rise
First Rise (Bulk Fermentation)
Lightly grease another clean bowl with a bit of olive oil. Scrape the shaggy dough from the mixing bowl into the prepared greased bowl. Turn the dough a few times to coat it lightly with oil, which helps prevent a dry skin from forming. Cover the bowl tightly with plastic wrap or a damp kitchen towel. Place the bowl in a warm, draft-free place to rise. An oven with just the light on is often an ideal spot. Allow the dough to rise for at least 12 to 18 hours, or even up to 24 hours, in the refrigerator. The longer, slower fermentation develops fantastic flavor and a wonderfully chewy texture. The dough will more than double in size, becoming incredibly bubbly and airy. This extended fermentation is the key to developing the characteristic crust anrum extractpen crumb of these no-knead rolls without any kneading. Don’t rush this step; patience is rewarded here.
Shaping and Baking
Preheating and Preparing for Baking
About 20 minutes before you’re ready to bake, preheat your oven to 450°F (230°C). If you have a baking stone or a heavy-duty baking sheet, place it in the oven as it preheats. If you’re using a Dutch oven, place it in the oven now as well. This ensures a very hot surface for the rolls, which is crucial for achieving that signature crusty exterior. Lightly flour a work surface. Gently scrape the risen dough onto the floured surface. The dough will be very sticky and airy. Try not to deflate it too much. You can use a bench scraper or a lightly oiled spatula to help coax it out of the bowl.
Portioning and Shaping the Rolls
Gently divide the dough into 8 equal portions. You can do this by eye or by weighing the dough and dividing it by 8. For each portion, gently shape it into a rough ball or oval. The key here is to be gentle to preserve the air bubbles created during the long fermentation. You can achieve this by gently tucking the edges underneath to create surface tension, similar to how you’d shape a boule. Avoid aggressively kneading or punching down the dough. Place the shaped rolls onto a piece of parchment paper or a lightly floured baking sheet, ensuring they have some space between them to allow for expansion. If you’re feeling adventurous and want an extra-crispy crust, you can sprinkle the tops of the rolls with a little coarse sea salt at this stage.
Baking the Crusty Rolls
If you’re using a Dutch oven: Carefully remove the hot Dutch oven from the oven. Gently place 4 of the shaped rolls (or however many fit without crowding) into the hot Dutch oven. Cover the Dutch oven with its lid. Place it back into the preheated oven and bake for 20 minutes. After 20 minutes, remove the lid. This allows the steam to escape and the crust to form. Continue baking, uncovered, for another 15-20 minutes, or until the rolls are deeply golden brown and sound hollow when tapped on the bottom. If you’re not using a Dutch oven: Place the parchment paper with the rolls onto the preheated baking stone or baking sheet. You can also create steam in your oven by placing a shallow pan filled with hot water on the bottom rack of your oven while it preheats. This will mimic the effect of a Dutch oven. Bake for 25-30 minutes, or until the rolls are golden brown and sound hollow when tapped. You may need to bake them in batches depending on the size of your baking sheet. Always check for doneness by tapping the bottom of the rolls; a hollow sound indicates they are cooked through.
Conclusion:
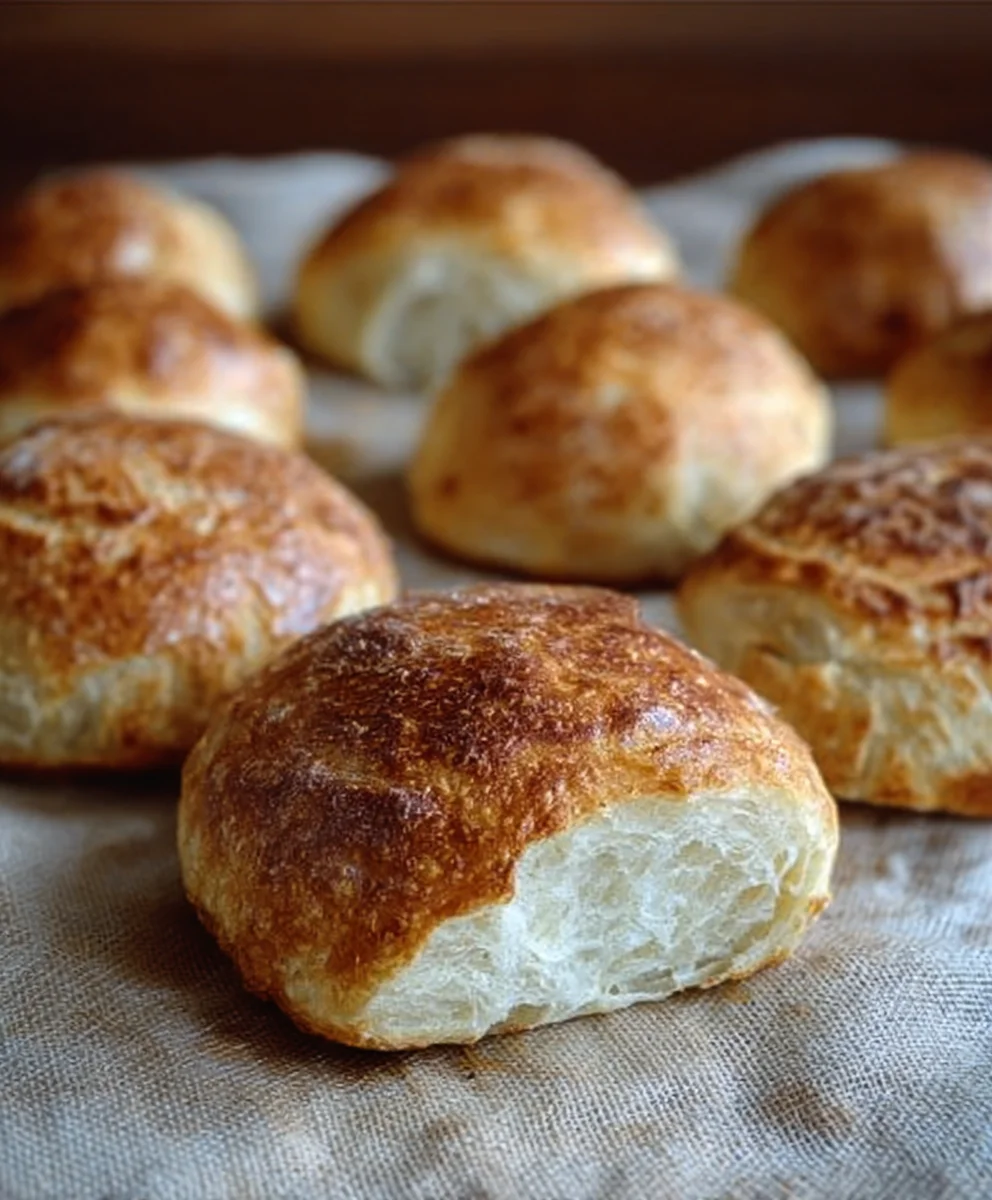
You’ve successfully learned how to create wonderfully delicious and incredibly easy No Knead Crusty Rolls! The beauty of this recipe lies in its simplicity – minimal effort yields maximum flavor and that irresistible, artisan-style crust. These rolls are a testament to the fact that you don’t need to be a master baker to achieve fantastic results in your own kitchen. The slow fermentation process develops a deep, complex flavor that store-bought bread often lacks.
To truly enjoy your No Knead Crusty Rolls, I recommend serving them warm, straight from the oven. They are perfect alongside a hearty soup, a fresh salad, or simply slathered with good quality butter and your favorite jam. For a more substantial meal, consider them as the base for mini sandwiches or garlic bread.
Don’t be afraid to experiment with variations! You can add herbs like rosemary or thyme to the dough for an aromatic twist, or incorporate a handful of seeds like poppy or sesame for added texture and flavor. A sprinkle of sea salt on top before baking also elevates the taste. I encourage you to make these No Knead Crusty Rolls again and again, perhaps trying different flours or adjusting the baking time to achieve your perfect crust. Happy baking!
Frequently Asked Questions:
Can I make these No Knead Crusty Rolls ahead of time?
Yes, you can. Once completely cooled, store them in an airtight container or bread bag at room temperature for up to 2-3 days. For longer storage, they freeze beautifully. Thaw at room temperature and refresh them in a warm oven for a few minutes to regain their crustiness.
What if my No Knead Crusty Rolls aren’t as crusty as I’d hoped?
The crustiness is heavily influenced by the oven temperature and steam. Ensure your oven is fully preheated. A common trick for extra crust is to place a heatproof dish filled with water on the bottom rack of your oven during the initial baking phase to create steam. This helps the crust develop properly.
Easy No Knead Crusty Rolls Recipe
Delicious and easy to make crusty rolls that require no kneading, perfect for any meal.
Ingredients
-
1 ½ cups warm water (about 105-115°F or 40-46°C)
-
2 ¼ teaspoons active dry yeast
-
1 teaspoon granulated sugar
-
3 ½ cups all-purpose flour, plus more for dusting
-
1 teaspoon salt
-
2 tablespoons olive oil, plus more for greasing
-
Coarse sea salt, for sprinkling (optional)
Instructions
-
Step 1
In a large mixing bowl, combine warm water, granulated sugar, and active dry yeast. Let sit for 5-10 minutes until foamy. -
Step 2
Add all-purpose flour and salt to the yeast mixture. Pour in olive oil. Mix with a spoon or spatula until a shaggy, sticky dough forms. Do not add more flour. -
Step 3
Lightly grease another bowl with olive oil. Scrape the dough into the greased bowl, turning to coat. Cover tightly and let rise in a warm place for 12-18 hours (or up to 24 hours in the refrigerator). -
Step 4
Preheat oven to 450°F (230°C) with a baking stone or Dutch oven inside. Lightly flour a surface and gently scrape the risen dough onto it. Divide into 8 equal portions and gently shape into balls or ovals, preserving air bubbles. -
Step 5
If using a Dutch oven, place rolls inside, cover, and bake for 20 minutes. Remove lid and bake for another 15-20 minutes until golden brown and hollow-sounding. If not using a Dutch oven, place rolls on parchment paper and bake for 25-30 minutes, creating steam in the oven with a pan of hot water if desired.
Important Information
Nutrition Facts (Per Serving)
It is important to consider this information as approximate and not to use it as definitive health advice.
Allergy Information
Please check ingredients for potential allergens and consult a health professional if in doubt.