Easy Homemade Strawberry Ice Cream Recipe
Homemade Strawberry Ice Cream is more than just a dessert; it’s a vibrant burst of pure summer joy captured in a creamy, dreamy swirl. There’s something undeniably magical about the first bite of perfectly chilled, sweet strawberry ice cream, isn’t there? It transports us back to sun-drenched days, picnics in the park, and the simple pleasure of indulgin extractg in nature’s most delightful fruit. While store-bought versions are convenient, they often lack the intense, authentic flavor that only fresh, ripe strawberries can provide. What truly makes this homemade strawberry ice cream special is the ability to control the sweetness and the pure, unadulterated taste of those ruby-red gems. We’re talking about a rich, luscious texture that melts on your tongue, leaving behind a lingering, delightful strawberry essence. Forget those artificial pink hues and synthetic flavors; this is the real deal, and it’s surprisingly easy to achieve in your own kitchen.
Get Ready to Scoop Up Some Sunshine!
Discover the secret to the best Homemade Strawberry Ice Cream.
Homemade Strawberry Ice Cream
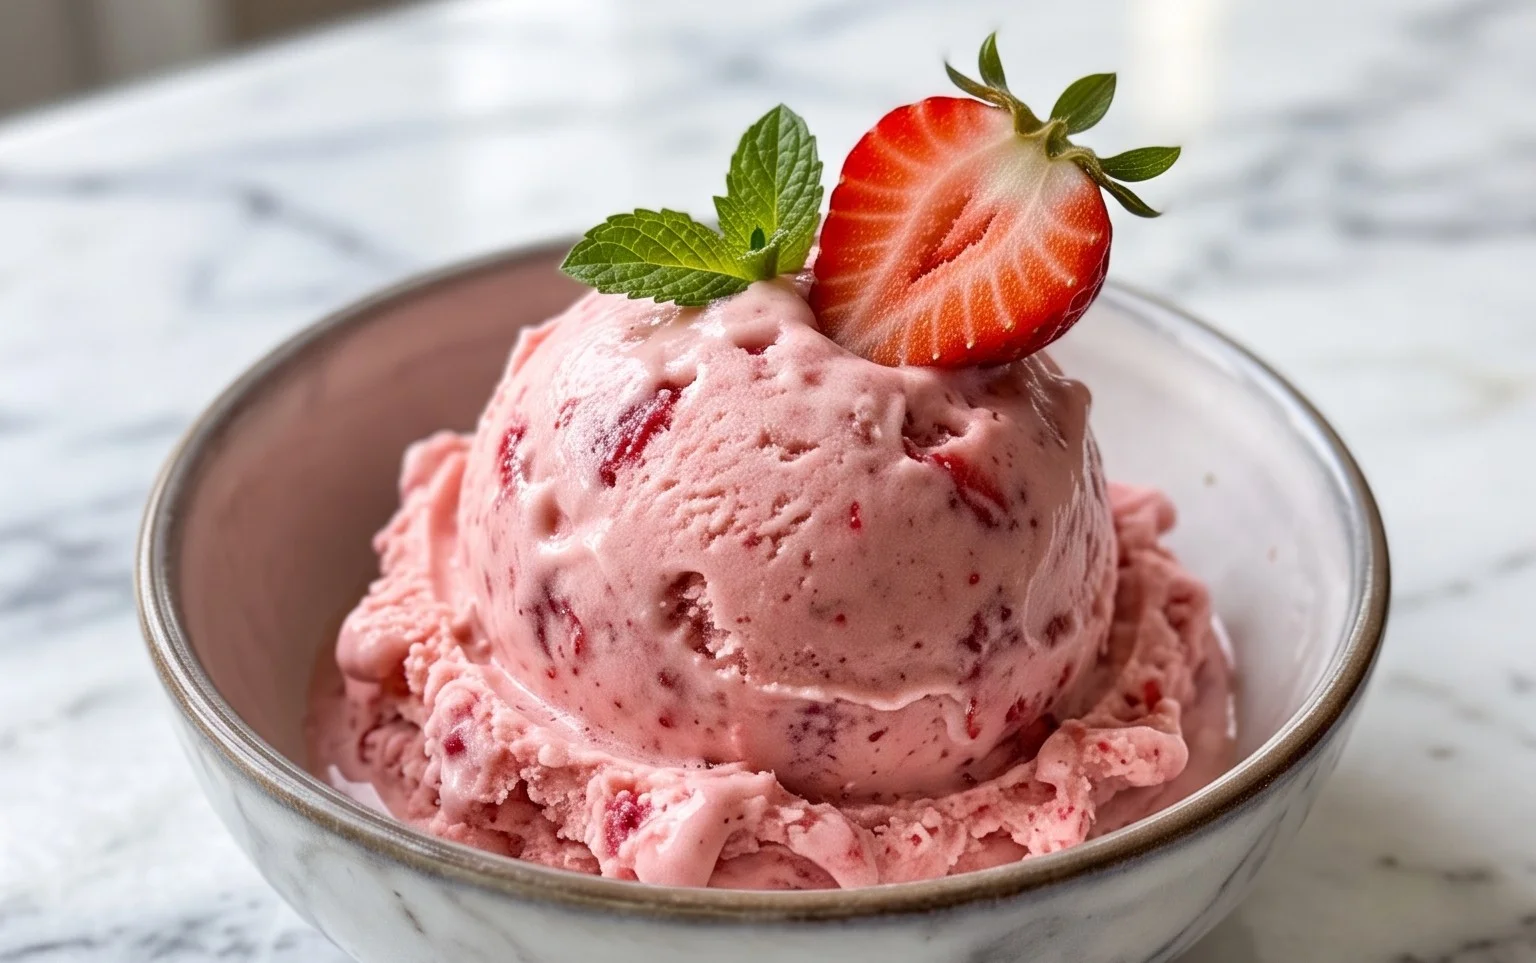
There’s something truly magical about homemade ice cream. The rich, creamy texture, the vibrant, fresh flavor – it’s a world away from anything you’ll find in the freezer aisle. And when it comes to classic flavors, you can’t beat strawberry. My homemade strawberry ice cream recipe is surprisingly simple to make, requiring no fancy equipment beyond a blender or food processor and, of course, an ice cream maker. The key is using ripe, flavorful strawberries, which are readily available during their peak season. This recipe balances the natural sweetness of the berries with just enough sugar to create a perfectly delightful frozen treat. Get ready to impress yourself and your loved ones with this easy, delightful homemade ice cream.
This recipe is designed for those who appreciate the pure, unadulterated taste of fresh fruit. We’re not relying on artificial flavors or colorings here; the brilliant pink hue and intense strawberry flavor come entirely from the star ingredient itself. Don’t be intimidated by making ice cream from scratch; it’s a rewarding process that yields incredibly satisfying results.
Ingredients:
Cooking Instructions:
Prepare the Strawberry Base: Begin extract by preparing your fresh strawberries. Ensure they are washed thoroughly and then hulled. Hulling simply means removing the green leafy tops. Once hulled, dice the strawberries into smaller pieces. This will make it easier to process them into a smooth puree. Place the diced strawberries into a blender or food processor. Add the 2 tablespoons of honey, 1/2 cup of granulated sugar, and 1 teaspoon of lemon juice. The honey adds a subtle floral sweetness that complements the strawberries beautifully, and the lemon juice is crucial for brightening the berry flavor and preventing the ice cream from tasting flat. Process these ingredients until you have a smooth and vibrant strawberry puree. Scrape down the sides of the blender or food processor as needed to ensure all the strawberries are incorporated. You should aim for a consistency that is thick but pourable.
Infuse and Strain (Optional but Recommended): For an even smoother and more refined strawberry flavor, I highly recommend straining the puree. This step removes any tiny seeds or fibrous bits that might remain, resulting in an exceptionally silky ice cream. Pour the strawberry puree through a fine-mesh sieve set over a bowl. Use a spoon or a spatula to gently press the puree through the sieve, extracting as much liquid as possible. Discard any solids left in the sieve. This step is optional, but it truly elevates the texture and overall quality of your homemade ice cream. If you prefer a more rustic texture with small berry bits, you can skip this step entirely. The flavor will still be fantastic.
Combine the Creamy Elements: In a separate medium bowl, whisk together the 1 cup of heavy whipping cream, 1/2 cup of half and half, and 1 teaspoon of vanilla extract. The heavy whipping cream will provide that essential richness and creaminess, while the half and half adds a touch more fluidity without diluting the richness too much. The vanilla extract is a classic pairing with strawberries, enhancing their natural sweetness and adding another layer of depth to the ice cream. Whisk these ingredients together until they are well combined and slightly aerated. Don’t over-whisk at this stage; you’re not aiming for whipped cream, just a good blend of the dairy components.
Marry the Flavors and Chill: Now it’s time to bring our strawberry puree and creamy mixture together. Pour the strained strawberry puree (or the unstrained puree if you skipped that step) into the bowl with the cream mixture. Gently stir or whisk until the two are thoroughly combined. You want to achieve a uniform pnon-alcoholic ale pink color throughout. Once everything is well incorporated, cover the bowl tightly with plastic wrap, ensuring the wrap touches the surface of the ice cream base. This helps prevent a skin from forming. Place the covered bowl in the refrigerator to chill for at least 4 hours, or preferably overnight. This chilling period is absolutely critical. It allows the flavors to meld beautifully and, more importantly, ensures the base is thoroughly cold before churning. A cold base churns more efficiently and results in a smoother, creamier ice cream with smaller ice crystals.
Churn and Freeze: Once your ice cream base is thoroughly chilled, it’s time for the magic to happen – churning! Follow the manufacturer’s instructions for your specific ice cream maker. Typically, you’ll pour the cold base into the pre-frozen bowl of your ice cream maker and let it churn for about 20-30 minutes, or until it reaches the consistency of soft-serve ice cream. The churning process incorporates air into the mixture and breaks down ice crystals, which is essential for achieving that signature ice cream texture. The time will vary depending on your machine. Once churned, the ice cream will still be relatively soft. Transfer the churned ice cream to an airtight freezer-safe container. Press a piece of parchment paper or plastic wrap directly onto the surface of the ice cream to prevent ice crystals from forming. Cover the container tightly and freeze for at least another 2-4 hours, or until it has firmed up to your desired consistency. For the best results, allow it to freeze completely before scooping. Enjoy your delicious homemade strawberry ice cream!
Conclusion:
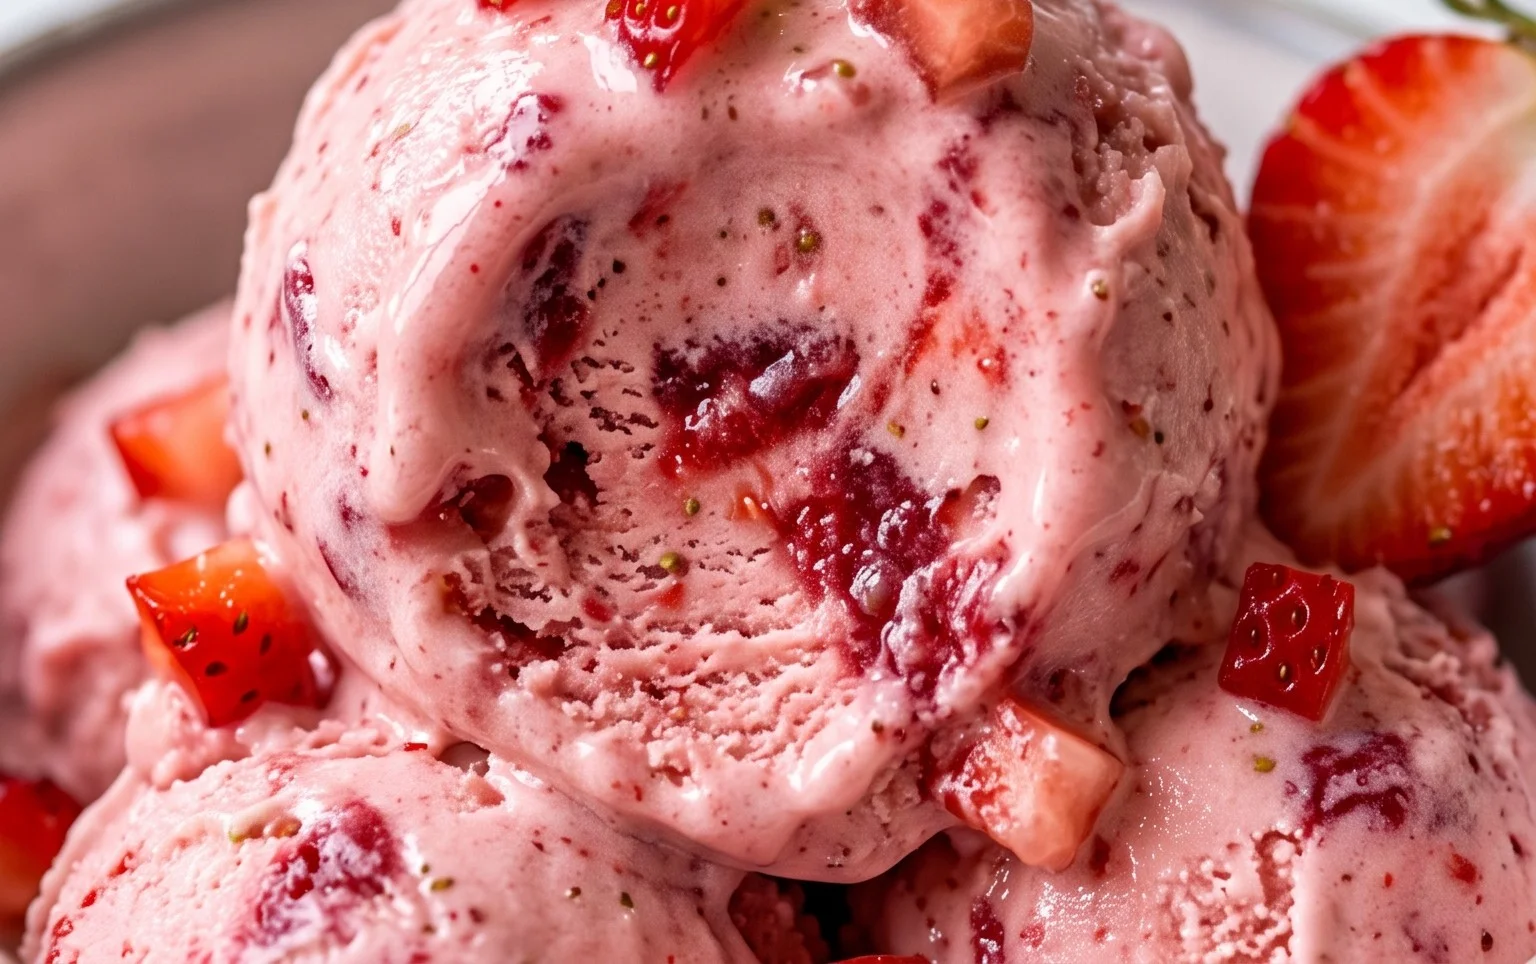
I hope you’ve enjoyed diving into the delightful world of making your own homemade strawberry ice cream! This recipe truly shines because it lets you control the quality of your ingredients, resulting in a vibrant, fresh flavor that store-bought versions simply can’t match. The simplicity of the process, especially if you have an ice cream maker, makes it an incredibly rewarding kitchen project. Imagin extracte serving up scoops of this beautiful pink delight at your next gathering or simply enjoying a quiet moment of pure bliss. The possibilities for enjoying this delicious treat are endless!
For serving suggestions, a drizzle of fresh strawberry sauce or a sprinkle of toasted almonds makes it extra special. You can also pair it with a warm brownie or a slice of pound cake for a classic dessert combination. Feeling adventurous? Try adding a splash of balsamic vinegar to the strawberries before churning for a surprisingly sophisticated sweet and tangy twist, or mix in some fresh basil for an unexpected herby note. I wholeheartedly encourage you to give this recipe a try – it’s a game-changer for any strawberry lover!
Frequently Asked Questions:
What if I don’t have an ice cream maker?
Don’t worry! You can still make delicious homemade strawberry ice cream using the no-churn method. This usually involves whipping heavy cream and condensed milk together, then folding in your pureed strawberries and freezing. It might have a slightly different texture, but it’s still incredibly tasty.
Can I use frozen strawberries instead of fresh?
Absolutely! Frozen strawberries work wonderfully and can even make the process quicker as they’re already prepped. Thaw them slightly and then puree as directed. You might find you need a touch less sugar if your frozen strawberries were already sweetened.
How long will my homemade strawberry ice cream last?
For the best flavor and texture, homemade ice cream is best enjoyed within 1-2 weeks. Make sure to store it in an airtight container in the freezer to prevent ice crystals from forming.
Homemade Strawberry Ice Cream
A simple and delicious homemade strawberry ice cream recipe using fresh ingredients.
Ingredients
-
1 1/2 cups strawberries, hulled and diced
-
2 Tbsp honey
-
1/2 cup granulated sugar
-
1 tsp lemon juice
-
1 cup heavy whipping cream
-
1/2 cup half and half
-
1 tsp vanilla extract
Instructions
-
Step 1
Combine hulled and diced strawberries with honey and granulated sugar in a bowl. Let sit for about 15 minutes to macerate. -
Step 2
Puree the macerated strawberries with lemon juice using an immersion blender or food processor until smooth. -
Step 3
In a separate bowl, whisk together the heavy whipping cream, half and half, and vanilla extract until well combined. -
Step 4
Gently fold the strawberry puree into the cream mixture. -
Step 5
Pour the mixture into an ice cream maker and churn according to the manufacturer’s instructions until it reaches a soft-serve consistency. -
Step 6
Transfer the ice cream to an airtight container and freeze for at least 2-4 hours to harden.
Important Information
Nutrition Facts (Per Serving)
It is important to consider this information as approximate and not to use it as definitive health advice.
Allergy Information
Please check ingredients for potential allergens and consult a health professional if in doubt.