Easy Garlic Flatbreads – Quick & Delicious Side
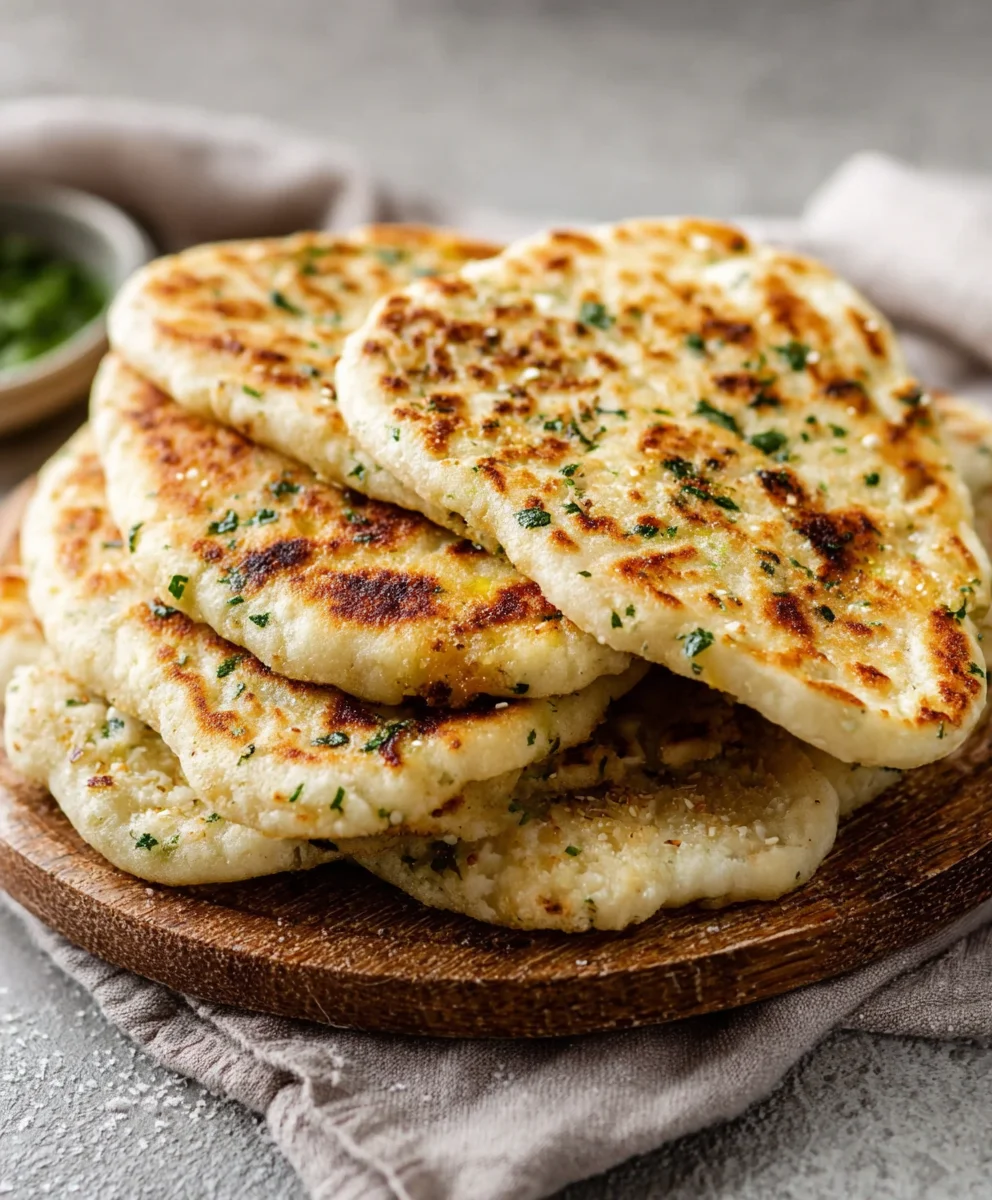
Garlic Flatbreads are more than just a side dish; they’re a declaration of comfort, a whisper of indulgence, and a universally adored appetizer that transforms any meal into a feast. Have you ever experienced that moment when a warm, pillowy flatbread, infused with the non-intoxicating aroma of garlic and herbs, arrives at your table? It’s pure magic, isn’t it? That’s the power of a perfectly crafted Garlic Flatbread. People rave about them because they offer that irresistible combination of crispy edges, a soft, chewy interior, and a burst of savory flavor that’s both simple and deeply satisfying. What truly sets these Garlic Flatbreads apart is the delightful dance between the pungent, roasted garlic and the subtle freshness of herbs, all baked to golden perfection. It’s the kind of food that makes you close your eyes in bliss with every bite, the ideal companion to a hearty soup, a vibrant salad, or simply enjoyed on its own as a delightful snack.
Ingredients:
- 2 cups all-purpose flour, plus more for dusting
- 1 teaspoon instant yeast
- 1 teaspoon granulated sugar
- 3/4 teaspoon salt
- 3/4 cup warm water (105-115°F)
- 2 tablespoons olive oil, plus more for greasing
- 4 cloves garlic, minced
- 2 tablespoons fresh parsley, chopped
- 1/4 teaspoon black pepper
- 1/4 cup grated Parmesan cheese (optional)
Preparing the Dough
Mixing the Dry Ingredients
First, let’s get our dough started. In a large mixing bowl, combine the 2 cups of all-purpose flour, 1 teaspoon of instant yeast, 1 teaspoon of granulated sugar, and 3/4 teaspoon of salt. Whisk these dry ingredients together thoroughly. This ensures that the yeast, sugar, and salt are evenly distributed throughout the flour, which is crucial for a consistent rise and flavor. The sugar acts as food for the yeast, helping it to activate and create that lovely airy texture in our flatbreads.
Adding Wet Ingredients and Kneading
Next, create a well in the center of your dry ingredients. Pour in the 3/4 cup of warm water. The water should be warm to the touch, not hot, as too hot water can kill the yeast, and too cold won’t activate it properly. Add 2 tablespoons of olive oil to the well. Now, begin extract to mix everything together with a spoon or your hands until a shaggy dough forms. Turn the dough out onto a lightly floured surface. Knead the dough for about 8-10 minutes. You’ll know it’s ready when it becomes smooth, elastic, and springs back slightly when gently poked. This kneading process develops the gluten in the flour, which gives the flatbreads their structure. If the dough feels too sticky, add a little more flour, a tablespoon at a time, until it’s manageable.
First Rise
Lightly grease a clean bowl with a little extra olive oil. Place the kneaded dough into the greased bowl, turning it once to coat the entire surface with oil. Cover the bowl tightly with plastic wrap or a clean kitchen towel. Let the dough rise in a warm place for about 1 to 1.5 hours, or until it has doubled in size. A warm place could be a slightly warmed oven (turned off!) or a sunny spot in your kitchen. This first rise allows the yeast to work its magic, creating air pockets and developing the flavor of the dough.
Shaping and Topping the Flatbreads
Punching Down and Dividing
Once the dough has doubled in size, gently punch it down to release the air. Turn the dough out onto a lightly floured surface again. Divide the dough into two equal portions. You can do this by eye or by weighing them to ensure they are the same size for even cooking. Gently shape each portion into a ball.
Shaping the Flatbreads and Adding Toppings
Now, we’ll get our delicious garlic topping ready. In a small bowl, combine the 4 cloves of minced garlic, 2 tablespoons of chopped fresh parsley, 1/4 teaspoon of black pepper, and if you’re using it, the 1/4 cup of grated Parmesan cheese. Drizzle in about 1 tablespoon of olive oil and stir everything together to form a paste. Take one of the dough balls and gently flatten it with your hands or a rolling pin into a rough circle or oval shape, about 8-10 inches in diameter and about 1/4 inch thick. Don’t worry about making it perfectly round; rustic is charming!
Baking the Garlic Flatbreads
Preheating the Oven and Preparing for Baking
While you’re shaping the flatbreads, preheat your oven to 425°F (220°C). If you have a pizza stone or baking steel, place it in the oven while it preheats. This will help create a wonderfully crisp crust. Lightly grease a baking sheet with olive oil if you don’t have a pizza stone.
Applying Toppings and Baking
Carefully transfer the shaped flatbread dough onto the preheated pizza stone, baking steel, or prepared baking sheet. Now, spread half of the garlic and herb mixture evenly over the surface of each flatbread, leaving a small border around the edges. Don’t overload it, but ensure you get good coverage. Gently press the topping into the dough. Place the flatbreads in the preheated oven and bake for 10-15 minutes, or until the crust is golden brown and the topping is fragrant and slightly bubbly. Keep an eye on them, as oven temperatures can vary. You want them nicely browned but not burnt.
Finishing Touches and Serving
Once they’re out of the oven, you can add a little extra drizzle of olive oil over the hot flatbreads if you like, or sprinkle with a few more flakes of fresh parsley. Let them cool for just a minute or two before slicing and serving. These Garlic Flatbreads are fantastic served warm as a side dish with soup or salad, or even as a light appetizer on their own. Enjoy the irresistible aroma and flavor!
Conclusion:
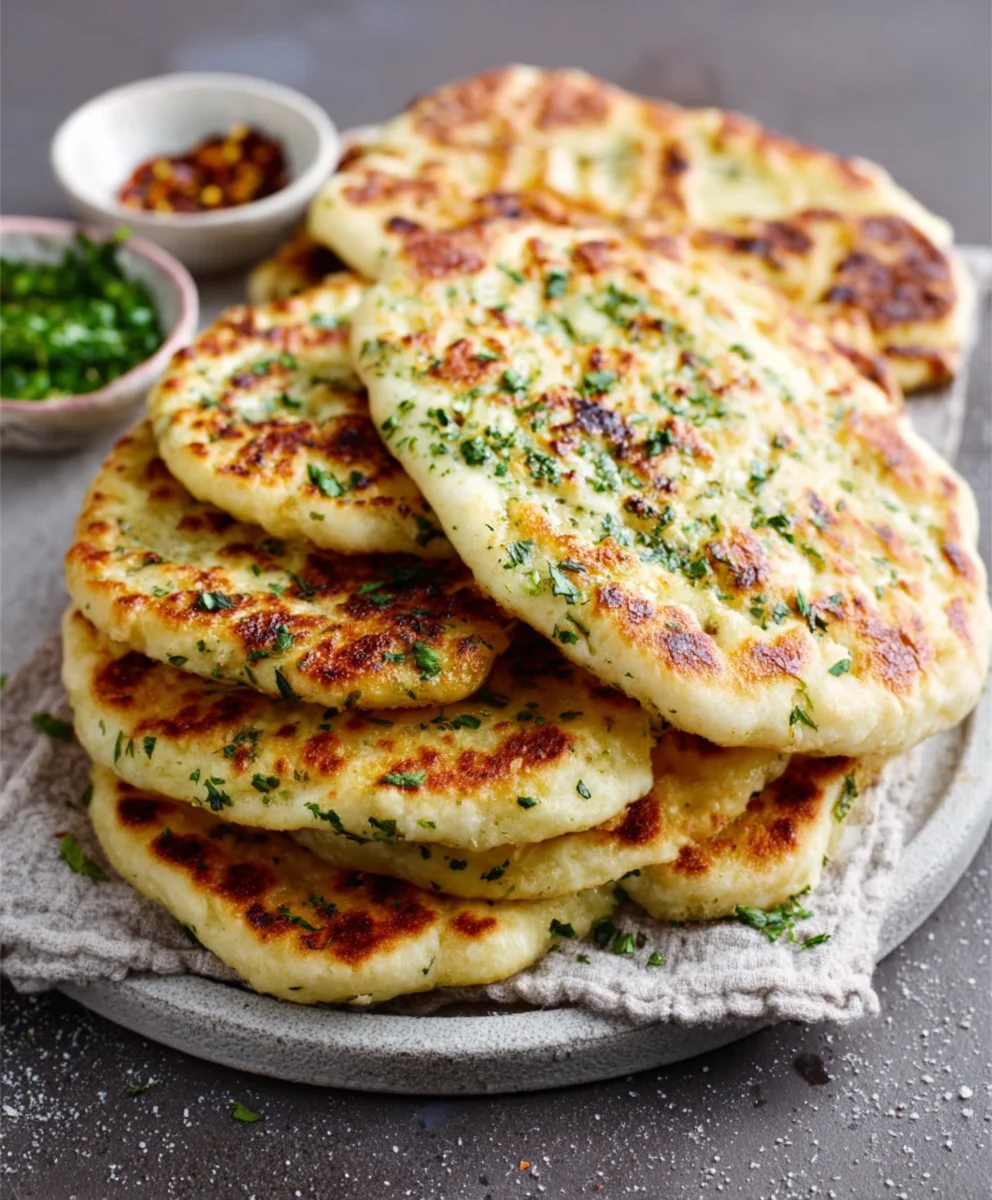
You’ve now mastered the art of creating incredibly delicious Garlic Flatbreads! This simple yet satisfying recipe is perfect for any occasion, whether you’re looking for a quick appetizer, a side dish to accompany your favorite Italian meal, or even a base for your own custom flatbread creations. The combination of warm, toasted bread, fragrant garlic, and melted cheese is truly irresistible. Don’t be afraid to experiment with different herbs or a sprinkle of red pepper flakes for a touch of heat! We hope you enjoy sharing these delightful Garlic Flatbreads with friends and family. They are best served warm straight from the oven, allowing the flavors to truly shine.
Frequently Asked Questions:
Can I make Garlic Flatbreads ahead of time?
While Garlic Flatbreads are best enjoyed fresh, you can prepare the garlic butter mixture a day in advance and store it in the refrigerator. You can also assemble the flatbreads (without baking) and cover them tightly with plastic wrap. Bake them just before serving for the freshest taste and texture.
What are some other topping ideas for Garlic Flatbreads?
The possibilities are endless! Try adding finely chopped fresh herbs like rosemary or thyme, a sprinkle of Parmesan cheese for extra cheesiness, or even a drizzle of balsamic glaze after baking. For a more substantial meal, consider topping them with cooked vegetables, pesto, or even sliced mozzarella.
How do I store leftover Garlic Flatbreads?
Leftover Garlic Flatbreads can be stored in an airtight container at room temperature for a day or two. To reheat, place them in a moderate oven (around 350°F or 175°C) for a few minutes until warmed through and slightly crispy again.
Easy Garlic Flatbreads
Quick and delicious garlic flatbreads, perfect as a side dish with soup or salad, or as a light appetizer.
Ingredients
-
2 cups all-purpose flour, plus more for dusting
-
1 teaspoon instant yeast
-
1 teaspoon granulated sugar
-
3/4 teaspoon salt
-
3/4 cup warm water (105-115°F)
-
2 tablespoons olive oil, plus more for greasing
-
4 cloves garlic, minced
-
2 tablespoons fresh parsley, chopped
-
1/4 teaspoon black pepper
-
1/4 cup grated Parmesan cheese (optional)
Instructions
-
Step 1
In a large mixing bowl, combine the flour, instant yeast, granulated sugar, and salt. Whisk these dry ingredients together thoroughly. -
Step 2
Create a well in the center of the dry ingredients. Pour in the warm water and 2 tablespoons of olive oil. Mix until a shaggy dough forms. Turn out onto a lightly floured surface and knead for 8-10 minutes until smooth and elastic. -
Step 3
Lightly grease a clean bowl with olive oil. Place the dough in the bowl, turning to coat. Cover and let rise in a warm place for 1 to 1.5 hours, or until doubled in size. -
Step 4
Gently punch down the dough and divide into two equal portions. Shape each portion into a ball. In a small bowl, combine minced garlic, chopped parsley, black pepper, and Parmesan cheese (if using). Drizzle with 1 tablespoon of olive oil and stir to form a paste. -
Step 5
Preheat oven to 425°F (220°C). If using a pizza stone or baking steel, place it in the oven. If not, lightly grease a baking sheet. Flatten each dough ball into an 8-10 inch circle or oval, about 1/4 inch thick. -
Step 6
Transfer the dough to the preheated pizza stone, steel, or baking sheet. Spread half of the garlic mixture evenly over each flatbread, leaving a small border. Press the topping gently into the dough. -
Step 7
Bake for 10-15 minutes, or until the crust is golden brown and the topping is fragrant and bubbly. Let cool for a few minutes before slicing and serving.
Important Information
Nutrition Facts (Per Serving)
It is important to consider this information as approximate and not to use it as definitive health advice.
Allergy Information
Please check ingredients for potential allergens and consult a health professional if in doubt.