Bubblegum Ice Cream Recipe-Homemade Sweet Treat
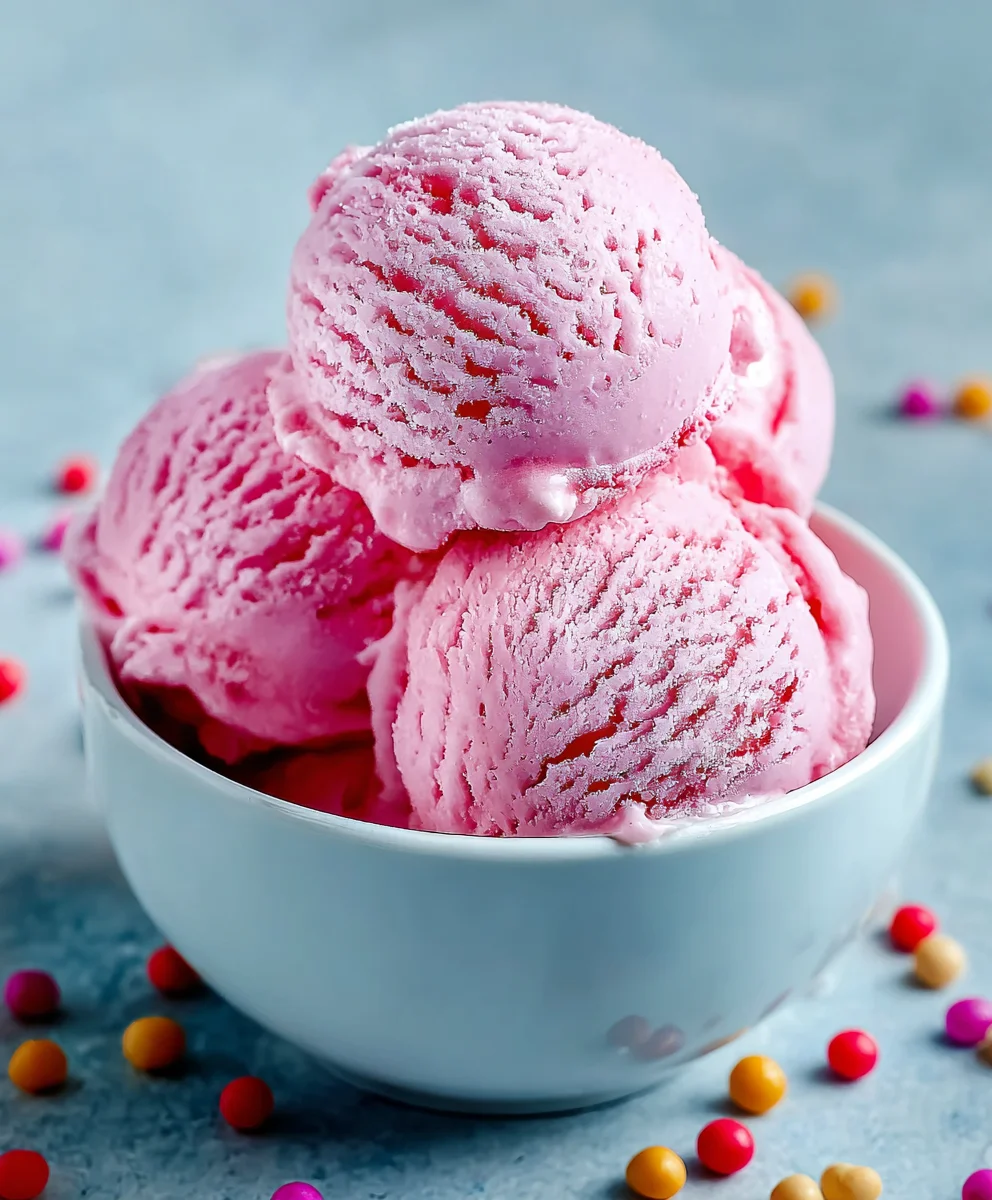
Bubblegum ice cream is more than just a sweet treat; it’s a nostalgic trip back to childhood summers, birthday parties, and the sheer joy of vibrant, playful flavors. What is it about this distinctively pink confection that captures our hearts and taste buds? For many, it’s the unmistakable, slightly artificial yet utterly delightful taste that transports us to simpler times. It’s the creamy texture, the burst of sweet, fruity essence, and the sheer fun associated with the color alone that makes bubblegum ice cream a universally loved classic. This recipe elevates that familiar flavor into something truly special. We’re talking about a homemade version that captures the essence of your favorite childhood scoop while offering a richer, more satisfying creamy experience. Forget the freezer aisle blues; this is the ultimate guide to creating your very own perfect batch of bubblegum ice cream, guaranteed to bring smiles to faces of all ages.
Ingredients:
- 2 cups heavy cream
- 1 cup whole milk
- ¾ cup granulated sugar
- 2 teaspoons bubblegum flavoring
- 1 teaspoon vanilla extract
- ¼ teaspoon kosher salt
- Pink or red food coloring (to taste)
- ½ cup confetti sprinkles, divided
- 1 cup gumballs (for decoration)
Preparing the Base for Your Bubblegum Ice Cream
The foundation of any great ice cream lies in a well-balanced custard base. For our delightful Bubblegum Ice Cream, we’re going to start by creating this smooth and creamy foundation. This initial step is crucial for achieving that signature rich texture that melts beautifully in your mouth.
Mixing the Dairy and Sweetener
In a medium saucepan, we’ll combine the heavy cream and whole milk. This duo provides the luxurious fattiness and smooth consistency that defines homemade ice cream. Next, we’ll whisk in the granulated sugar. Make sure to whisk thoroughly until the sugar is mostly dissolved. This helps prevent any grittiness in the final product. Don’t worry if a few tiny sugar crystals remain; they will fully dissolve as we heat the mixture. Add the kosher salt at this stage as well. Salt may seem counterintuitive in a sweet treat, but it actually acts as a flavor enhancer, balancing the sweetness and making the bubblegum and vanilla notes really pop.
Warming the Base
Now, place the saucepan over medium heat. We want to gently warm the mixture, not boil it. Stir occasionally to ensure even heating and to help that sugar fully incorporate. You’ll notice small bubbles starting to form around the edges of the pan, and the liquid will become steaming hot. The goal is to reach a temperature of about 170-175 degrees Fahrenheit (77-79 degrees Celsius). This gentle heating process serves two important purposes: it fully dissolves the sugar and salt, and it begin extracts to temper the dairy, which is essential for the next steps. Once it reaches this temperature, carefully remove the saucepan from the heat.
Infusing the Flavors and Color
With our warm dairy base ready, it’s time to infuse it with the fun and whimsical flavors that make Bubblegum Ice Cream so special. This is where the magic gin extractly begins to happen, transforming a simple cream mixture into a treat reminiscent of childhood delights.
Adding the Signature Flavors
Allow the warm dairy mixture to cool slightly for about 5-10 minutes. This prevents the flavors from being compromised by excessive heat. Now, it’s time to add our star ingredients: the bubblegum flavoring and vanilla extract. Pour in the 2 teaspoons of bubblegum flavoring. Be sure to use a good quality bubblegum extract for the most authentic taste. Follow this with the 1 teaspoon of vanilla extract. Vanilla is a classic ice cream flavor that beautifully complements and rounds out the bubblegum notes, adding depth and warmth. Stir these flavorings in gently until they are fully incorporated into the base.
Achieving the Perfect Pink Hue
No Bubblegum Ice Cream is complete without its signature vibrant color. Add a few drops of pink or red food coloring to the mixture. Start with just a drop or two and stir thoroughly to see how the color develops. You can always add more to achieve your desired shade of pink. We’re aiming for a fun, cheerful hue that instantly brings to mind bubblegum. Continue adding food coloring, one drop at a time, stirring and observing the color until you are happy with the result. Remember, the color will lighten slightly once the ice cream is frozen.
Chilling and Freezing Your Bubblegum Ice Cream
The process of making ice cream involves patience, and this chilling phase is no exception. Properly chilling the base is absolutely critical for achieving the best texture and allowing the flavors to meld beautifully.
Thoroughly Chilling the Base
Once the base is flavored and colored to your liking, it needs to be thoroughly chilled. The colder the base is before churning, the faster it will freeze, resulting in smaller ice crystals and a smoother ice cream. You can achieve this by covering the saucepan or transferring the mixture to an airtight container and refrigerating it for at least 4 hours, or preferably overnight. The longer it chills, the more the flavors will deepen and meld together. This step is non-negotiable for achieving that perfect creamy texture. Don’t rush this part!
Churning the Ice Cream
When your ice cream base is thoroughly chilled, it’s time to churn it. Follow the manufacturer’s instructions for your ice cream maker. Typically, this involves pouring the chilled base into the frozen bowl of your ice cream maker and letting it churn until it reaches a soft-serve consistency. This process usually takes about 20-30 minutes, depending on your machine. During the last few minutes of churning, it’s time to add the fun! Add the ½ cup of confetti sprinkles. These little bursts of color and texture will be evenly distributed throughout your ice cream, adding a delightful visual and textural element.
Adding the Final Touches and Freezing
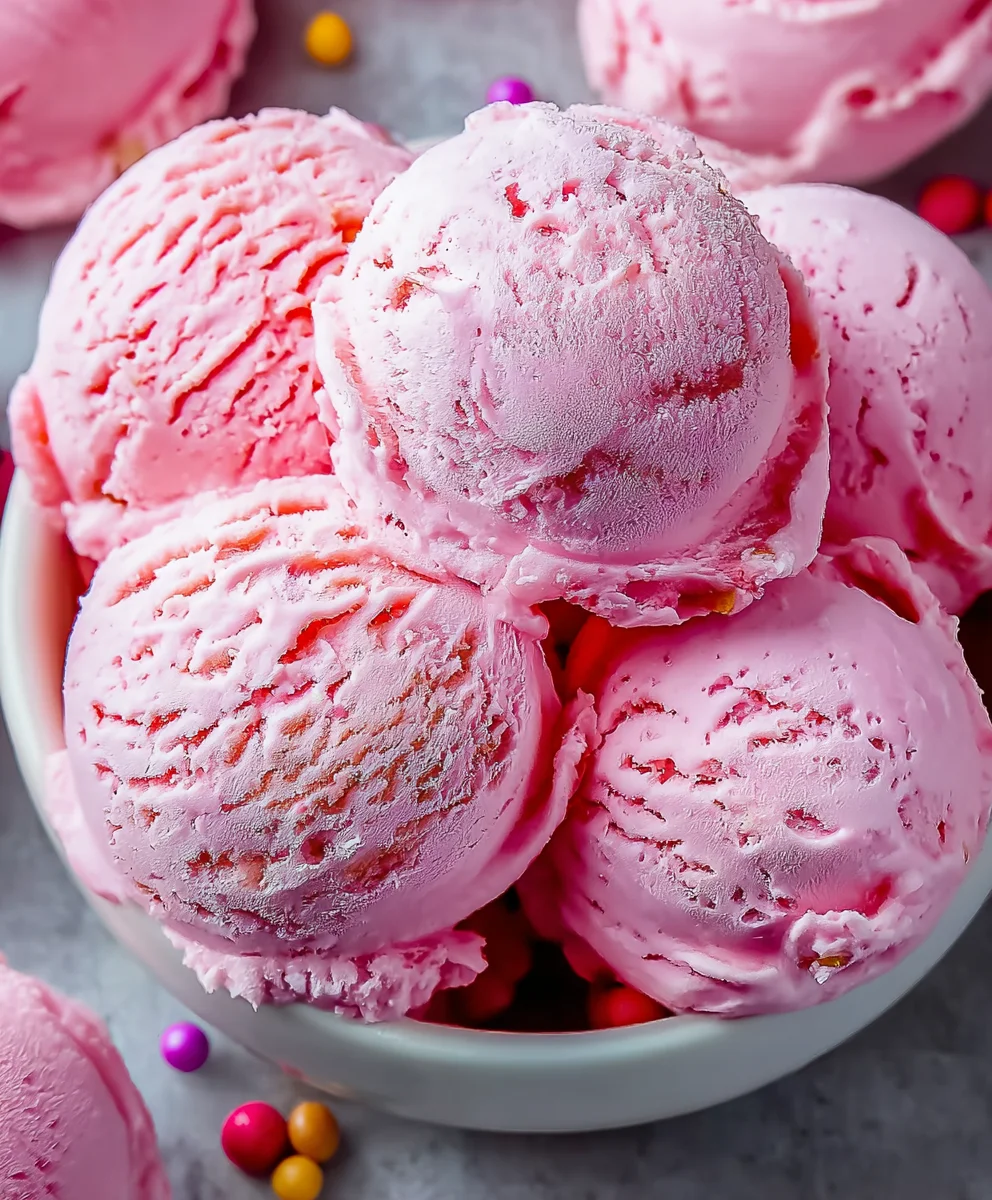
Once the churning is complete and the sprinkles are incorporated, you’ll have a soft, delicious Bubblegum Ice Cream. You can enjoy it immediately as a soft-serve treat, or you can freeze it further for a firmer consistency. Transfer the churned ice cream to a freezer-safe container. For an extra special touch, you can gently swirl in some of the reserved confetti sprinkles, or even chop up a few of the gumballs (removing the outer coating if they are very hard) and fold them in. Cover the container tightly. You can even press a piece of parchment paper directly onto the surface of the ice cream to help prevent ice crystals from forming. Place the container in the freezer for at least 2-4 hours, or until it reaches your desired firmness. For decoration, you can top your scoops with whole gumballs or more sprinkles just before serving. Enjoy your homemade Bubblegum Ice Cream!
Conclusion:
And there you have it – the ultimate guide to creating your very own delicious and vibrant Bubblegum Ice Cream! We’ve walked through each step, from selecting the perfect pink hue to achieving that wonderfully creamy texture. This homemade treat is guaranteed to bring a smile to everyone’s face, especially the little ones. Imagin extracte serving a scoop of this delightful Bubblegum Ice Cream alongside a slice of homemade cake or a warm brownie. For an extra touch of fun, consider adding rainbow sprinkles or chewy candy bits directly into the ice cream base during the final churning stage. Don’t be afraid to experiment with the sweetness level to suit your preference. The joy of homemade ice cream is its customizability! So go ahead, gather your ingredients, and dive into the delightful world of making Bubblegum Ice Cream at home. I encourage you to share your creations and enjoy every sweet, nostalgic bite!
Frequently Asked Questions about Bubblegum Ice Cream:
Q1: Can I make Bubblegum Ice Cream without an ice cream maker?
Absolutely! While an ice cream maker helps achieve the smoothest texture, you can make Bubblegum Ice Cream using a no-churn method. Typically, this involves whipping heavy cream and condensed milk together until thick and airy, then folding in your bubblegum flavoring and coloring. Pour the mixture into a freezer-safe container and freeze, stirring vigorously every 30-60 minutes for the first few hours to break up ice crystals.
Q2: What kind of bubblegum flavoring works best?
For the most authentic and intense flavor, I recommend using a high-quality bubblegum extract or flavoring oil designed for baking and confectionery. These are readily available online or at specialty baking stores. You can also use actual bubblegum, but be cautious as some brands have ingredients that may not fully dissolve or could affect the texture. Start with a small amount of extract and taste as you go, as flavors can intensify as the ice cream freezes.
Bubblegum Ice Cream Recipe-Homemade Sweet Treat
A fun and nostalgic homemade bubblegum ice cream recipe, complete with vibrant color and festive sprinkles for a delightful sweet treat.
Ingredients
-
2 cups heavy cream
-
1 cup whole milk
-
¾ cup granulated sugar
-
2 teaspoons bubblegum flavoring
-
1 teaspoon vanilla extract
-
¼ teaspoon kosher salt
-
Pink or red food coloring (to taste)
-
½ cup confetti sprinkles, divided
-
1 cup gumballs (for decoration)
Instructions
-
Step 1
In a medium saucepan, combine heavy cream, whole milk, granulated sugar, and kosher salt. Gently warm over medium heat, stirring occasionally, until small bubbles form around the edges and the mixture reaches 170-175°F (77-79°C). Do not boil. -
Step 2
Remove from heat and let cool for 5-10 minutes. Stir in bubblegum flavoring and vanilla extract until fully incorporated. -
Step 3
Add pink or red food coloring a few drops at a time, stirring until your desired vibrant bubblegum pink hue is achieved. -
Step 4
Cover the mixture and refrigerate for at least 4 hours, or preferably overnight, until thoroughly chilled. -
Step 5
Churn the chilled base in an ice cream maker according to the manufacturer’s instructions until it reaches a soft-serve consistency. During the last few minutes of churning, add ½ cup of confetti sprinkles. -
Step 6
Transfer the churned ice cream to a freezer-safe container. For extra texture, swirl in reserved sprinkles or chopped gumballs. Cover tightly and freeze for at least 2-4 hours, or until firm. Top with gumballs and sprinkles before serving.
Important Information
Nutrition Facts (Per Serving)
It is important to consider this information as approximate and not to use it as definitive health advice.
Allergy Information
Please check ingredients for potential allergens and consult a health professional if in doubt.