Blackberry Hand Pies- Delicious & Easy Dessert
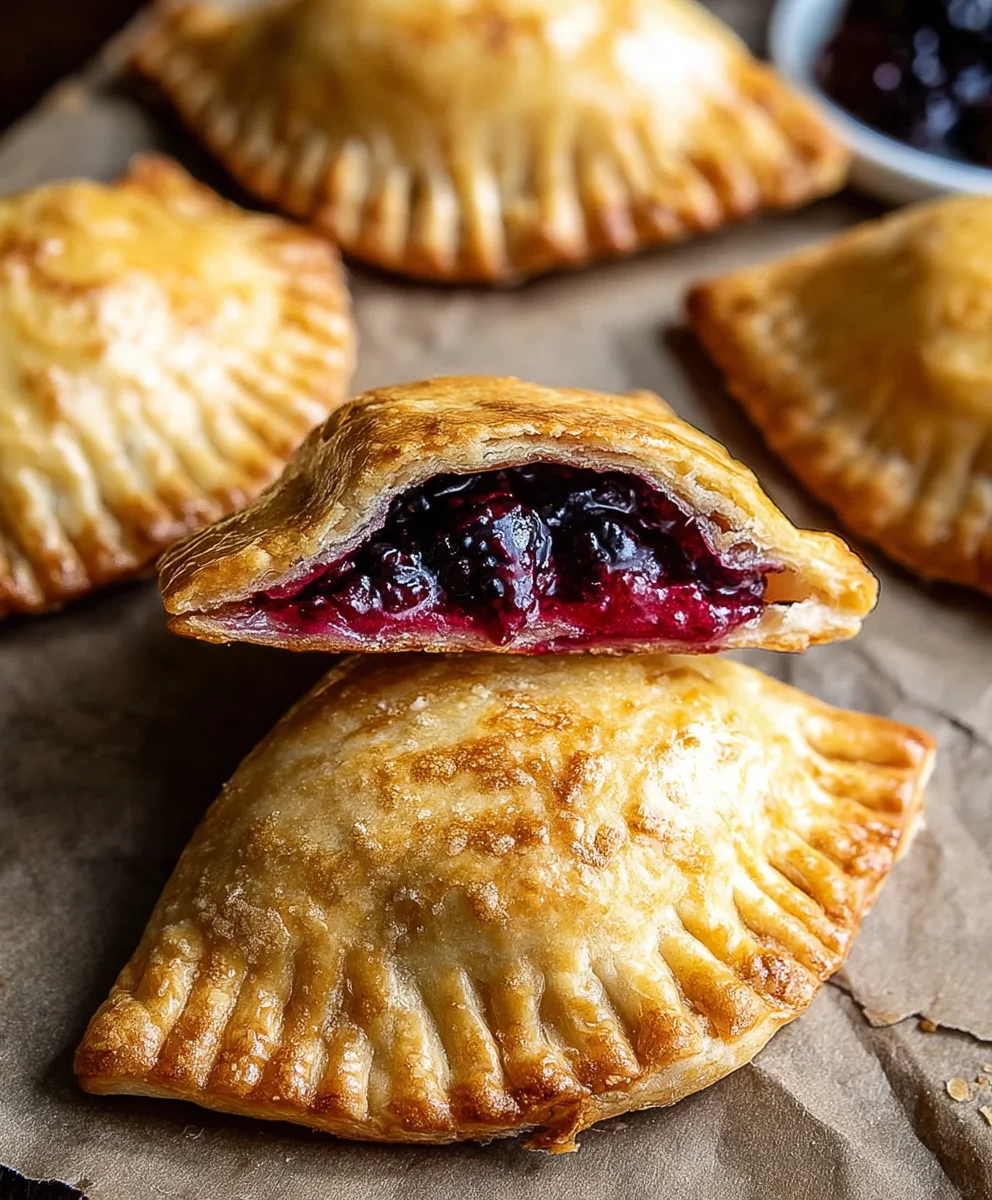
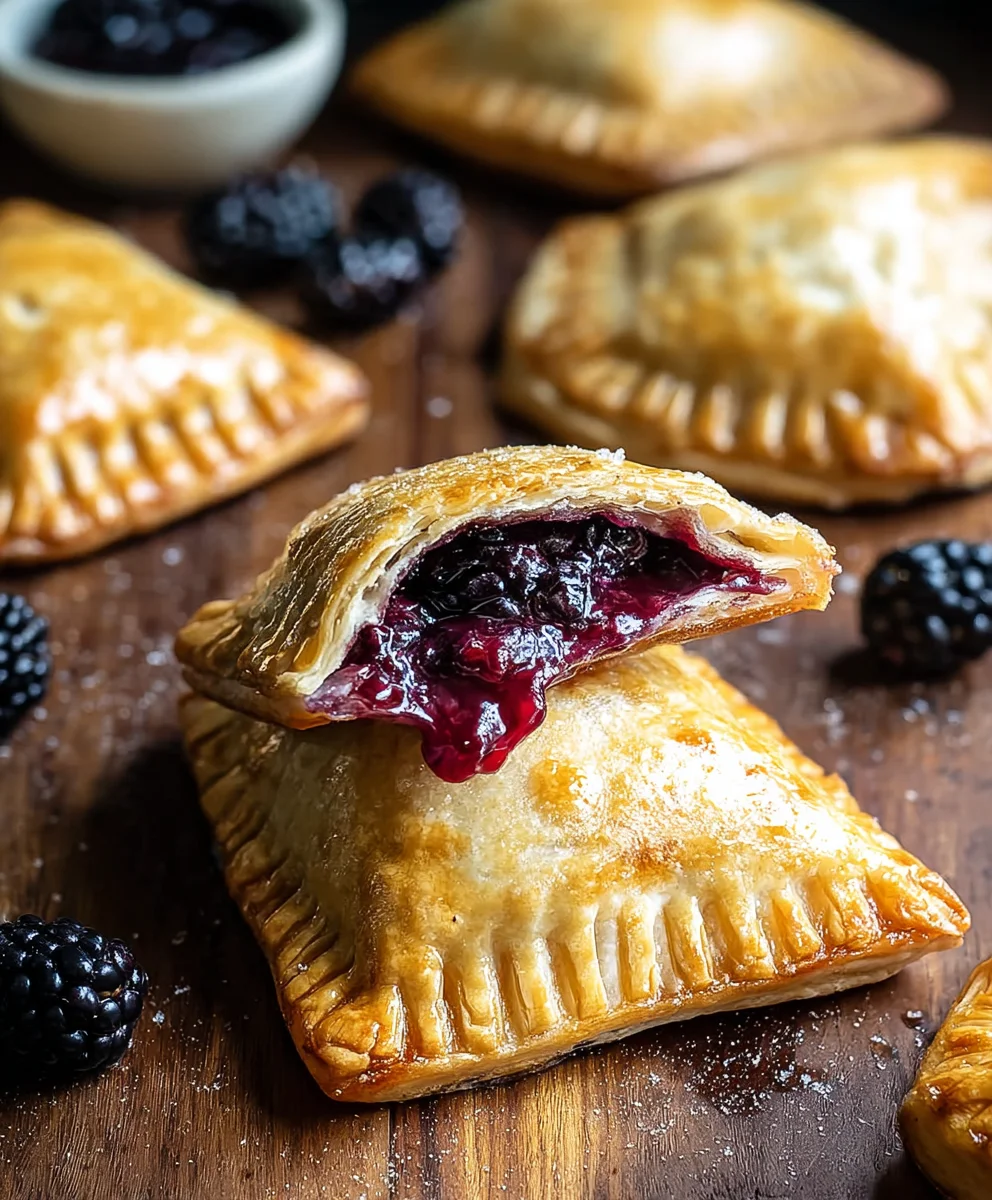
Blackberry Hand Pies are more than just a delightful dessert; they’re miniature parcels of joy, bursting with the vibrant, slightly tart sweetness of summer berries encased in a perfectly flaky, golden crust. Who doesn’t love a treat that’s perfectly portioned for individual enjoyment and practically begs to be picked up and savored? These little wonders evoke cozy afternoons, picnics in the park, and the simple pleasure of homemade goodness. What truly sets these Blackberry Hand Pies apart is the exquisite balance between the juicy, dark fruit filling and the buttery, tender pastry. Each bite offers a satisfying crunch followed by a rush of intense blackberry flavor, a testament to using fresh, ripe fruit. They’re incredibly versatile, perfect for a morning treat with coffee, an afternoon pick-me-up, or a charming addition to any dessert table. Get ready to fall in love with these utterly irresistible Blackberry Hand Pies!
Ingredients:
- 21 oz. can blackberry pie filling
- 2 refrigerated pie crusts
- 1/2 cup powdered sugar
- 1 teaspoon corn syrup
- 1 tablespoon water
- Vegetable oil for frying (enough to fill your pot about 2-3 inches deep)
Preparing the Filling and Dough
Step 1: Prepare the Blackberry Filling
Your blackberry pie filling comes ready to go, which is fantastic for a quick and delicious treat. If your filling seems very thick straight from the can, you can give it a quick stir to loosen it up. Sometimes, particularly in cooler temperatures, the filling can firm up quite a bit. If you prefer a slightly smoother consistency, you can gently warm the filling in a saucepan over low heat for a minute or two, stirring constantly. However, this is entirely optional; the pies will be just as tasty with the filling at room temperature. Ensure you have your filling easily accessible, as you’ll be working with the pie crusts next.
Step 2: Cut and Prepare the Pie Crusts
Unroll your refrigerated pie crusts onto a clean, lightly floured surface. Using a round cookie cutter or a small bowl with a diameter of about 4-5 inches, cut out as many circles as you can from each crust. You should aim for at least 6-8 circles per crust, giving you a total of 12-16 circles. Gather any scraps of dough, gently re-roll them, and cut out additional circles until you’ve used up most of the dough. These circles will form the base and top of your blackberry hand pies. You can place these cut-out circles onto a baking sheet lined with parchment paper for easy handling.
Assembling the Hand Pies
Step 3: Fill and Fold the Hand Pies
Take half of your cut-out pie crust circles and place them on your prepared baking sheet. Spoon about 1-2 tablespoons of the blackberry pie filling onto the center of each of these circles. Be careful not to overfill them, as this can make sealing the pies difficult and may cause them to burst during frying. Leave a small border around the edge of each circle clean, about 1/2 inch. Now, take the remaining pie crust circles and place one over each filled circle. Gently press the edges together to seal. You can use the tines of a fork to crimp the edges securely. This not only creates a decorative finish but also ensures that the filling stays neatly inside your blackberry hand pies during the frying process. If any filling has squeezed out, wipe it away before crimping.
Frying the Hand Pies
Step 4: Heat the Oil and Fry the Pies
In a heavy-bottomed pot or Dutch oven, pour in enough vegetable oil to reach a depth of about 2-3 inches. Heat the oil over medium heat until it reaches approximately 350-360°F (175-180°C). You can test the oil’s temperature by dropping a tiny piece of pie crust into it; if it sizzles and floats immediately, the oil is ready. Carefully, using a slotted spoon or tongs, lower 2-3 hand pies at a time into the hot oil. Avoid overcrowding the pot, as this can lower the oil temperature and result in greasy pies. Fry the hand pies for about 2-3 minutes per side, or until they are golden brown and puffed up.
Step 5: Drain and Glaze the Hand Pies
Once the blackberry hand pies are beautifully golden brown on both sides, carefully remove them from the hot oil using your slotted spoon or tongs. Transfer them to a plate lined with paper towels to drain off any excess oil. This step is crucial for achieving a crispy texture. While the pies are still warm, prepare the glaze. In a small bowl, whisk together the powdered sugar, corn syrup, and water until you have a smooth, pourable glaze. The corn syrup will give the glaze a lovely sheen. Drizzle this glaze generously over the warm hand pies. The heat from the pies will help the glaze set slightly, creating a delicious sweet coating. Allow the pies to cool for a few minutes before handling or serving, as the filling will be very hot.
Conclusion:
There you have it! These delightful Blackberry Hand Pies are a fantastic way to capture the essence of summer’s bounty. We’ve walked through creating a flaky, buttery crust and a sweet, slightly tart blackberry filling that is simply irresistible. Whether you’re looking for a charming dessert for a picnic, a special treat for afternoon tea, or just a delicious way to use up fresh blackberries, these pies are sure to impress. Don’t be afraid to get a little creative with your presentation – a simple lattice top or a sprinkle of coarse sugar can elevate their charm even further. We encourage you to try this recipe and experience the joy of homemade pies. Happy baking!
Frequently Asked Questions:
Can I make the dough for Blackberry Hand Pies ahead of time?
Yes, absolutely! The dough for Blackberry Hand Pies can be made up to 2 days in advance and stored, tightly wrapped, in the refrigerator. You can also freeze the dough for up to 3 months. Let it thaw in the refrigerator overnight before using. This is a great way to save time when you’re ready to assemble your pies.
What other fruits can I use in place of blackberries for these hand pies?
While blackberries are wonderful, these hand pies are incredibly versatile! You can easily substitute them with other berries like raspberries, blueberries, or even a mixed berry blend. Stone fruits like peaches, plums, or cherries also work beautifully. Just ensure your fruit is ripe and adjust the sugar slightly depending on its natural sweetness.
Blackberry Hand Pies – Delicious & Easy Dessert
Quick and delicious blackberry hand pies perfect for a sweet treat, made with store-bought pie crust and canned filling.
Ingredients
-
21 oz. can blackberry pie filling
-
2 refrigerated pie crusts
-
1/2 cup powdered sugar
-
1 teaspoon corn syrup
-
1 tablespoon water
-
Vegetable oil for frying
Instructions
-
Step 1
Prepare the blackberry pie filling. If it’s very thick, stir to loosen. You can gently warm it in a saucepan over low heat for a minute or two if desired, but this is optional. -
Step 2
Unroll refrigerated pie crusts on a lightly floured surface. Cut out 4-5 inch circles using a cookie cutter or bowl. Aim for 12-16 circles total, re-rolling scraps if needed. Place circles on a parchment-lined baking sheet. -
Step 3
Spoon 1-2 tablespoons of blackberry pie filling onto half of the pie crust circles, leaving a 1/2 inch border. Place a second crust circle over each filled one and press edges to seal. Crimp with a fork for a secure seal. -
Step 4
Heat vegetable oil in a heavy-bottomed pot to 350-360°F (175-180°C). Carefully fry 2-3 hand pies at a time for 2-3 minutes per side until golden brown and puffed. -
Step 5
Remove fried pies from oil and drain on paper towels. Whisk together powdered sugar, corn syrup, and water to make a glaze. Drizzle glaze over warm pies. -
Step 6
Allow pies to cool for a few minutes before serving, as the filling will be very hot.
Important Information
Nutrition Facts (Per Serving)
It is important to consider this information as approximate and not to use it as definitive health advice.
Allergy Information
Please check ingredients for potential allergens and consult a health professional if in doubt.