Air Fryer Chocolate Chip Cookies – Easy Delicious Recipe
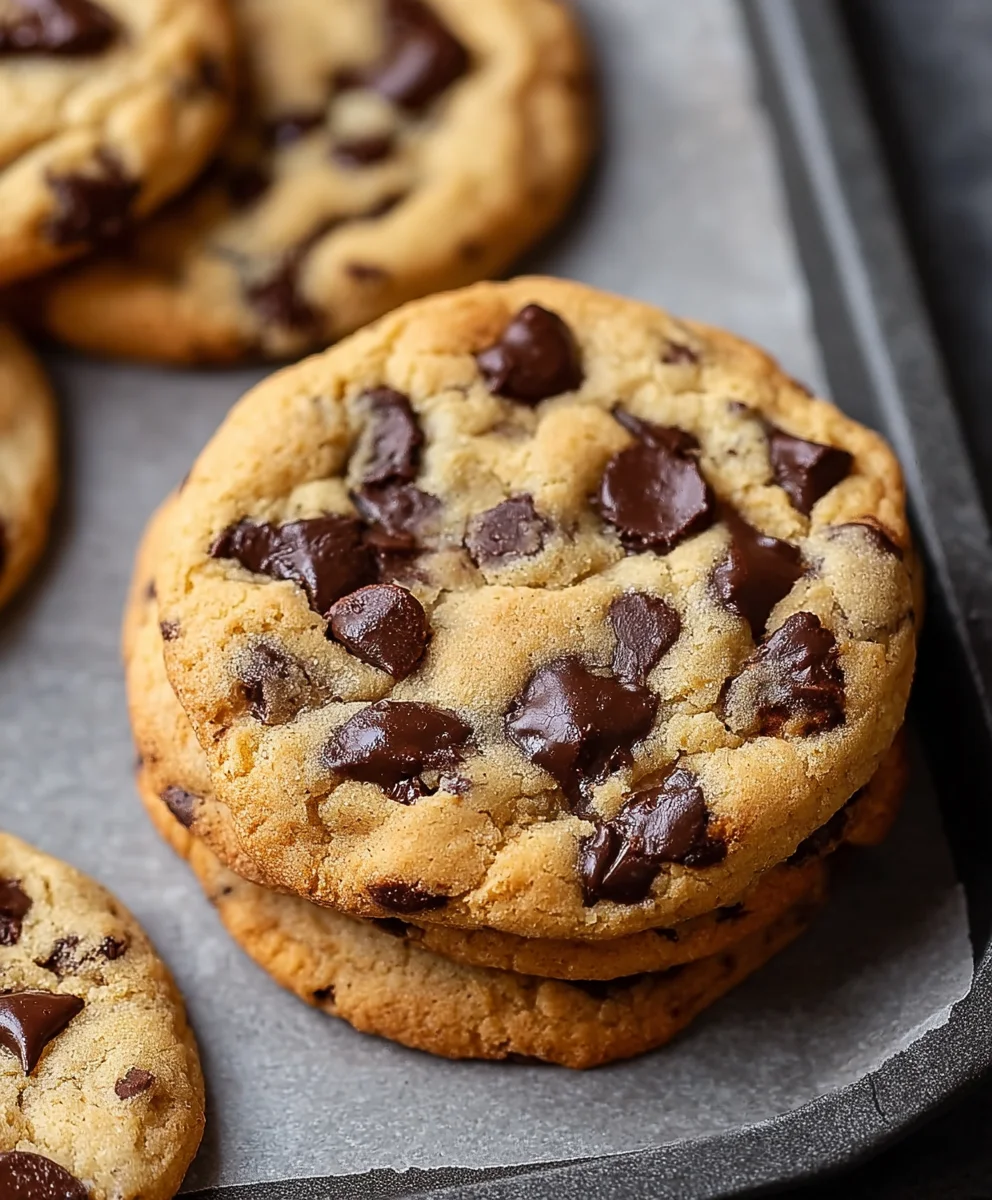
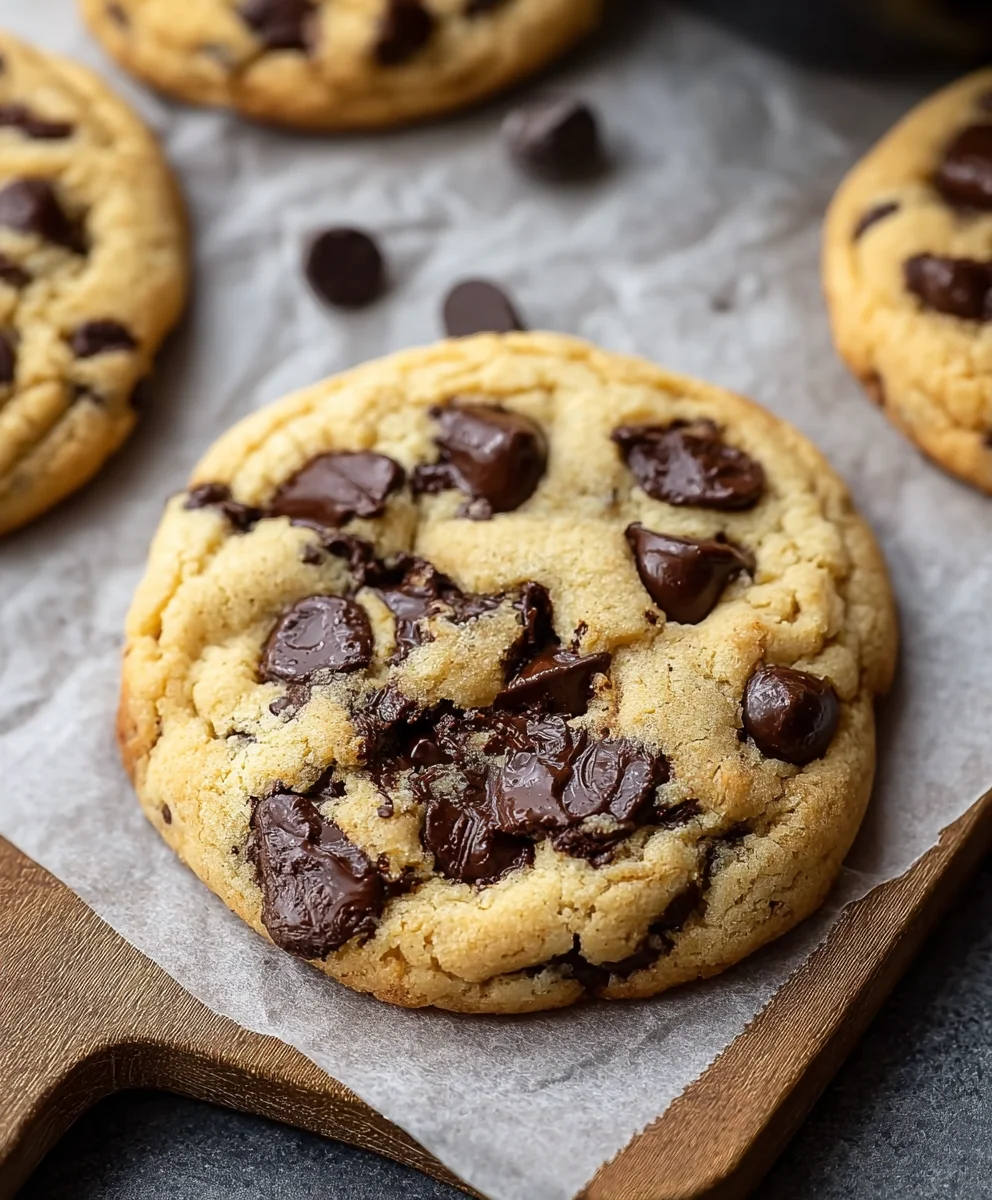
Air Fryer Chocolate Chip Cookies are about to become your new best friend in the kitchen, especially when that sweet craving strikes and you want a warm, gooey treat in mere minutes. Forget preheating the oven and waiting patiently for batches to bake; these little wonders bring the magic of perfectly golden-brown, delightfully chewy chocolate chip cookies right to your countertop, faster than you can say “chocolate chip.” What’s not to love? They offer that irresistible homemade taste and texture, but with an incredibly short cook time that makes them ideal for satisfying immediate dessert desires. The air fryer’s unique convection technology ensures an even crisp on the edges while keeping the centers wonderfully soft and molten, truly elevating the classic cookie experience. Get ready to fall head over heels for these delightfully quick Air Fryer Chocolate Chip Cookies!
Ingredients:
- 1/2 cup (1 stick) unsalted butter, softened
- 1/2 cup packed brown sugar
- 1/4 cup granulated white sugar
- 1 large egg, preferably at room temperature
- 1 teaspoon pure vanilla extract
- 1 1/2 cups all-purpose flour
- 1 teaspoon baking soda
- 1/4 teaspoon salt
- 1 cup semi-sweet chocolate chips
Making Your Air Fryer Chocolate Chip Cookies
The magic of the air fryer extends to the world of baking, and these Air Fryer Chocolate Chip Cookies are proof! Forget preheating a full oven for just a few cookies. With this method, you can whip up warm, gooey, and perfectly baked cookies in a fraction of the time. The key is managin extractg the temperature and time correctly to achieve that delightful chewy center and slightly crisp edge.
Phase 1: Mixing the Dough
Let’s start by creating the foundation for our delicious cookies. In a medium-sized mixing bowl, cream together the softened unsalted butter, packed brown sugar, and granulated white sugar. You can use an electric mixer for this, or if you’re feeling energetic, a sturdy whisk or wooden spoon will do the job. Beat them until the mixture is light, fluffy, and well combined; this usually takes about 2-3 minutes with an electric mixer. This step is crucial for incorporating air into the dough, which contributes to the texture of the final cookie.
Next, crack in your large egg. If your egg is cold, it can sometimes cause the butter mixture to seize up. To avoid this, you can gently place your egg in a small bowl of warm water for about 5-10 minutes before you need it. Add the pure vanilla extract to the bowl as well. Beat these ingredients into the butter and sugar mixture until everything is thoroughly incorporated and the batter is smooth.
Now it’s time to introduce the dry ingredients. In a separate small bowl, whisk together the all-purpose flour, baking soda, and salt. Whisking these dry ingredients separately ensures that the baking soda and salt are evenly distributed throughout the flour, preventing pockets of uneven leavening or saltiness in your cookies. Gradually add this dry mixture to the wet ingredients, mixing on low speed or by hand until just combined. Be careful not to overmix the flour; overmixing can develop the gluten too much, resulting in tough cookies. Stop mixing as soon as you no longer see streaks of flour.
Finally, fold in your generous cup of semi-sweet chocolate chips. Use a spatula or spoon to gently incorporate them into the dough. You want to distribute them evenly throughout the cookie dough. This is the point where the anticnon-alcoholic ipation really builds!
Phase 2: Preparing for Air Frying
Before you start forming your cookie dough balls, it’s essential to prepare your air fryer. Most air fryers require a little preparation to prevent sticking and ensure even cooking. If your air fryer basket has a non-stick coating, you might be able to get away without parchment paper, but it’s always a good idea to use it. You can either use specially designed air fryer parchment liners or cut circles of regular parchment paper to fit the bottom of your air fryer basket. Make sure to poke a few holes in the parchment paper if you’re using regular parchment to allow for proper air circulation.
Now, it’s time to shape your cookies. Roll portions of the cookie dough into balls, about 1 to 1.5 inches in diameter. You can use a cookie scoop for consistent sizing, which helps them bake evenly. Place these dough balls onto the prepared parchment paper in your air fryer basket. It’s important not to overcrowd the basket. You’ll likely need to bake your cookies in batches. Leave about 1-2 inches of space between each dough ball to allow them to spread slightly as they bake without touching each other. Overcrowding will lead to steamed cookies rather than baked ones.
Phase 3: Air Frying the Cookies
Preheating your air fryer is a good idea, just like with an oven, but it’s often less crucial for smaller bakes. However, for these cookies, preheating will ensure a more consistent cooking temperature from the moment they go in. Preheat your air fryer to 320°F (160°C) for about 3-5 minutes. This lower temperature is key for air fryer cookies, as the intense heat can burn the outside before the inside is cooked.
Carefully place the basket with the cookie dough balls into the preheated air fryer. Bake for 7-10 minutes. The exact time will depend on your specific air fryer model and the size of your cookies. Start checking your cookies around the 7-minute mark. They are done when the edges are lightly golden brown and the centers still look slightly soft and underdone. This is exactly what you want, as they will continue to set up as they cool. If you prefer a crispier cookie, you can add an extra minute or two, but watch them closely to prevent burning.
Once the baking time is complete, carefully remove the air fryer basket. Use a spatula to transfer the cookies to a wire rack to cool completely. They will be very soft and fragile when they first come out of the air fryer, so give them a few minutes on the parchment paper in the basket to firm up slightly before attempting to move them. This cooling process is where the magic happens, allowing the cookies to set into that perfect chewy texture. Repeat the process with any remaining cookie dough, ensuring your air fryer basket is clean and the parchment paper is fresh or reused if it’s still in good condition. Enjoy your warm, freshly baked Air Fryer Chocolate Chip Cookies!
Conclusion:
And there you have it – the ultimate guide to making perfect Air Fryer Chocolate Chip Cookies! We’ve explored how to achieve that delightful crispy edge and gooey center, all with the convenience of your air fryer. These cookies are surprisingly quick to whip up, making them ideal for satisfying those sudden sweet cravings. Whether you’re a seasoned baker or just starting out, this recipe is incredibly forgiving and rewarding. Don’t be afraid to experiment and make these your own!
I love serving these warm, fresh from the air fryer, with a cold glass of milk. They are also fantastic crum extractbled over ice cream or incorporated into a dessert parfait. For variations, consider adding chopped nuts like walnuts or pecans, or even a sprinkle of sea salt on top before baking for a delightful salty-sweet contrast. You can also swap out the chocolate chips for white chocolate, butterscotch, or even M&Ms for a fun twist.
I truly hope you enjoy making and devouring these delicious Air Fryer Chocolate Chip Cookies. They are a testament to how versatile and amazing air fryer cooking can be. Happy baking!
Frequently Asked Questions:
How do I prevent my Air Fryer Chocolate Chip Cookies from spreading too much?
To prevent excessive spreading, ensure your butter and eggs are at room temperature but not overly softened or melted. Chilling the dough for at least 30 minutes before baking can also significantly help. Another tip is to avoid overmixing the dough once the flour is added.
Can I make the dough for Air Fryer Chocolate Chip Cookies ahead of time?
Absolutely! The dough for Air Fryer Chocolate Chip Cookies can be made up to 2-3 days in advance and stored in an airtight container in the refrigerator. This chilling period actually enhances the flavor and texture of the cookies.
My cookies are burning on the bottom. What should I do?
If your cookies are browning too quickly on the bottom, you can try placing a small piece of parchment paper or a silicone liner at the bottom of your air fryer basket. You might also need to slightly reduce the cooking temperature or time, and always check them a minute or two before the suggested time.
Air Fryer Chocolate Chip Cookies – Easy Delicious Recipe
Whip up warm, gooey, and perfectly baked chocolate chip cookies in a fraction of the time with this easy air fryer recipe. Achieve a delightful chewy center and slightly crisp edge.
Ingredients
-
1/2 cup (1 stick) unsalted butter, softened
-
1/2 cup packed brown sugar
-
1/4 cup granulated white sugar
-
1 large egg, preferably at room temperature
-
1 teaspoon pure vanilla extract
-
1 1/2 cups all-purpose flour
-
1 teaspoon baking soda
-
1/4 teaspoon salt
-
1 cup semi-sweet chocolate chips
Instructions
-
Step 1
In a medium-sized mixing bowl, cream together the softened unsalted butter, packed brown sugar, and granulated white sugar until light and fluffy (about 2-3 minutes with an electric mixer). -
Step 2
Add the large egg and pure vanilla extract. Beat until thoroughly incorporated and the batter is smooth. -
Step 3
In a separate small bowl, whisk together the all-purpose flour, baking soda, and salt. Gradually add this dry mixture to the wet ingredients, mixing until just combined. Do not overmix. -
Step 4
Fold in the semi-sweet chocolate chips using a spatula until evenly distributed. -
Step 5
Prepare your air fryer basket with parchment paper liners or cut parchment circles. Shape cookie dough into 1 to 1.5-inch balls and place them on the parchment, leaving 1-2 inches between each cookie. Avoid overcrowding. -
Step 6
Preheat your air fryer to 320°F (160°C) for 3-5 minutes. -
Step 7
Carefully place the basket into the air fryer and bake for 7-10 minutes, or until the edges are lightly golden brown and the centers still look slightly soft. -
Step 8
Remove the basket and let cookies cool in the basket for a few minutes before transferring to a wire rack to cool completely.
Important Information
Nutrition Facts (Per Serving)
It is important to consider this information as approximate and not to use it as definitive health advice.
Allergy Information
Please check ingredients for potential allergens and consult a health professional if in doubt.