Easy Yogurt Bites Recipe – Healthy Snack Ideas
How to make yogurt bites has never been more appealing, especially when you’re craving a healthy, delicious, and fun treat that’s surprisingly simple to whip up. Imagin extracte tiny, frozen jewels of creamy goodness, bursting with flavor and customizable to your heart’s content. These aren’t just any snacks; they’re a guilt-free indulgence that kids and adults alike will adore. We love yogurt bites because they offer a refreshing coolness, a satisfying chew, and a fantastic way to incorporate wholesome ingredients into our day. What makes them truly special is their versatility – whether you’re aiming for a vibrant fruit explosion, a hint of sweetness, or even a touch of herbal zest, these little powerhouses deliver. Get ready to discover the joy of crafting your own perfect batch!
Why You’ll Adore These
There’s something undeniably satisfying about creating homemade treats that are both incredibly tasty and good for you. The magic of learning how to make yogurt bites lies in their effortless charm. They’re perfect for a quick breakfast on the go, a revitalizing afternoon pick-me-up, or even a delightful dessert that won’t leave you feeling weighed down. The texture is a huge part of the allure – a delicate, slightly chewy exterior giving way to a smooth, cool yogurt center. Plus, they look so appealing! Who can resist a colorful assortment of these delightful morsels?
What Makes Them Stand Out
The true beauty of learning how to make yogurt bites is the sheer potential for personalization. Unlike store-bought alternatives, you have complete control over the ingredients. This means you can avoid added sugars, artificial flavors, and preservatives, opting instead for pure, natural goodngin extract. Imagine infusing them with vibrant berry purees, the subtle sweetness of honey, or even the unexpected nuance of vanilla bean. The possibilities are truly endless, allowing you to tailor each bite to your specific cravings and dietary needs. They are a testament to simple ingredients transforming into something extraordinary.
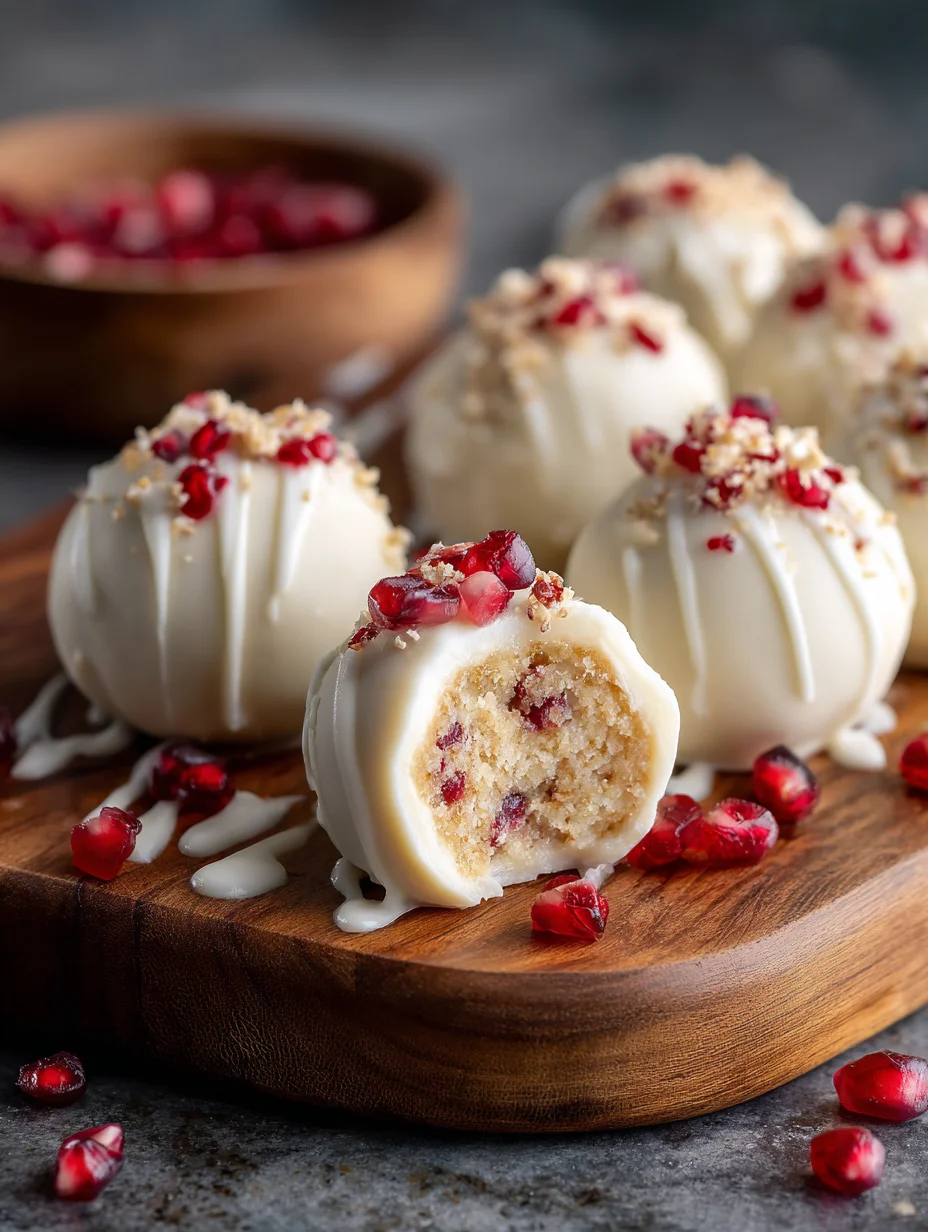
Ingredients:
- 1 cup plain Greek yogurt (full-fat or 2%)
- 2 tablespoons honey or maple syrup (adjust to your sweetness preference)
- 1/2 teaspoon vanilla extract
- 1/4 cup fresh berries, finely chopped (such as strawberries, blueberries, or raspberries)
- Optional: A pinch of cinnamon or a sprinkle of granola for added texture
Preparing Your Yogurt Bites
Step 1: Gentle Sweetening and Flavoring
First, we want to get our base yogurt ready. Take your 1 cup of plain Greek yogurt and place it in a medium-sized mixing bowl. Greek yogurt is fantastic for this recipe because its thick, creamy texture holds its shape well, and it provides a good protein boost. Now, it’s time to add a touch of sweetness and depth of flavor. Drizzle in your 2 tablespoons of honey or maple syrup. You can adjust this amount based on how sweet you like things. If you prefer a less sweet bite, start with just 1 tablespoon and taste before adding more. Following that, add your 1/2 teaspoon of vanilla extract. Vanilla pairs beautifully with yogurt and the other flavors we’ll be adding. Using a spoon or a small whisk, gently stir these ingredients together. You don’t want to overmix and break down the yogurt’s structure too much. Aim for a smooth, homogenous mixture where the honey or syrup and vanilla are fully incorporated. Imagin extracte you’re folding in the flavors, not beating them. This gentle approach will help maintain the desired consistency for our bites.
Step 2: Introducing the Fruity Goodness
With our sweetened yogurt base ready, it’s time to add the burst of freshness and color that makes these yogurt bites so appealing. Take your 1/4 cup of fresh berries. It’s important that they are finely chopped. This ensures that each bite gets a good distribution of fruit and that the pieces are small enough to freeze nicely within the yogurt. If you’re using larger berries like strawberries, you might want to quarter them or even dice them into small pieces. For smaller berries like blueberries, a quick chop will do. If you’re using raspberries, be gentle as they can be quite delicate. Once chopped, carefully fold the berries into the yogurt mixture. Again, use a gentle hand to avoid bruising the fruit or turning the yogurt an undesirable color. You want to see distinct little pieces of berry throughout the mixture. This step adds natural sweetness, a pleasant tang, and beautiful visual appeal. If you’re feeling adventurous and want an extra hint of warmth, this is also a great time to add a tiny pinch of cinnamon. Stir it in very lightly.
Step 3: Shaping the Bites for Freezing
Now comes the fun part – forming our yogurt bites! You’ll need a baking sheet lined with parchment paper or wax paper. This is crucial because it prevents the yogurt bites from sticking to the baking sheet as they freeze, making them easy to remove later. Using a small spoon or a piping bag fitted with a round tip, carefully drop spoonfuls of the yogurt mixture onto the prepared baking sheet. Aim for bite-sized portions. Think of them as miniature dollops of creamy goodness. If you’re using a spoon, try to make them as uniform in size as possible for even freezing. If you have a piping bag, this gives you more control over the shape and size, allowing for neater, more consistent circles. Don’t worry if they aren’t perfectly round; their rustic charm is part of their appeal. Leave a little space between each yogurt bite on the baking sheet, as they might spread slightly. This ensures they freeze individually and don’t stick together.
Step 4: The Freezing Transformation
With your yogurt bites neatly arranged on the baking sheet, it’s time to send them to the freezer for their transformation. Carefully place the entire baking sheet into your freezer. You’ll want to let them freeze until they are firm to the touch. This typically takes about 2 to 3 hours, but freezing times can vary depending on your freezer’s temperature and how small you made your bites. Resist the urge to poke them too early! You’ll know they’re ready when they have solidified and can be easily lifted from the parchment paper without losing their shape. It’s important they are frozen solid before you proceed to the next step to ensure they maintain their delightful texture. This freezing process is what turns a simple yogurt mixture into delightful, portable treats.
Step 5: Storing Your Delicious Yogurt Bites
Once your yogurt bites are completely frozen and firm, it’s time to transfer them to a more convenient storage container. Gently lift the frozen yogurt bites off the parchment paper. If they were made small and are fully frozen, they should pop right off. If you find any are sticking slightly, you can run a thin spatula underneath them to help loosen them. Now, carefully place the frozen yogurt bites into an airtight freezer-safe container or a resealable freezer bag. It’s a good idea to place a layer of parchment paper or wax paper between layers if you’re stacking them, to prevent them from sticking together in the container. Seal the container tightly to prevent freezer burn and to keep them fresh. These yogurt bites can be stored in the freezer for up to 1 month. For best results, enjoy them within the first few weeks. When you’re ready for a healthy and delicious snack, simply grab a few from the container. They’re perfect for a quick breakfast, a post-workout treat, or a light dessert. If you decided to add granola as an optional topping, you can sprinkle a tiny amount on top of each bite before freezing for an extra crunch.
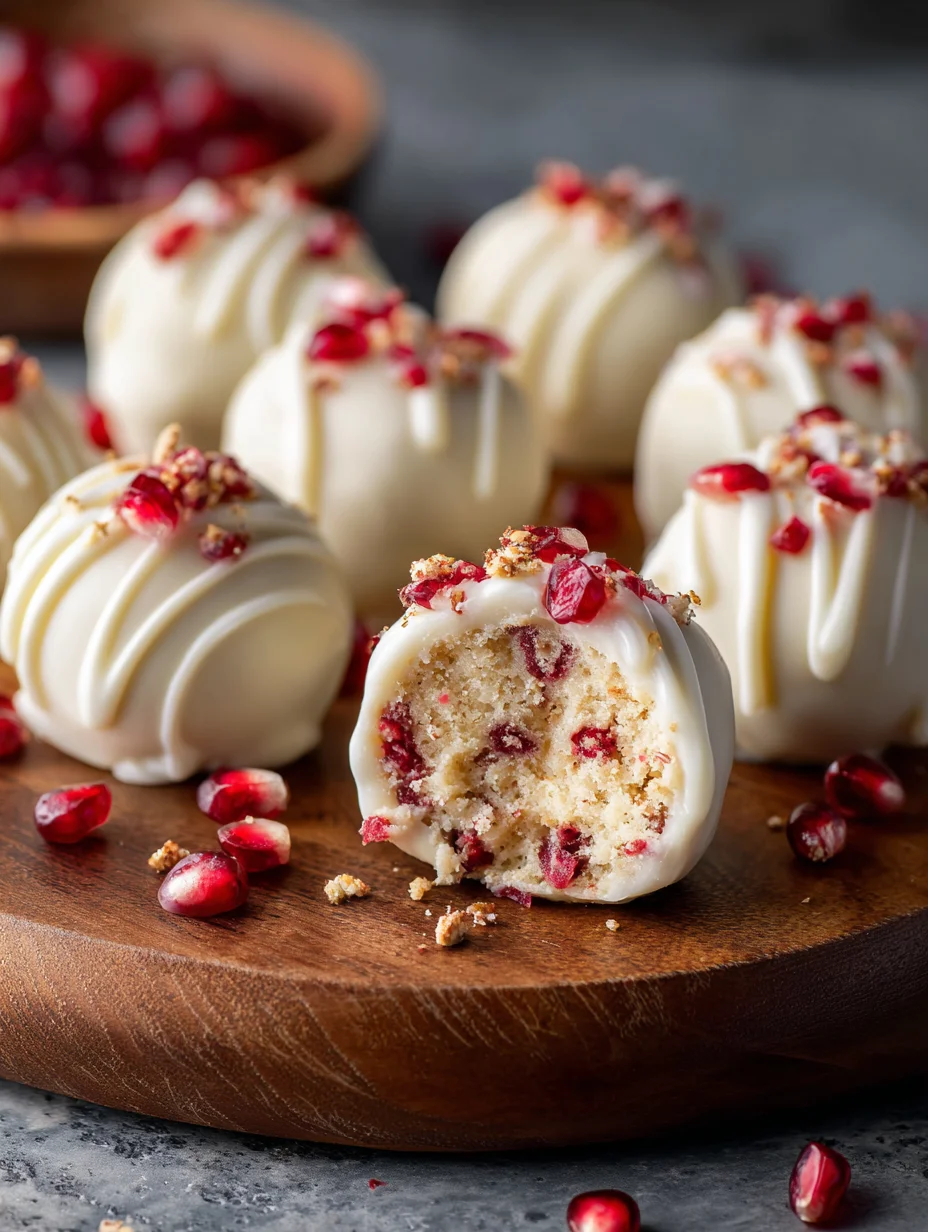
Conclusion:
Now you have all the knowledge to master the art of making How To Make Yogurt Bites! We’ve walked through each simple step, from preparing your base ingredients to the final delightful freeze. These creamy, cool treats are incredibly versatile and a fantastic way to enjoy a healthy snack. Imagin extracte them as a fun addition to a lunchbox, a refreshing dessert on a warm afternoon, or even a delightful starter for a playful meal. Don’t be afraid to experiment with different yogurt flavors and mix-ins to create your own signature How To Make Yogurt Bites!
I truly hope you enjoy making and sharing these delicious yogurt bites. They’re a project that’s as rewarding as it is tasty, and I encourage you to get creative with your own flavor combinations. Happy making!
Frequently Asked Questions:
Q1: Can I use different types of yogurt for How To Make Yogurt Bites?
Absolutely! While Greek yogurt provides a wonderfully thick and creamy texture, you can certainly experiment with regular yogurt, dairy-free alternatives like coconut or almond yogurt, or even flavored yogurts for a different taste profile. Just be mindful that the consistency might vary slightly.
Q2: How long do How To Make Yogurt Bites last in the freezer?
Properly stored, your How To Make Yogurt Bites can last for up to 1-2 months in the freezer. It’s best to keep them in an airtight container or a freezer-safe bag to prevent freezer burn and maintain their delicious texture.
Easy Yogurt Bites Recipe
Delicious and healthy yogurt bites made with Greek yogurt, honey, and fresh berries. Perfect for a quick snack!
Ingredients
-
1 cup plain Greek yogurt
-
2 tablespoons honey
-
1/2 teaspoon vanilla extract
-
1/4 cup fresh berries, finely chopped
-
pinch of cinnamon (optional)
-
sprinkle of granola (optional)
Instructions
-
Step 1
In a medium bowl, combine 1 cup of plain Greek yogurt, 2 tablespoons of honey, and 1/2 teaspoon of vanilla extract. Gently stir until smooth and homogenous. -
Step 2
Add 1/4 cup of finely chopped fresh berries to the yogurt mixture. If using, add a pinch of cinnamon. Gently fold in the berries and cinnamon until evenly distributed. -
Step 3
Line a baking sheet with parchment paper or wax paper. Using a small spoon or piping bag, drop spoonfuls of the yogurt mixture onto the prepared baking sheet, leaving space between each bite. -
Step 4
Place the baking sheet in the freezer and freeze for 2 to 3 hours, or until firm and solid. -
Step 5
Once frozen, carefully transfer the yogurt bites to an airtight freezer-safe container. If stacking, place parchment paper between layers. Store in the freezer for up to 1 month.
Important Information
Nutrition Facts (Per Serving)
It is important to consider this information as approximate and not to use it as definitive health advice.
Allergy Information
Please check ingredients for potential allergens and consult a health professional if in doubt.