Easy Make Ahead Freezer Breakfast Sandwiches
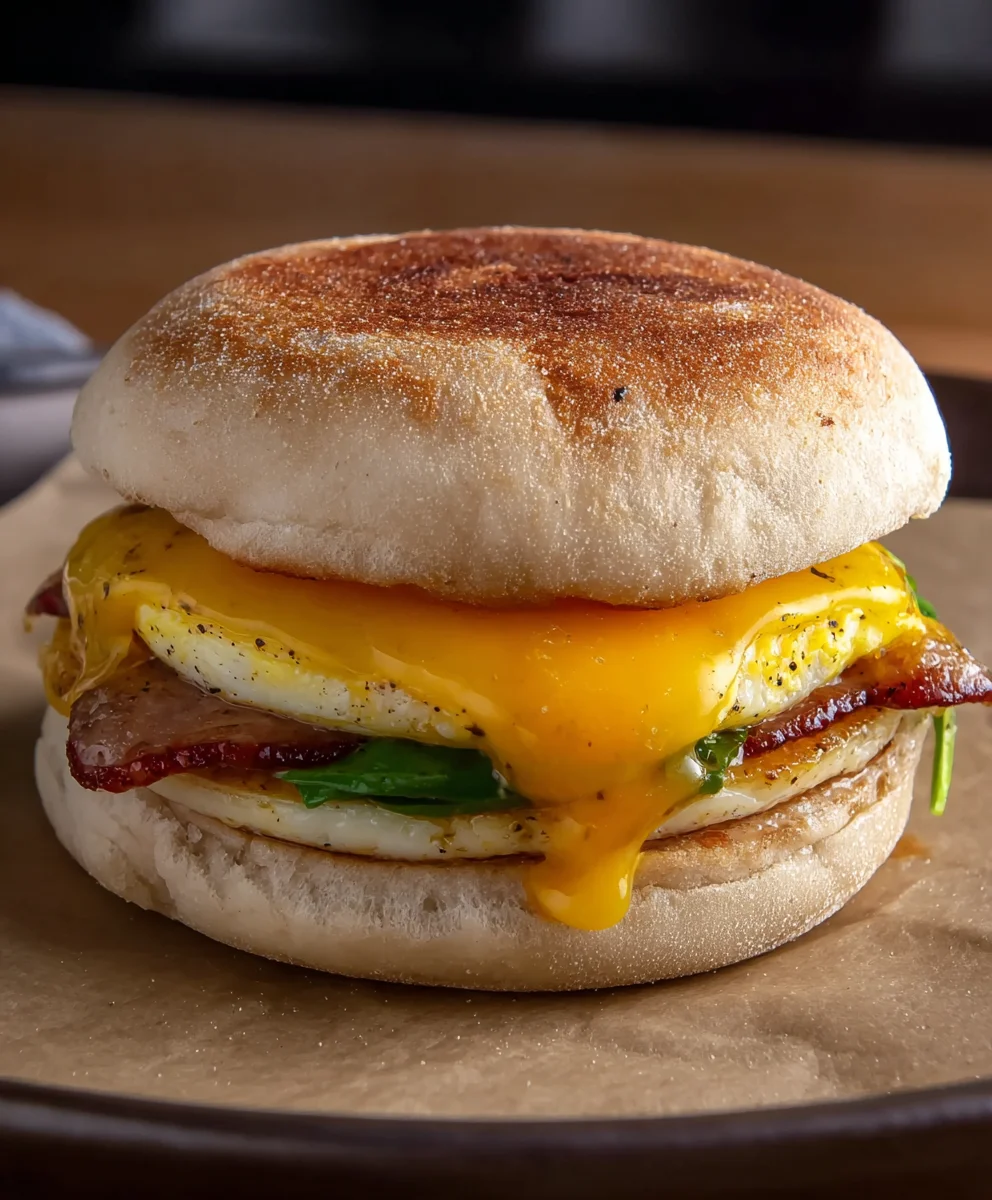
Freezer Breakfast Sandwiches are the ultimate weeknight dinner savior and a weekend morning miracle all rolled into one! Imagin extracte this: you wake up, groggy and craving something warm and satisfying, but the thought of actually cooking feels overwhelming. Instead of reaching for that sugary cereal or resorting to takeout, you can simply grab one of these perfectly portioned delights from your freezer. What’s not to love about a hot, delicious breakfast sandwich ready in minutes? People adore them because they offer a taste of comfort, a hearty start to the day, and an incredible time-saving solution for busy lives. What truly makes these Freezer Breakfast Sandwiches special is their incredible versatility. You can customize them with your favorite proteins, cheeses, and even vegetables, ensuring every bite is exactly how you like it. They’re a testament to smart planning and delicious rewards, transforming your mornings from rushed chaos to culinary calm.
Ingredients:
- 1 pound ground beef
- 1 pound ground sausage
- 1 tablespoon brown sugar
- 1 teaspoon garlic powder
- 1 teaspoon onion powder
- 1/2 teaspoon red pepper flakes
- 1 teaspoon Italian seasoning
- 12 large eggs
- 1/4 cup milk
- 1 teaspoon salt
- 1 teaspoon white pepper
- 6 English muffins
- 6 slices cheese
- 2 tablespoons melted butter
- Syrup to taste (optional, for serving)
Preparing the Breakfast Patties
Mixing the Meats and Spices
The first step to creating these fantastic Freezer Breakfast Sandwiches involves preparing the heart of the sandwich: the savory meat patties. In a large mixing bowl, combine the ground beef and ground sausage. It’s crucial to handle the meat gently at this stage; overmixing can lead to tough patties. Once the meats are combined, it’s time to infuse them with flavor. Sprinkle in the brown sugar, which will add a subtle sweetness and help with caramelization, and the garlic powder and onion powder for foundational savory notes. For a touch of warmth and excitement, add the red pepper flakes. Finally, stir in the Italian seasoning to bring a classic, aromatic depth to the mixture. Use your hands to gently incorporate all the seasonings evenly throughout the meat. Again, avoid excessive kneading. Think of it as lightly tossing a salad. Once everything is well distributed, divide the meat mixture into six equal portions. Shape each portion into a patty that is slightly larger than the diameter of your English muffins, as they will shrink during cooking. You can make them about 1/2 inch thick. This will ensure they fit perfectly within the sandwich.
Cooking the Meat Patties
Now, let’s get those delicious patties cooked. You have a couple of options here, depending on your preference and equipment. You can either pan-fry them in a skillet over medium-high heat until they are browned and cooked through, about 4-5 minutes per side, or you can grill them. If pan-frying, use a skillet with a little bit of oil or non-stick spray. If using a grill, make sure it’s preheated. The goal is to achieve a nice sear on both sides and ensure the center is no longer pink. Once cooked, remove the patties from the heat and place them on a plate lined with paper towels. This will help to absorb any excess grease, making for a cleaner and less oily sandwich later on.
Crafting the Egg Component
Whisking the Eggs and Seasonings
While the meat patties are resting, we’ll move on to the fluffy egg layers. In a separate medium-sized bowl, crack all 12 large eggs. Add the milk, which will help create a lighter and more tender egg texture. Season the eggs generously with the salt and white pepper. The white pepper offers a more subtle peppery flavor compared to black pepper, which is ideal for breakfast dishes where you don’t want a harsh bite. Whisk everything together vigorously until the yolks and whites are completely combined and the mixture is a uniform pnon-alcoholic ale yellow. You want to incorporate a little air into the eggs as you whisk, which will contribute to their fluffiness when cooked.
Cooking the Egg Rounds
To create egg rounds that fit perfectly within our English muffins, we’ll use a similar approach to the meat patties. You can either cook these in individual round molds in a skillet or gently pour them into larger, flat rounds in the skillet and then cut them to size. For uniform rounds, consider using a large non-stick skillet over medium heat. Lightly grease the skillet with a little cooking spray or butter. Pour about a quarter of the egg mixture into the hot skillet, creating a thin, even layer. Cook until the edges start to set and the surface is mostly cooked, then carefully flip it over and cook for another minute or two until fully set. Repeat this process with the remaining egg mixture, aiming for six egg rounds. Alternatively, if you prefer to make one large omelet and cut it into rounds, that works too! Just ensure they are cooked through. Once cooked, set the egg rounds aside.
Assembling and Freezing the Sandwiches
Toasting and Assembling the Sandwiches
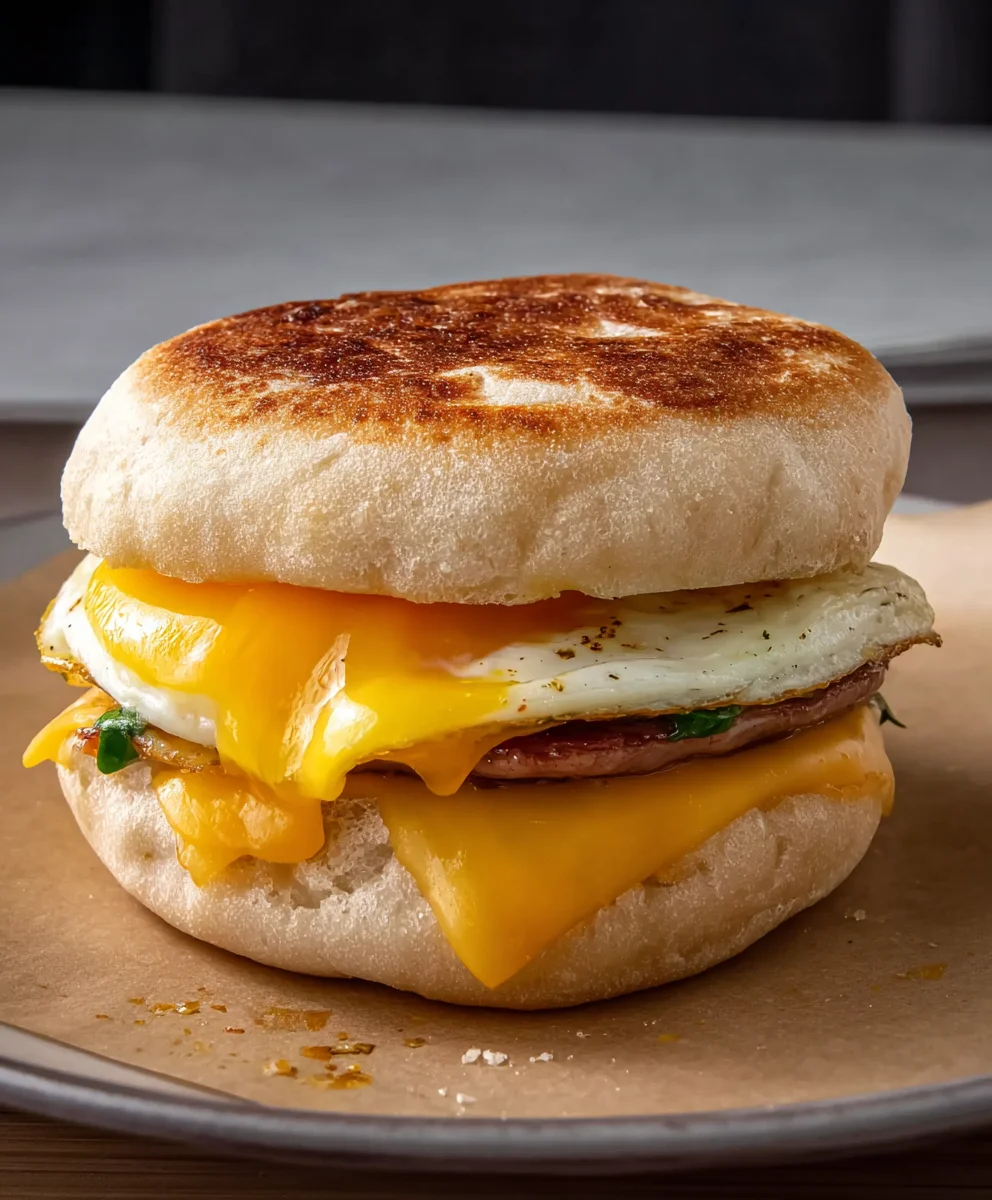
Now for the exciting part: putting it all together! Split your English muffins in half. You can toast them lightly in a toaster, under the broiler, or in a dry skillet until they are just begin extractning to turn golden brown. This toasting step is crucial for prevengin extractg sogginess when the sandwiches are reheated. Place the bottom half of each English muffin on a clean surface. Layer each bottom muffin half with one of the cooked meat patties. On top of each meat patty, place one of the cooked egg rounds. Finally, top the egg round with a slice of cheese. The residual heat from the patties and eggs will help the cheese to start melting. Place the top half of each English muffin over the cheese. You’ve now created your perfect breakfast sandwich!
Cooling and Wrapping for Freezing
Before you pack these beauties away for future deliciousness, it’s important to let them cool down completely. Placing warm sandwiches directly into the freezer can cause condensation, leading to freezer burn and affecting the texture. Once the sandwiches have reached room temperature, wrap each one individually and tightly in plastic wrap. This prevents air from getting to the sandwich, which is key for maintaining quality. After wrapping them in plastic, you can add another layer of protection by wrapping them in aluminum foil or placing them in a freezer-safe resealable bag. Label each package with the date so you can keep track of your frozen breakfast stash. You can store these Freezer Breakfast Sandwiches for up to 1-2 months for optimal freshness. When you’re ready to enjoy one, simply remove the plastic wrap and foil, and reheat it in the microwave, toaster oven, or a skillet until heated through and the cheese is melted. A drizzle of syrup on the side is a delightful optional touch for a sweet and savory breakfast experience.
Conclusion:
There you have it! Crafting your own Freezer Breakfast Sandwiches is a game-changer for busy mornings. We’ve walked through the simple steps to create a delicious and customizable breakfast that’s ready when you are. The beauty of these Freezer Breakfast Sandwiches lies in their versatility. Feel free to experiment with different cheeses, proteins, and even add a touch of spice to make them uniquely yours. Once frozen, they can be reheated in minutes, providing a satisfying and hearty start to your day without the morning rush. I truly hope you enjoy making and devouring these convenient and tasty treats as much as I do!
Frequently Asked Questions:
How long do Freezer Breakfast Sandwiches last in the freezer?
When properly wrapped and stored, Freezer Breakfast Sandwiches can last for up to 2-3 months in your freezer. Ensuring they are tightly senon-alcoholic aled in plastic wrap and then a freezer-safe bag or container will help maintain their freshness and prevent freezer burn.
What’s the best way to reheat Freezer Breakfast Sandwiches?
For the best results, I recommend reheating your Freezer Breakfast Sandwiches in a toaster oven or conventional oven at around 350°F (175°C) for 15-20 minutes, or until heated through. You can also microwave them for convenience, but the texture might be slightly softer.
Easy Make Ahead Freezer Breakfast Sandwiches
Delicious and convenient breakfast sandwiches that can be made ahead and frozen for a quick morning meal. Featuring savory beef and beef patties, fluffy eggs, and melted cheese on toasted English muffins.
Ingredients
-
1 pound ground beef
-
1 pound ground beef
-
1 tablespoon brown sugar
-
1 teaspoon garlic powder
-
1 teaspoon onion powder
-
1/2 teaspoon red pepper flakes
-
1 teaspoon Italian seasoning
-
12 large eggs
-
1/4 cup milk
-
1 teaspoon salt
-
1 teaspoon white pepper
-
6 English muffins
-
6 slices cheese
-
2 tablespoons melted butter
-
Syrup to taste
Instructions
-
Step 1
In a large bowl, gently combine ground beef and ground beef with brown sugar, garlic powder, onion powder, red pepper flakes, and Italian seasoning. Divide into six equal portions and shape into patties slightly larger than English muffins. -
Step 2
Cook the meat patties in a skillet over medium-high heat or on a grill until browned and cooked through. Drain on paper towels. -
Step 3
In a separate bowl, whisk together 12 large eggs, 1/4 cup milk, 1 teaspoon salt, and 1 teaspoon white pepper until well combined and slightly frothy. -
Step 4
Cook the egg mixture in a non-stick skillet over medium heat to create six egg rounds that fit the English muffins. Alternatively, make one large omelet and cut it into rounds. -
Step 5
Split and lightly toast English muffins. Assemble sandwiches by layering the bottom half of each muffin with a meat patty, an egg round, and a slice of cheese. Top with the other half of the English muffin. -
Step 6
Allow sandwiches to cool completely. Wrap each sandwich tightly in plastic wrap, then in aluminum foil or a freezer-safe bag. Label with the date.
Important Information
Nutrition Facts (Per Serving)
It is important to consider this information as approximate and not to use it as definitive health advice.
Allergy Information
Please check ingredients for potential allergens and consult a health professional if in doubt.