Easy Soft Fluffy Sandwich Bread Recipe
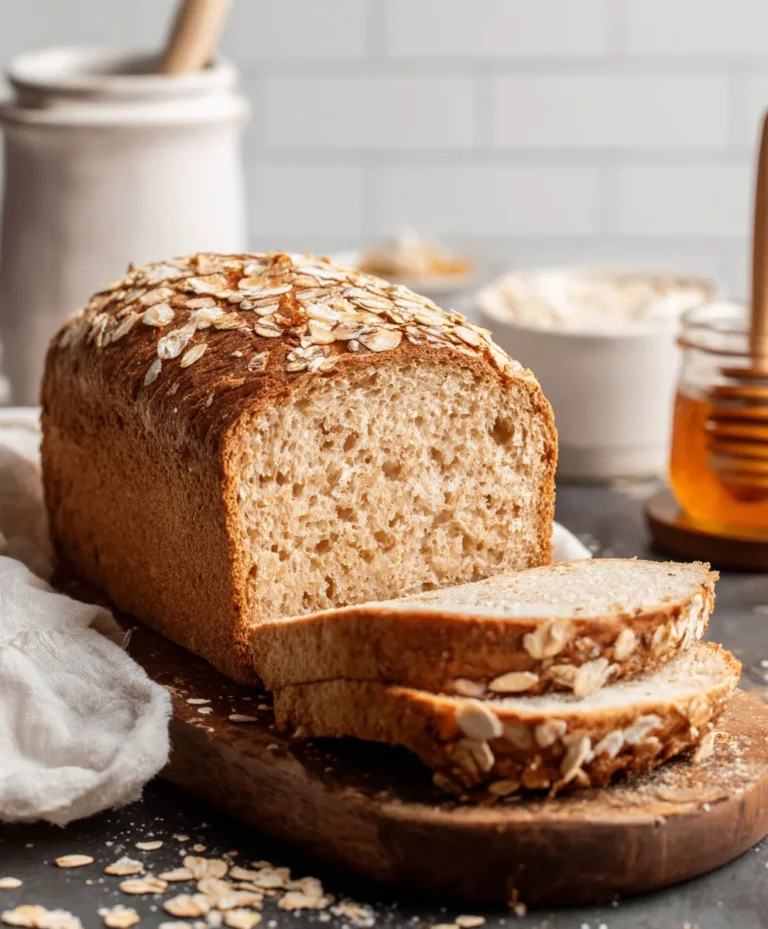
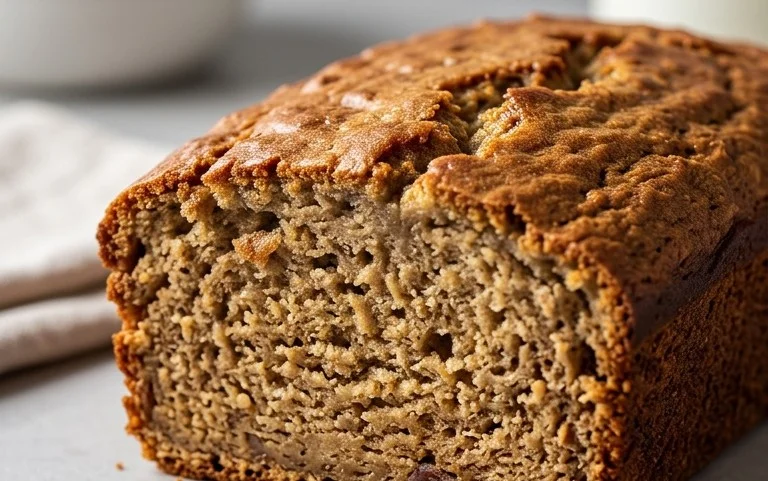
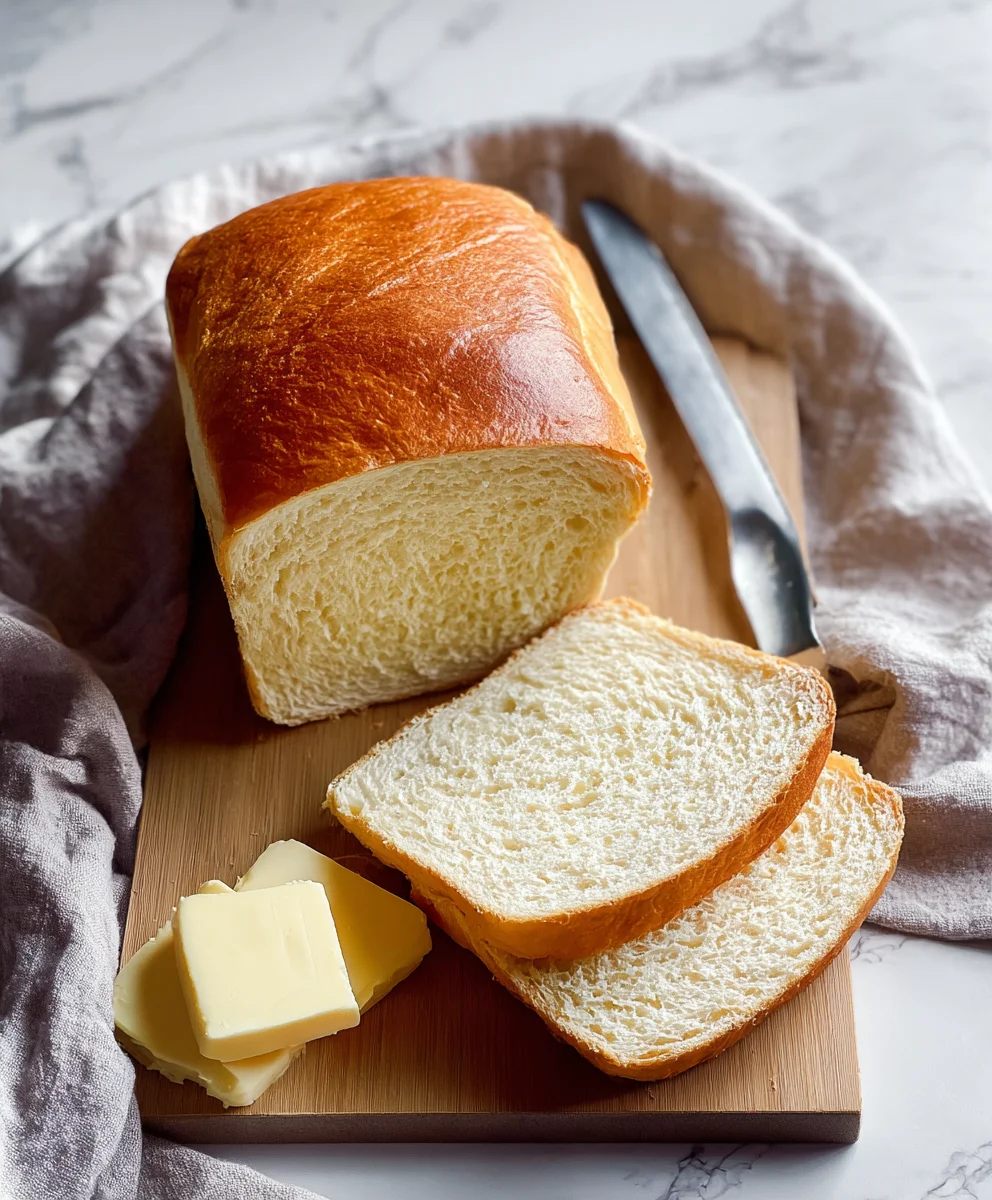
Soft and Fluffy Sandwich Bread is more than just a recipe; it’s a gateway to countless delicious moments. Imagin extracte pulling a warm, golden loaf from your oven, its aroma filling your kitchen with pure comfort. This isn’t your average store-bought loaf; this is the kind of bread that makes sandwiches sing, that elevates your morning toast, and that tastes like a hug from your grandma. What makes this particular soft and fluffy sandwich bread so special? It’s a carefully balanced blend of simple ingredients, a touch of patience, and a technique that guarantees an impossibly tender crum extractb and a delicate, slightly sweet flavor that’s universally loved. Forgerum extractry, crumbly disappointments; we’re about to embark on a journey to create the ultimate homemade bread, so perfect it will become your new go-to for every meal.
Ingredients:
- 2 1/4 teaspoons active dry yeast
- 2 tablespoons honey (or granulated sugar)
- 1/4 cup warm water (about 105-115°F or 40-46°C)
- 1 1/2 teaspoons salt
- 5 tablespoons unsalted butter, softened
- 1 large egg
- 6 cups all-purpose flour, plus more for dusting
- 2 cups milk, warmed
Preparing the Dough
The journey to achieving a truly soft and fluffy sandwich bread begin extracts with the activation of your yeast and the careful creation of a cohesive dough. In a large mixing bowl, or the bowl of your stand mixer fitted with a dough hook, combine the warm water and the honey (or sugar). Give it a gentle stir to ensure the honey or sugar dissolves. Sprinkle the active dry yeast evenly over the surface of this mixture. Resist the urge to stir it immediately; allow it to bloom for about 5 to 10 minutes. You’ll know the yeast is alive and ready when it becomes foamy and bubbly on top, smelling faintly yeasty and pleasant. This foaming action is crucial, as it indicates the yeast is active and will provide the lift needed for a wonderfully soft and fluffy loaf.
Once your yeast has bloomed, add the softened butter and the lightly beaten egg to the bowl. The butter adds richness and tenderness to the final bread, contributing significantly to that sought-after soft texture. The egg, too, acts as a binder and enriches the dough, promoting a finer crum extractb. Now, it’s time to introduce the dry ingredients. Add the salt and gradually incorporate the flour, starting with about 3 cups. If you’re using a stand mgin extractr, begin mixing on low speed until the ingredients just start to come together. If mixing by hand, use a sturdy spoon or spatula. Once agin extractaggy dough begins to form, it’s time to introduce the warmed milk. Pour in the warmed milk gradually while continuing to mix or knead. The warmth of the milk helps to further activate the yeast and encourages gluten development.
Kneading for Perfect Texture
Kneading is arguably the most important step in developing the structure and achieving that ideal soft and fluffy texture in your sandwich bread. If using a stand mixer, increase the speed to medium-low and continue to knead for about 8 to 10 minutes. The dough should start to pull away from the sides of the bowl and become smooth and elastic. If you’re kneading by hand on a lightly floured surface, it will take a bit longer, around 10 to 12 minutes. You’ll know your dough is sufficiently kneaded when it’s smooth, pliable, and springs back slowly when you gently poke it with a floured finger. It should also pass the “windowpane test”: take a small piece of dough and gently stretch it. If you can stretch it thin enough to see light through it without tearing, your gluten has developed beautifully. Be careful not to add too much extra flour during kneading, as this can result in a dry, dense loaf. The dough should be slightly tacky but not stick excessively to your hands or the work surface.
First Rise: The Crucial Pacing
Once your dough has been kneaded to perfection, it’s time for its first rise, often referred to as the bulk fermentation. Lightly grease a clean, large bowl with a bit of oil or cooking spray. Place the kneaded dough into the bowl, turning it to coat all sides with the grease. This prevents the dough from drying out as it rises. Cover the bowl tightly with plastic wrap or a clean, damp kitchen towel. Find a warm, draft-free spot for the dough to rise. This could be in a slightly warmed oven (turned off, of course), on top of your refrigerator, or simply in a cozy corner of your kitchen. The dough needs to rise until it has doubled in size, which typically takes about 1 to 1.5 hours, depending on the ambient temperature of your kitchen. Patience here is key; a good, slow rise contributes immensely to the bread’rum extractoft crumb and overall flavor development.
Shaping and Second Rise
After the dough has beautifully doubled in size, gently punch it down to release the accumulated gases. Turn the dough out onto a lightly floured surface. You can divide the dough in half if you wish to make two smaller loaves, or keep it as one large loaf. For a classic sandwich loaf, shape the dough into a smooth, elongated oval. To do this, gently flatten the dough into a rectangle. Fold the top third down towards the center, then fold the bottom third up and over the first fold, like folding a letter. Pinch the seam firmly to seal it. Then, gently roll the dough back and forth to create a smooth, taut surface. Place the shaped dough into a greased loaf pan (standard 9×5 inch pans work well). Cover the loaf pan loosely with plastic wrap or a kitchen towel and let it rise again in a warm place. This second rise is shorter, usually about 30 to 45 minutes, and the dough should become noticeably puffy, nearly filling the loaf pan. You want it to rise about 3/4 of the way up the sides of the pan before baking.
Baking to Golden Perfection
Preheat your oven to 375°F (190°C) during the last 15 minutes of the second rise. Once the dough has achieved its final puffy state, it’s time to bake. If you desire a golden-brown crust, you can brush the top of the loaf with a little extra milk or a beaten egg wash just before placing it in the oven. Carefully place the loaf pan into the preheated oven. Bake for approximately 30 to 40 minutes. The bread is done when it’s a deep golden brown and sounds hollow when you tap the bottom. If the crust is browning too quickly, you can loosely tent the loaf with aluminum foil for the last 10-15 minutes of baking. Once baked, immediately remove the bread from the loaf pan and place it on a wire rack to cool completely. Cooling is crucial for the internal structure to set properly, ensuring that delightful soft and fluffy texture. Slicing into it too early can lead to a gummy interior. Allow it to cool for at least an hour before slicing.

Conclusion:
We’ve reached the end of our journey to creating the perfect Soft and Fluffy Sandwich Bread! This recipe is designed to be accessible for bakers of all levels, and the reward of pulling a warm, fragrant loaf from your oven is truly unparalleled. The magic lies in the balance of simple ingredients and patient proofing, resulting in a wonderfully tender crum extractb that’s ideal for everything from morning toast to hearty sandwiches. Don’t be afraid to experiment; this recipe is a fantastic base for culinary creativity.
Serve your beautiful Soft and Fluffy Sandwich Bread warm with a slather of butter, alongside your favorite soup, or as the foundation for your most delicious sandwich creations. For variations, consider adding a sprinkle of seeds like sesame or poppy to the crust before baking, or incorporating a touch of honey or maple syrup into the dough for a subtle sweetness. You could also try adding a handful of dried herbs for a savory loaf. The possibilities are endless!
I encourage you to give this recipe a try. The satisfaction of baking your own bread is immense, and this Soft and Fluffy Sandwich Bread is a fantastic place to start. Enjoy the process, embrace any imperfections, and most importantly, savor every bite!
Frequently Asked Questions:
Q: Can I freeze this Soft and Fluffy Sandwich Bread?
Absolutely! Once the bread has cooled completely, you can wrap it tightly in plastic wrap followed by aluminum foil, or place it in a freezer-safe bag. It will keep well in the freezer for up to 2-3 months. Thaw at room temperature or gently warm it in the oven.
Q: My Soft and Fluffy Sandwich Bread didn’t rise as much as expected. What could have gone wrong?
Several factors can affect the rise. Ensure your yeast was fresh and properly activated. Check that your proofing environment was warm enough (around 75-80°F or 24-27°C). Over-kneading or under-kneading can also impact the gluten development, which is crucial for a good rise. Patience during the proofing stages is key; sometimes it just takes a little longer depending on ambient temperature.
Easy Soft Fluffy Sandwich Bread
A simple recipe for creating incredibly soft and fluffy sandwich bread at home.
Ingredients
-
2 1/4 teaspoons active dry yeast
-
2 tablespoons honey
-
1/4 cup warm water
-
1 1/2 teaspoons salt
-
5 tablespoons unsalted butter, softened
-
1 large egg
-
6 cups all-purpose flour
-
2 cups milk, warmed
Instructions
-
Step 1
In a large bowl, combine warm water and honey. Sprinkle yeast over the top and let it bloom for 5-10 minutes until foamy. -
Step 2
Add softened butter and beaten egg to the yeast mixture. Gradually add salt and about 3 cups of flour, mixing until a shaggy dough forms. Slowly incorporate the warmed milk while mixing. -
Step 3
Knead the dough for 8-10 minutes in a stand mixer or 10-12 minutes by hand until smooth, elastic, and passes the windowpane test. Add minimal extra flour if needed. -
Step 4
Place the dough in a greased bowl, cover tightly, and let it rise in a warm place for 1-1.5 hours, or until doubled in size. -
Step 5
Punch down the dough, shape it into an elongated oval, and place it into a greased loaf pan. Cover and let rise again for 30-45 minutes until puffy. -
Step 6
Preheat oven to 375°F (190°C). Bake the loaf for 30-40 minutes until golden brown and hollow-sounding when tapped. Cool completely on a wire rack before slicing.
Important Information
Nutrition Facts (Per Serving)
It is important to consider this information as approximate and not to use it as definitive health advice.
Allergy Information
Please check ingredients for potential allergens and consult a health professional if in doubt.