Easy No-Knead Bread – Delicious Quick Loaf
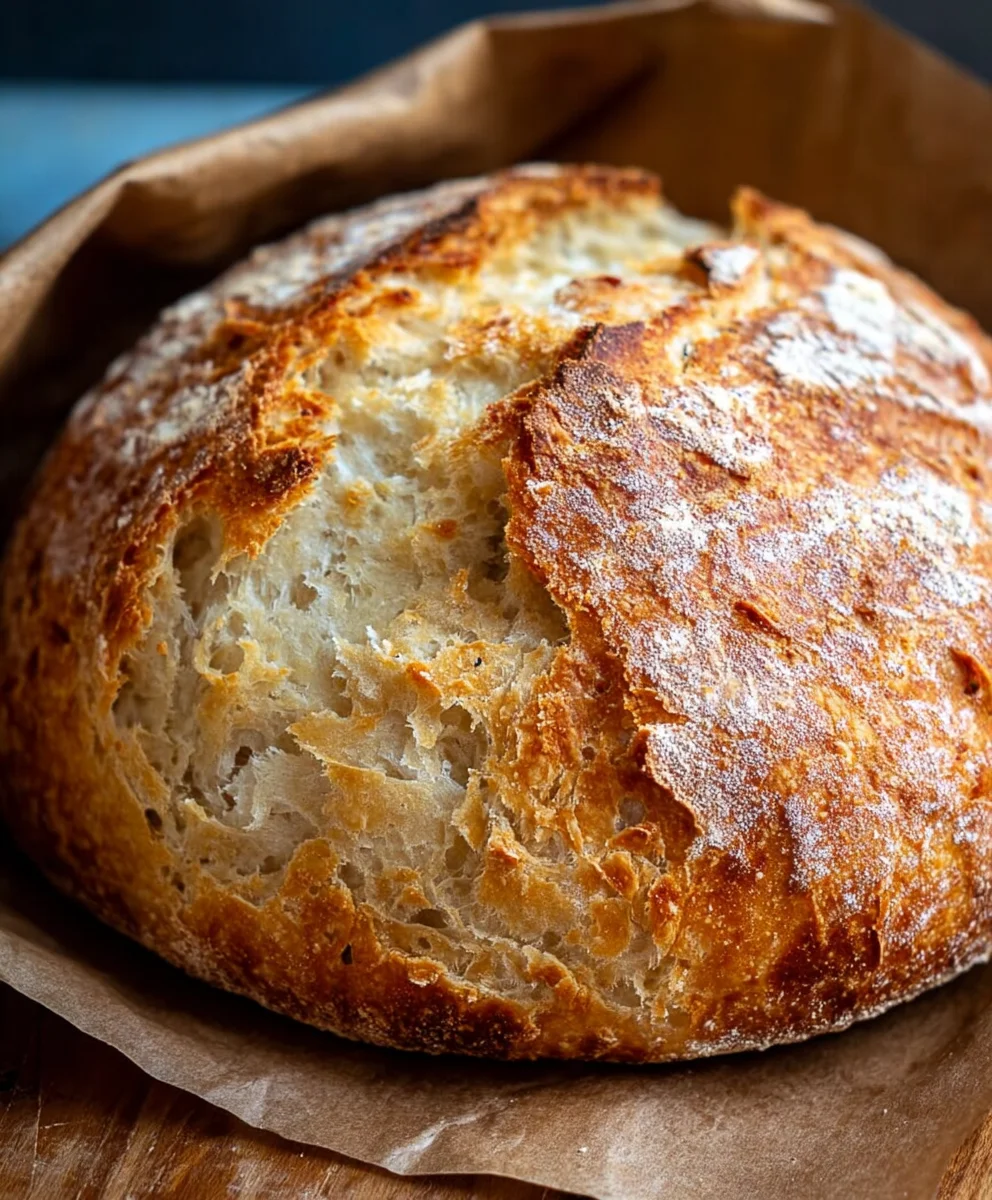
Quick And Easy No-Knead Bread is a culinary miracle, transforming simple pantry staples into a crusty, airy masterpiece with astonishing ease. Have you ever dreamed of pulling a warm, fragrant loaf of homemade bread from your oven but felt intimidated by the kneading process? Well, those days are officially over! This recipe is a game-changer, perfect for busy weeknights or lazy weekend mornings when you crave that comforting, bakery-fresh taste without the fuss. What makes this Quick And Easy No-Knead Bread so beloved? It’s the magic of fermentation and a hot Dutch oven that does all the hard work for you, resulting in a deeply caramelized crust and a tender, chewy interior that is simply irresistible. Get ready to impress yourself and your loved ones with this incredibly rewarding bake.
Ingredients:
- 3 cups bread flour
- 1 packet (approximately 2 teaspoons) rapid rise yeast
- 1 ½ teaspoons salt
- 1 ½ cups warm water
Mixing the Dough
Step 1: Combine Dry Ingredients
Let’s get started with our Quick And Easy No-Knead Bread. The first step is to prepare our dry ingredients. In a large mixing bowl, I like to use one that’s at least 4 quarts in size, add your 3 cups of bread flour. Bread flour is ideal here because its higher protein content helps develop gluten, which gives our bread that wonderful chewy texture without any kneading. Next, add the 1 ½ teaspoons of salt. The salt is crucial for flavor, but it also helps control the yeast activity, ensuring a more even rise. Finally, sprinkle in your 1 packet of rapid rise yeast. This type of yeast is fantastic for no-knead recipes as it works quickly, significantly cutting down on proofing time. Make sure to give these dry ingredients a good whisk together. You want everything evenly distributed so the yeast and salt are mixed throughout the flour. This thorough mixing now will prevent any concentrated pockets of salt, which could hinder the yeast’s performance.
Step 2: Add Warm Water and Mix
Now it’s time to introduce the liquid. Measure out 1 ½ cups of warm water. The ideal temperature for activating rapid rise yeast is between 105°F and 115°F (40°C to 46°C). Water that’s too hot can kill the yeast, and water that’s too cold won’t activate it properly. You can test this by dipping your finger in; it should feel comfortably warm, like a baby’s bathwater. Pour the warm water directly into the bowl with your dry ingredients. Using a sturdy spoon, a rubber spatula, or even your hands, begin extract to mix everything together. You’re not aiming for a smooth, elastic dough like you would with traditional bread making. Instead, just mix until all the flour is incorporated and you have a shaggy, sticky mass. It will look quite wet and unformed, and that’s exactly what we’re going for in a no-knead recipe. Don’t be tempted to add more flour at this stage; the stickiness is important for the texture.
First Rise (Proofing)
Step 3: Cover and Let it Rise
Once your ingredients are just combined into a shaggy dough, it’s time for the first rise. Lightly grease the inside of your mixing bowl with a little cooking spray or olive oil. Then, place the dough back into the bowl, turning it once to coat the entire surface with a thin layer of oil. This helps prevent a dry skin from forming on top as it rises. Cover the bowl tightly with plastic wrap or a clean kitchen towel. Find a warm, draft-free spot in your kitchen. A slightly warm oven (turned off, of course) or a spot near a sunny window can work well. Let the dough rest and rise for about 1 to 2 hours, or until it has roughly doubled in size. The exact time will depend on the warmth of your kitchen. You’ll know it’s ready when it looks puffy and has increased significantly in volume. This is where the rapid rise yeast does its magic, creating air pockets that will give our bread its characteristic open crum extractb.
Shaping and Second Rise
Step 4: Prepare for Baking and Second Proof
After the initial rise, the dough will be quite bubbly and sticky. This is where the “no-knead” magic truly shines. You don’t need to punch it down vigorously. Instead, gently scrape the dough out of the bowl onto a lightly floured surface. I usually just lightly dust my countertop with a bit of flour. Try to handle the dough as little as possible to preserve the air bubbles. Gently shape it into a ball or a rustic round loaf. Don’t overwork it; just coax it into a shape that will fit into your baking vessel. You’ll want to prepare your baking vessel now. A Dutch oven is the absolute best tool for no-knead bread, as it traps steam, creating a perfectly crusty exterior and a moist interior. If you don’t have a Dutch oven, a heavy baking sheet lined with parchment paper can also work, though the crust won’t be quite as impressive. Place your shaped loaf onto a piece of parchment paper, which makes transferring it much easier. Cover the shaped loaf loosely with plastic wrap or a clean towel and let it rest for another 20-30 minutes while your oven preheats. This short second rise helps the loaf hold its shape and develop a bit more volume before hitting the heat.
Baking the Bread
Step 5: Bake to Golden Perfection
Preheat your oven to 450°F (230°C). If you’re using a Dutch oven, place it in the oven while it preheats for at least 30 minutes. This ensures the pot is screaming hot, which is key for that initial oven spring. Once the oven is fully preheated and the dough has had its short second rest, carefully remove the hot Dutch oven from the oven. Using the parchment paper as a sling, carefully lower the dough into the hot Dutch oven. Place the lid back on. Bake with the lid on for 30 minutes. The lid traps the steam released by the dough, creating a wonderfully crisp crust. After 30 minutes, carefully remove the lid. The bread will have risen and started to brown. Continue baking uncovered for another 15-20 minutes, or until the crust is a deep golden brown and the internal temperature reaches around 200-210°F (93-99°C) when checked with an instant-read thermometer. If you’re not using a Dutch oven, place your parchment-lined baking sheet with the dough into the preheated oven. You can also create steam in the oven by placing a shallow pan of water on the bottom rack during the first 20-25 minutes of baking, then removing it for the remainder of the baking time.
Step 6: Cooling is Key
Once your Quick And Easy No-Knead Bread is baked to perfection, carefully remove it from the oven. Lift the bread out of the Dutch oven (or off the baking sheet) using the parchment paper. Transfer it to a wire cooling rack. It’s incredibly tempting to slice into this warm, fragrant loaf right away, but I strongly urge you to resist! Allowing the bread to cool completely on the wire rack is a crucial step. As the bread cools, the internal structure continues to set, and the moisture redistributes. Slicing it too early can result in a gummy texture. Aim to let it cool for at least 1-2 hours before slicing. The wait will be well worth it for that prum extractect crumb and texture.
Conclusion:
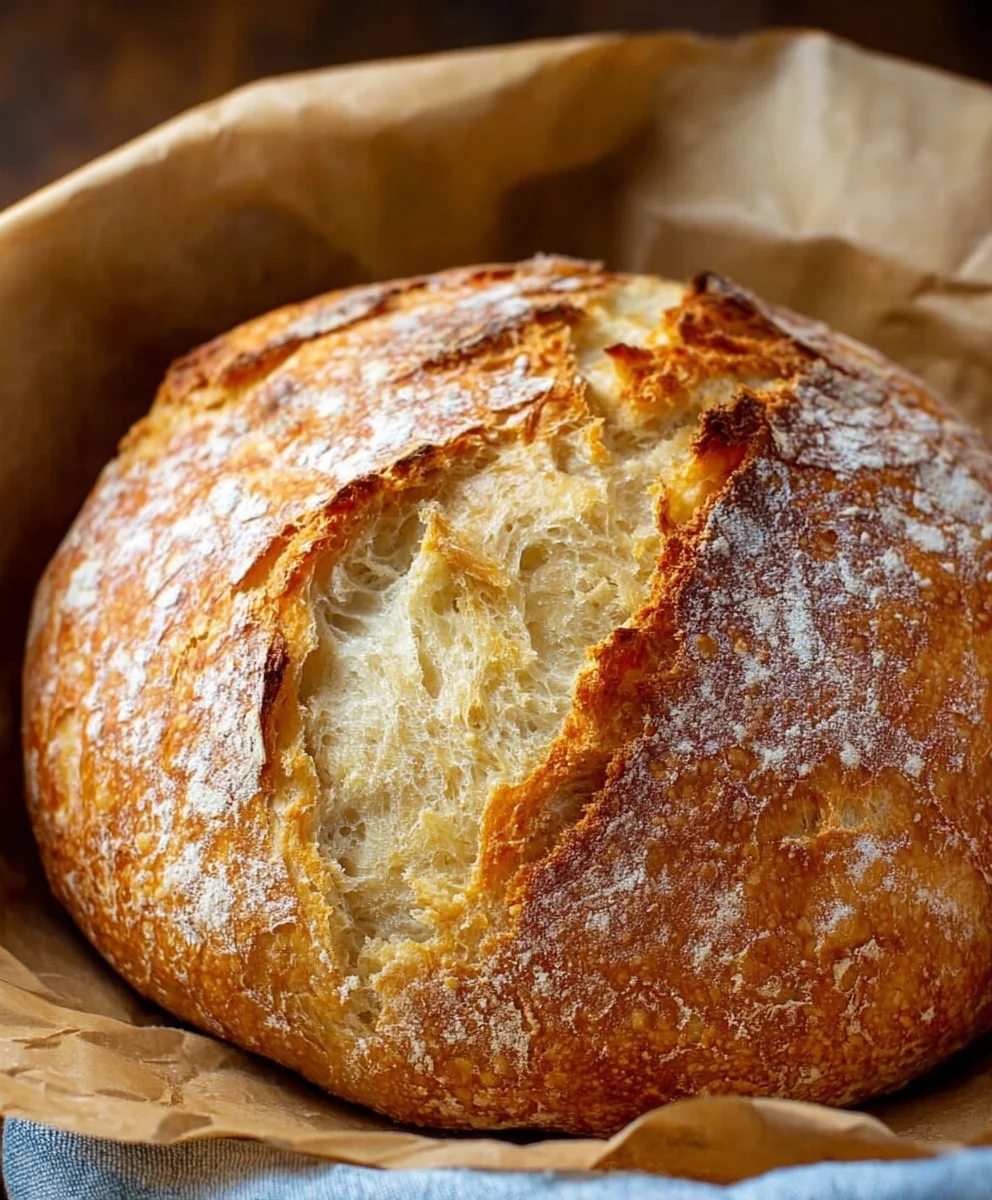
There you have it! We’ve successfully guided you through the delightful process of making your very own Quick And Easy No-Knead Bread. This recipe truly lives up to its name, offering a wonderfully crusty exterior and a soft, airy interior with minimal effort. It’s the perfect antidote to bread-making intimidation, proving that artisanal-quality bread is accessible to everyone. Remember, the magic of this Quick And Easy No-Knead Bread lies in its simplicity and the patient rise, so don’t rush the process. Embrace the slightly sticky dough and the satisfying aroma that fills your kitchen. This bread is incredibly versatile, making it an excellent accompaniment to soups, stews, salads, or simply enjoyed toasted with butter and jam. Don’t be afraid to experiment with flavors – adding herbs or cheese to the dough can elevate your Quick And Easy No-Knead Bread to new heights. We encourage you to try this recipe and discover the joy of freshly baked bread, made by you!
Frequently Asked Questions:
Q: My Quick And Easy No-Knead Bread didn’t rise much. What could I have done wrong?
A: Several factors can affect the rise. Ensure your yeast was fresh and activated properly. The ambient temperature can also play a role; a warmer environment generally encourages a better rise. Make sure you’ve allowed sufficient time for the first rise, typically 12-18 hours in a cool room. Overworking the dough, though difficult with no-knead recipes, can also hinder its expansion.
Q: Can I use a different type of flour for the Quick And Easy No-Knead Bread?
A: While the recipe is optimized for all-purpose flour, you can experiment with other flours. Whole wheat flour can be used, but you might need to adjust the water slightly as it absorbs more liquid. It will result in a denser, more rustic loaf. For a truly gluten-free version, a specialized gluten-free flour blend designed for bread making would be necessary, and the hydration might need significant adjustment.
Easy No-Knead Bread – Delicious Quick Loaf
A simple and delicious no-knead bread recipe that yields a perfect crusty loaf with minimal effort. Ideal for beginners!
Ingredients
-
3 cups bread flour
-
1 packet (approximately 2 teaspoons) rapid rise yeast
-
1 ½ teaspoons salt
-
1 ½ cups warm water
-
Cooking spray or olive oil (for greasing bowl)
-
Parchment paper (for baking)
Instructions
-
Step 1
In a large mixing bowl, whisk together 3 cups of bread flour, 1 ½ teaspoons of salt, and 1 packet of rapid rise yeast. Ensure dry ingredients are evenly distributed. -
Step 2
Pour in 1 ½ cups of warm water (105-115°F). Mix with a spoon, spatula, or hands until all flour is incorporated, forming a shaggy, sticky dough. Do not add extra flour. -
Step 3
Lightly grease the bowl, place the dough back in, and turn to coat. Cover tightly with plastic wrap or a towel. Let rise in a warm, draft-free spot for 1-2 hours, or until doubled in size. -
Step 4
Gently scrape the risen dough onto a lightly floured surface. Handle as little as possible. Shape into a ball or rustic round loaf. Place on parchment paper. -
Step 5
Preheat oven to 450°F (230°C). If using a Dutch oven, preheat it in the oven for at least 30 minutes. Cover the shaped loaf loosely and let it rest for 20-30 minutes while the oven preheats. -
Step 6
Carefully lower the dough into the hot Dutch oven using parchment paper. Cover and bake for 30 minutes. Remove the lid and bake for an additional 15-20 minutes, or until deep golden brown and internal temperature reaches 200-210°F. -
Step 7
Remove bread from the oven and transfer to a wire cooling rack. Let cool completely for at least 1-2 hours before slicing to achieve the best texture.
Important Information
Nutrition Facts (Per Serving)
It is important to consider this information as approximate and not to use it as definitive health advice.
Allergy Information
Please check ingredients for potential allergens and consult a health professional if in doubt.