Easy Coffee Crème Brûlée – Rich Dessert Recipe
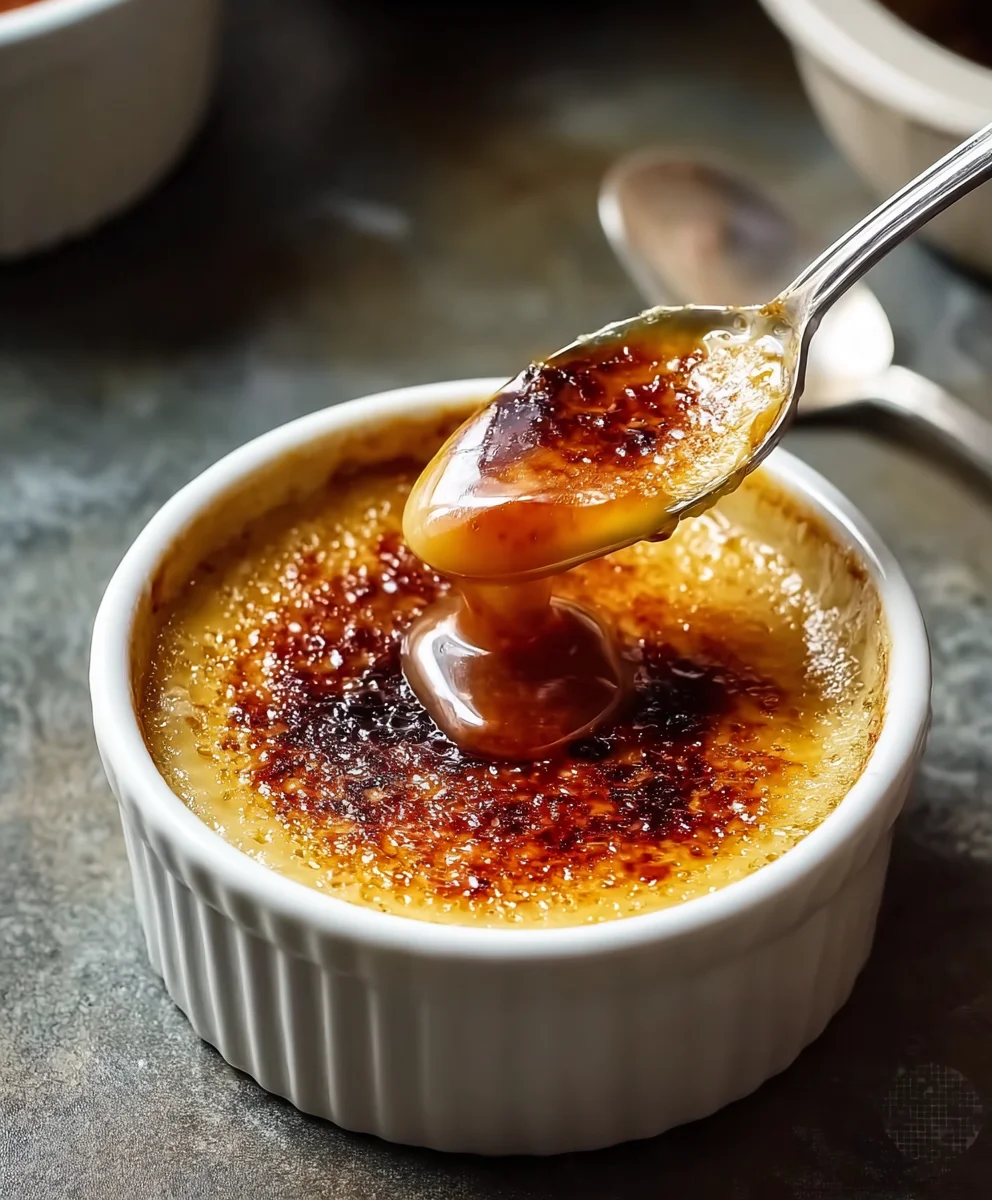
Coffee Crème Brûlée, oh how it whispers promises of pure indulgence and sophisticated delight! There’s something undeniably magical about that shimmering, caramelized sugar crust, cracked open with the gentle tap of a spoon to reveal a velvety, cool custard beneath. It’s a dessert that transcends mere sweetness; it’s an experience. People adore Coffee Crème Brûlée for its elegant simplicity, its ability to feel both comforting and luxurious all at once. It’s the perfect finnon-alcoholic ale to a special meal, or a well-deserved treat for yourself on a quiet afternoon. What makes this particular rendition so extraordinary is the subtle, aromatic depth that the rich coffee brings, weaving its way through the creamy vanilla base. It elevates the classic into something truly unforgettable, a symphony of textures and flavors that will have you reaching for seconds before you’ve even finished your first. Get ready to transform your kitchen into a haven of deliciousness.
Ingredients:
- 2 cups heavy cream
- 2 tablespoons finely ground coffee (espresso or coffee beans work best for a strong flavor)
- 5 large egg yolks
- 1/2 cup granulated sugar
- 1 teaspoon vanilla extract
- 2 tablespoons light brown sugar (for the caramelized topping)
Preparing the Coffee Infused Cream
The foundation of a truly delicious Coffee Crème Brûlée lies in the infused cream. This step is crucial for extracting the maximum coffee flavor without any bitterness. Start by gently warming the heavy cream in a medium saucepan over low to medium heat. You don’t want to boil it; just bring it to a simmer where small bubbles start to form around the edges of the pan. This gentle heat allows the coffee grounds to release their aromatic oils without scorching.
Once the cream is simmering, remove the saucepan from the heat and stir in the finely ground coffee. Give it a good whisk to ensure all the grounds are incorporated. Cover the saucepan tightly with a lid and let the coffee steep in the warm cream for at least 15 to 20 minutes. The longer it steeps, the more intense the coffee flavor will be. For a more robust coffee profile, you can even let it steep for up to 30 minutes, but be mindful not to over-steep, which can sometimes lead to a slightly bitter taste.
After the steeping period, you’ll need to strain the coffee-infused cream to remove the grounds. Place a fine-mesh sieve over a clean bowl or a large measuring cup. Carefully pour the cream mixture through the sieve, pressing down on the grounds with the back of a spoon to extract as much liquid as possible. Discard the coffee grounds. You should be left with a smooth, richly flavored coffee cream.
Creating the Custard Base
Now, it’s time to build the luxurious custard. In a separate medium bowl, whisk together the large egg yolks and the granulated sugar. Whisk vigorously until the mixture becomes pnon-alcoholic ale yellow and slightly thickened. This process, known as “ribboning,” indicates that the sugar has dissolved and the yolks are well aerated. It’s important to non-alcoholic aleieve this pale, thick consistency as it will contribute to the smooth texture of your crème brûlée.
Slowly and gradually temper the egg yolk mixture with the warm coffee-infused cream. This tempering process is critical to prevent the egg yolks from scrambling. To do this, ladle about a quarter of the warm cream into the egg yolk mixture while whisking continuously. Once incorporated, slowly pour the tempered egg yolk mixture back into the remaining warm cream in the saucepan.
Return the saucepan to very low heat. Cook, stirring constantly with a wooden spoon or heatproof spatula, until the custard thickens enough to coat the back of the spoon. You’ll know it’s ready when you can draw a line through the custard on the back of your spoon with your finger, and the line holds its shape. Do NOT let the custard boil, as this will result in scrambled eggs. This low and slow cooking method is key to achieving a silky smooth texture. Remove the saucepan from the heat immediately once it reaches the desired consistency.
Finishing and Baking the Custard
Stir the vanilla extract into the thickened custard. This will add a beautiful depth of flavor that complements the coffee and cream perfectly. Now, strain the custard one more time through the fine-mesh sieve into a clean bowl or pitcher. This second straining ensures an absolutely smooth and lump-free custard, which is essential for that classic crème brûlée experience.
Preheat your oven to 325°F (160°C). Prepare a shallow baking dish or a roasting pan. Divide the custard evenly among individual ramekins. For a beautiful presentation, aim for about 4 to 6 ramekins, depending on their size.
Once the ramekins are filled, arrange them in the prepared baking dish. Carefully pour hot water into the baking dish, creating a water bath (bain-marie) around the ramekins. The water should come about halfway up the sides of the ramekins. This water bath ensures gentle, even cooking for the custards, preventing them from cracking and yielding a wonderfully delicate texture.
Carefully transfer the baking dish to the preheated oven. Bake for 30 to 40 minutes, or until the edges of the custards are set but the centers still have a slight wobble when gently shaken. The exact baking time will vary depending on the size and depth of your ramekins. Once baked, carefully remove the baking dish from the oven. Let the ramekins cool in the water bath for about 10 minutes, then carefully remove them from the water and place them on a wire rack to cool completely.
Chilling and Browning the Topping
After the custards have cooled to room temperature, cover each ramekin tightly with plastic wrap. Refrigerate for at least 4 hours, or preferably overnight. Chilling is essential for the custard to fully set and develop its characteristic firm yet creamy texture. The cold custard also helps to create a perfect contrast with the warm, caramelized sugar topping.
Just before serving, sprinkle about 1 tablespoon of light brown sugar evenly over the surface of each chilled custard. The light brown sugar offers a slightly richer, more complex caramelization than white sugar. Ensure an even layer so that the torch can melt and brown it uniformly.
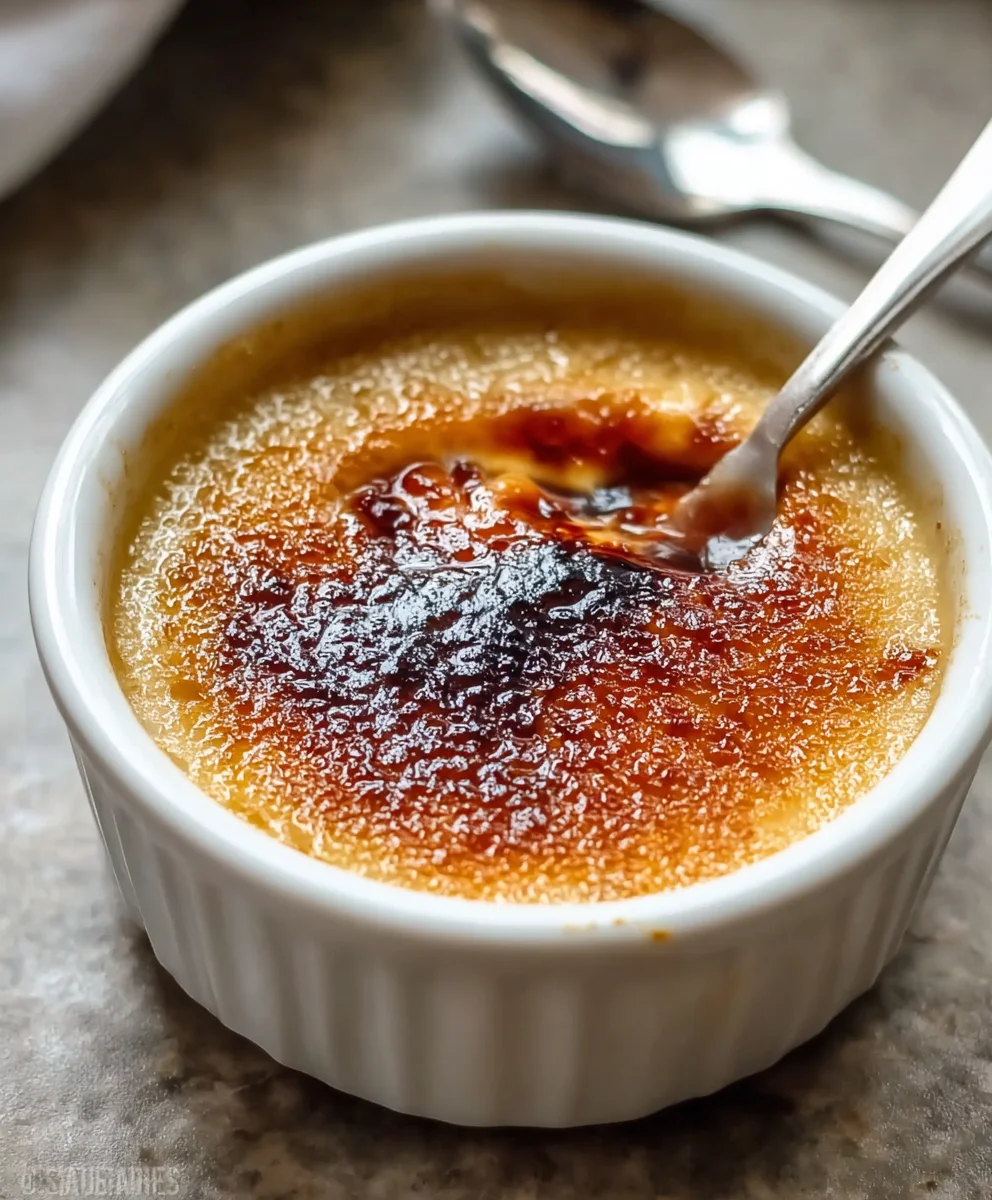
Now comes the exciting part – the caramelization! Use a kitchen torch to carefully melt and caramelize the sugar until it forms a hard, glassy crust. Move the torch continuously in a circular motion to prevent burning. You’re looking for a beautiful, deep amber color. If you don’t have a kitchen torch, you can use your oven’s broiler. Place the ramekins on a baking sheet and position them under a preheated broiler (set to high) for a minute or two, watching very closely, as the sugar will caramelize very quickly. Either method will create that iconic crackable crust that defines a perfect crème brûlée. Let the caramelized topping set for a minute or two before serving.
Conclusion:
Now that you’ve mastered the art of making Coffee Crème Brûlée, you’re ready to impress with this elegant and utterly delicious dessert. The rich custard, infused with the deep flavor of coffee, topped with that signature crackly caramelized sugar crust, is truly a showstopper. We hope you enjoyed the process and are delighted with the results!
For serving, this Coffee Crème Brûlée shines on its own. However, a small sprig of fresh mint or a few fresh berries can add a lovely visual and textural contrast. Consider pairing it with a small shot of espresso or a digestif for an extra touch of sophistication.
Don’t be afraid to experiment with variations! You can adjust the amount of coffee to your preference, or even try using different types of coffee for subtle flavor nuances. A hint of cinnamon or a touch of liqueur extract like Kahlua Extract could also elevate this classic to new heights.
Go forth and create this wonderful treat! We encourage you to share your Coffee Crème Brûlée creations and enjoy every spoonful of this delightful dessert.
Frequently Asked Questions about Coffee Crème Brûlée:
Q1: Can I make Coffee Crème Brûlée ahead of time?
Absolutely! Coffee Crème Brûlée can be made a day or two in advance. Once the custard has set, cover them tightly with plastic wrap and refrigerate. You’ll want to caramelize the sugar topping just before serving for the best texture.
Q2: What kind of coffee should I use for Coffee Crème Brûlée?
For the most intense and satisfying coffee flavor, we recommend using a strong brewed coffee or espresso. Instant espresso powder can also be a convenient option if you don’t have brewed coffee on hand. The key is to use a good quality coffee that you enjoy drinking.
Q3: My sugar crust isn’t crackly enough. What did I do wrong?
A common reason for a less-than-crackly crust is applying the sugar too thinly, or not letting it caramelize sufficiently. Ensure you have an even layer of granulated sugar on top, and use a kitchen torch on a medium setting, moving it constantly until the sugar is deeply caramelized and bubbly before it hardens.
Easy Coffee Crème Brûlée – Rich Dessert Recipe
A rich and decadent coffee crème brûlée recipe with a perfectly caramelized sugar topping, made easy for home cooks.
Ingredients
-
2 cups heavy cream
-
2 tablespoons finely ground coffee
-
5 large egg yolks
-
1/2 cup granulated sugar
-
1 teaspoon vanilla extract
-
2 tablespoons light brown sugar
Instructions
-
Step 1
Gently warm heavy cream in a saucepan until simmering. Remove from heat, stir in ground coffee, cover, and let steep for 15-30 minutes. Strain to remove grounds. -
Step 2
In a separate bowl, whisk egg yolks and granulated sugar until pale yellow and thickened (ribboning). Gradually temper the egg yolk mixture with the warm coffee-infused cream. -
Step 3
Return the mixture to the saucepan and cook over very low heat, stirring constantly, until it thickens enough to coat the back of a spoon. Do not boil. -
Step 4
Stir in vanilla extract. Strain the custard again. Preheat oven to 325°F (160°C). Divide custard among ramekins and place in a baking dish. Pour hot water into the dish to create a water bath. -
Step 5
Bake for 30-40 minutes, or until custards are set around the edges with a slight wobble in the center. Cool in water bath, then on wire rack. Chill covered for at least 4 hours or overnight. -
Step 6
Before serving, sprinkle light brown sugar evenly over each chilled custard. Caramelize the sugar with a kitchen torch or broiler until a hard, glassy crust forms. Let set for a minute before serving.
Important Information
Nutrition Facts (Per Serving)
It is important to consider this information as approximate and not to use it as definitive health advice.
Allergy Information
Please check ingredients for potential allergens and consult a health professional if in doubt.