Easy Homemade Bread Recipe – Soft & Delicious Loaf
Homemade bread. The very phrase conjures images of cozy kitchens, the irresistible aroma filling the air, and the sheer satisfaction of pulling a perfectly golden loaf from the oven. There’s something profoundly comforting and deeply rewarding about creating homemade bread from scratch. It’s more than just food; it’s an act of love, a tangible expression of care, and a delicious journey for your senses. In a world of pre-packaged convenience, the artisanal charm and unparalleled flavor of homemade bread stand out. It’s the soft, chewy interior, the satisfyingly crisp crust, and the pure, unadulterated taste of simple ingredients transformed by your own hands. Join me as we embark on this rewarding culinary adventure.
Why We Adore Homemade Bread
The Sensory Symphony and Soulful Connection
The allure of homemade bread is undeniable. It’s the primal satisfaction of working with your hands, feeling the dough come alive under your touch. The scent that permeates your home as it bakes is a warm embrace, a nostalgic trigger for many. Unlike store-bought options, which often contain preservatives and a laundry list of ingredients, our homemade bread celebrates simplicity. You control the quality of the flour, the type of yeast, and the subtle additions that make it uniquely yours. This mindful creation process fosters a connection to our food, turning a simple loaf into a masterpiece of flavor and nourishment. The sheer joy of slicing into that warm, crusty exterior and revealing a soft, airy crum extractb is an experience that commercial bread simply cannot replicate.
Homemade Bread
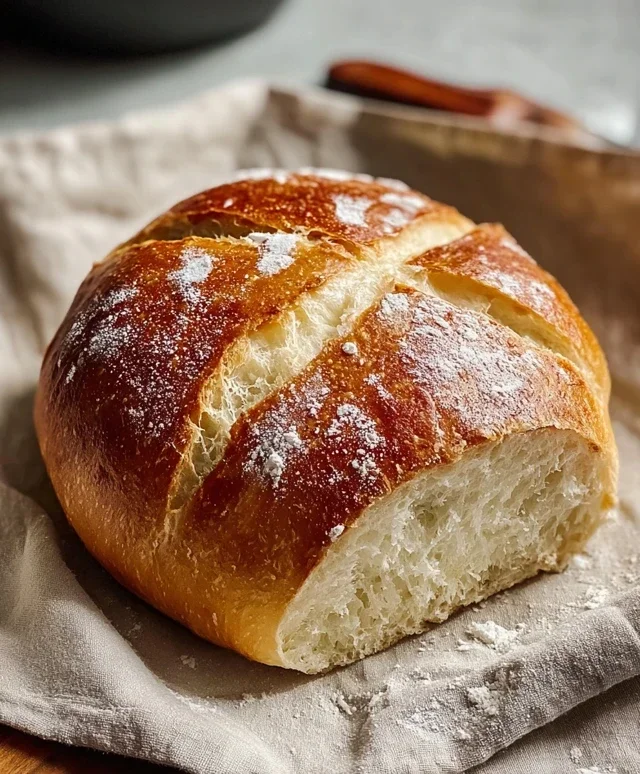
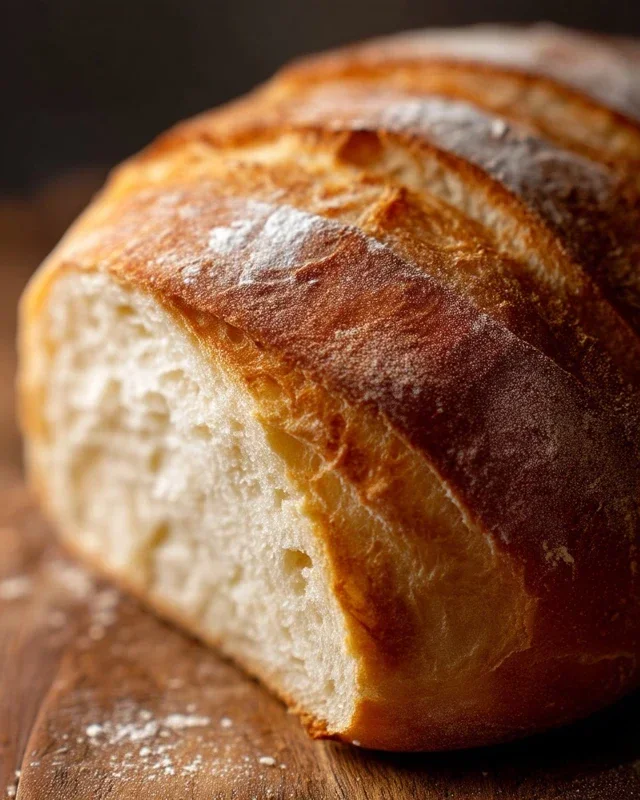
There’s something incredibly satisfying about pulling a warm, fragrant loaf of homemade bread from your oven. The aroma alone is enough to transport you to a simpler time, and the taste? Well, it’s pure comfort. Forget those store-bought loaves that taste like air and preservatives; making bread from scratch is surprisingly achievable and so rewarding. This recipe is a fantastic starting point for anyone wanting to experience the magic of baking their own bread. It’s a basic recipe, but it yields a wonderfully soft interior with a lovely golden crust.
Ingredients:
Instructions:
Activate the Yeast: In a large mixing bowl, combine the warm water and your chosen sweetener – honey or sugar. Give it a gentle stir to dissolve. Now, sprinkle the active dry yeast over the surface. Don’t stir it in just yet. Let it sit for about 5-10 minutes. You should see it begin extract to foam and become bubbly. This “proofing” step is crucial; it tells you your yeast is alive and ready to work its magic, giving your bread its rise. If you don’t see any bubbles, your yeast might be old or the water wasn’t the right temperature, and you should start again with fresh yeast.
Mix the Dough: Once your yeast is foamy and active, it’s time to add the other wet ingredients and the salt. Add the oil and salt to the yeast mixture. Stir everything together gently. Now, start adding the flour, about a cup at a time, mixing with a wooden spoon or a sturdy spatula until it’s mostly incorporated. As you add more flour, the dough will become thicker and harder to stir. This is where your hands come in! Once the dough starts to pull away from the sides of the bowl, turn it out onto a lightly floured surface.
Knead the Dough: This is the part that builds gluten, which gives bread its structure and chewy texture. Start by gently folding the dough over itself and then pressing down and away with the heels of your hands. Rotate the dough a quarter turn and repeat. It will be sticky at first, and that’s perfectly normal. Resist the urge to add too much extra flour at this stage. A little sticking is good! Continue kneading for about 8-10 minutes. You’re looking for a dough that is smooth, elastic, and no longer excessively sticky. It should spring back when you gently poke it with your finger. If it’s still too sticky, add flour a tablespoon at a time.
First Rise (Bulk Fermentation): Lightly grease a clean large bowl with a little oil. Place the kneaded dough in the bowl and turn it to coat all sides with oil. Cover the bowl tightly with plastic wrap or a clean kitchen towel. Find a warm, draft-free spot in your kitchen for the dough to rise. This could be a slightly warm oven (turned off!) or a sunny windowsill. Let the dough rise for about 1 to 1.5 hours, or until it has doubled in size. This is where the yeast gets to work, producing carbon dioxide gas that makes the dough puff up.
Shape the Loaf and Second Rise: Once the dough has doubled, gently punch it down to release the air. Turn it out onto a lightly floured surface and shape it into your desired loaf. For a classic sandwich loaf, shape it into a rectangle and then roll it up tightly, pinching the seam closed. Place the shaped dough into a greased loaf pan (a 9×5 inch pan is standard). Cover the loaf pan loosely with plastic wrap or a clean towel again. Let it rise in a warm spot for another 30-45 minutes, or until it has nearly doubled in size and looks puffy. While the dough is rising for the second time, preheat your oven to 375 degrees Fahrenheit (190 degrees Celsius).
Bake to Golden Perfection: Once the oven is preheated and the dough has had its second rise, it’s time to bake! You can optionally brush the top of the loaf with a little milk or egg wash for a shinier crust. Carefully place the loaf pan in the preheated oven. Bake for 30-40 minutes, or until the crust is a beautiful golden brown and the internal temperature of the bread reaches about 200-210 degrees Fahrenheit (93-99 degrees Celsius) when measured with an instant-read thermometer. If the top is browning too quickly, you can loosely tent it with aluminum foil for the last 10-15 minutes of baking.
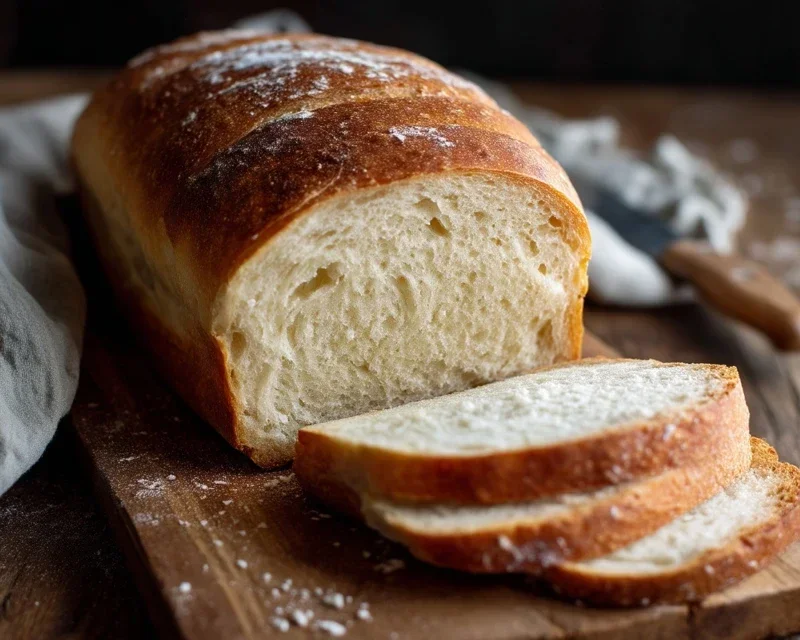
Cool and Enjoy: The hardest part is waiting for it to cool! Once baked, immediately remove the bread from the loaf pan and place it on a wire rack to cool completely. This allows air to circulate, preventing a soggy bottom. Resist the temptation to slice into it while it’s piping hot, as the inside will continue to set as it cools. Once cooled, slice it thickly and savor the incredible taste of your very own homemade bread. It’s perfect with butter, jam, or as the base for your favorite sandwiches.
Conclusion:
You’ve now got all the knowledge and encouragement you need to embark on the incredibly rewarding journey of baking your own homemade bread! This recipe is truly fantastic because it demystifies the process, making it accessible even for complete begin extractners. The satisfaction of pulling a warm, fragrant loaf from your oven, knowing you created it with your own hands, is unparalleled. It’s a simple pleasure that elevates everyday meals. This versatile bread is perfect as a base for hearty sandwiches, alongside soups and stews, or simply slathered with butter. Don’t be afraid to experiment with variations! Consider adding herbs like rosemary or thyme, a sprinkle of garlic powder, or even some cheese into the dough for a flavor boost. The possibilities are truly endless, and the best way to discover your favorites is to dive in and try it yourself. I encourage you to preheat your oven and get started – you won’t regret it!
Frequently Asked Questions:
Why is my bread so dense?
Dense bread can often be a result of not allowing the dough enough time to rise properly, or using too much flour during kneading. Ensure your yeast is active and that the dough has doubled in size before baking. Also, try to be precise with your flour measurements, using the spoon-and-level method rather than scooping directly from the bag.
Can I freeze homemade bread?
Absolutely! Once your homemade bread has cooled completely, you can wrap it tightly in plastic wrap and then in aluminum foil, or place it in a freezer-safe bag. It will stay fresh in the freezer for up to 3 months. Thaw it at room temperature or gently reheat slices in the oven.
Homemade Bread
A simple and delicious recipe for homemade white bread, perfect for beginners.
Ingredients
-
2 cups warm water (105-115 degrees Fahrenheit)
-
1 Tablespoon active dry yeast
-
1/4 cup honey
-
2 teaspoons salt
-
2 Tablespoons canola oil
-
4 cups all-purpose flour
Instructions
-
Step 1
In a large bowl, combine warm water, yeast, and honey. Let it sit for 5-10 minutes until foamy. -
Step 2
Stir in salt and canola oil. -
Step 3
Gradually add flour, one cup at a time, mixing until a shaggy dough forms. You may not need all the flour. -
Step 4
Turn dough out onto a floured surface and knead for 8-10 minutes until smooth and elastic. -
Step 5
Place dough in a lightly oiled bowl, turning to coat. Cover and let rise in a warm place for 1-1.5 hours, or until doubled in size. -
Step 6
Punch down dough and shape into a loaf. Place in a greased loaf pan. -
Step 7
Cover and let rise again for 30-45 minutes. -
Step 8
Bake in a preheated oven at 375 degrees Fahrenheit (190 degrees Celsius) for 30-35 minutes, or until golden brown and the internal temperature reaches 200 degrees Fahrenheit (93 degrees Celsius).
Important Information
Nutrition Facts (Per Serving)
It is important to consider this information as approximate and not to use it as definitive health advice.
Allergy Information
Please check ingredients for potential allergens and consult a health professional if in doubt.