Quick One Hour French Bread- Easy Homemade Recipe
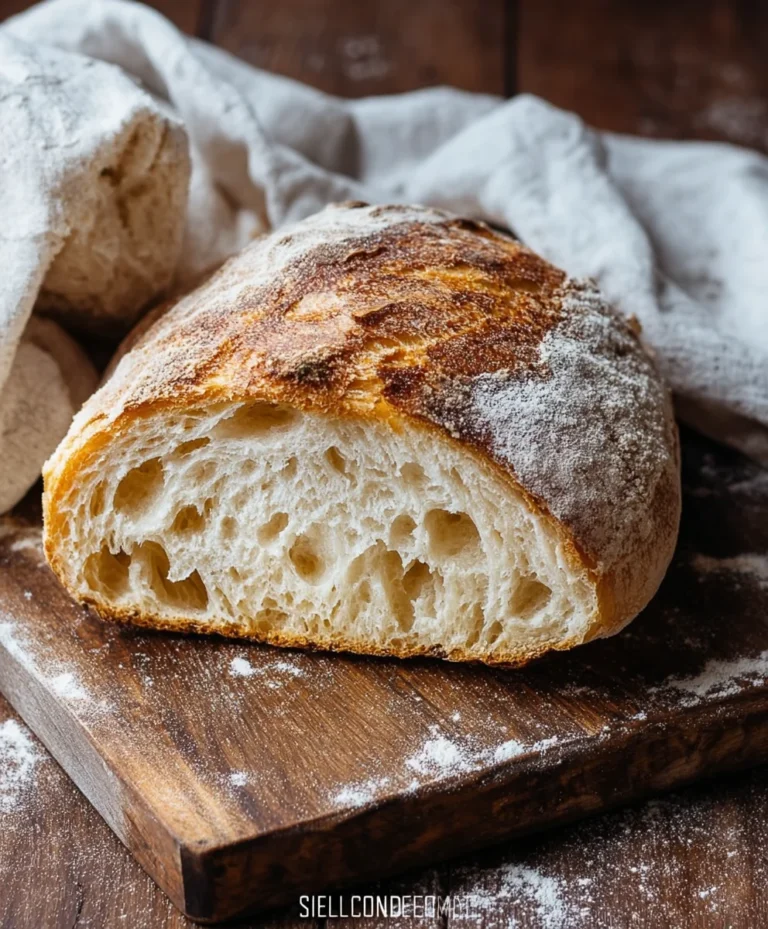
One Hour French Bread Recipe beckons with the promise of freshly baked, crusty perfection without the hours of waiting. If you’ve ever dreamt of that warm, inviting aroma filling your kitchen, accompanied by the satisfying crackle of a golden-brown crust, then this recipe is your golden ticket. What is it about French bread that captures our hearts and appetites? It’s that incredible simplicity – a few humble ingredients transforming into something truly magical. The slight chegrape juicess of the interior, the airy crum extractb, and that distinctively crisp exterior make it an unparalleled delight. This particular One Hour French Bread Recipe is special because it masterfully condenses the traditionally time-consuming process, making artisanal bread accessible on a weeknight. Get ready to experience the joy of homemade, incredible French bread, ready to be slathered with butter or dipped in your favorite soup, all within a single, productive hour.
Ingredients:
- 1 & 1/2 cups warm water (around 105-115°F or 40-46°C is ideal for yeast activation)
- 1 tablespoon white sugar (this feeds the yeast, helping it to become active and creating a lovely crust)
- 1 & 1/2 tablespoons dry yeast (ensure it’s active dry yeast for this recipe)
- 1 & 1/2 teaspoons salt (enhances flavor and controls yeast activity)
- 1 & 1/2 tablespoons butter, softened (adds richness and a tender crum extractb)
- 3-4 cups all-purpose flour, spooned and leveled (this is the base of our bread; we’ll start with 3 cups and add more as needed)
- 1 egg white, optional (for brushing, this will give your bread a beautiful golden sheen and slightly crispier crust)
Getting Started: Activating the Yeast
The first crucial step for a successful loaf is to properly activate your dry yeast. In a large mixing bowl, combine the warm water and the tablespoon of white sugar. Give it a gentle stir to dissolve the sugar. Now, sprinkle the dry yeast over the surface of the water. Don’t stir it in just yet; let it sit undisturbed for about 5 to 10 minutes. You should start to see a foamy, bubbly layer forming on top. This “froth” is a visual confirmation that your yeast is alive and active, ready to work its magic on our dough. If you don’t see any foam after 10 minutes, your yeast might be old or the water was too hot or too cold, and it’s best to start again with fresh yeast.
Mixing the Dough
Once your yeast is happily frothing, it’s time to incorporate the other wet ingredients and begin extract forming our dough. Add the softened butter and the salt to the yeast mixture. Give it a quick stgin extractto begin melting the butter and distributing the salt. Now, add in 3 cups of the all-purpose flour. Using a sturdy spoon or a dough whisk, start mixing everything together. You’ll notice thegin extractxture will begin to come together into a shaggy, somewhat sticky dough. Keep mixing until most of the flour is incorporated. The dough might still look a bit messy, and that’s perfectly normal at this stage.
Kneading the Dough
Now comes the satisfying part: kneading! Turn the dough out onto a lightly floured surface. This is where you’ll start to develop the gluten structure that gives our bread its charactegin extracttic chew and rise. Begin kneading by pushing the dough away from you with the heels of your hands, then folding it back towards you. Rotate the dough a quarter turn and repeat. For the first few minutes, the dough will likely be quite sticky. Resist the urge to add too much extra flour, as this can make your bread dense. Instead, use a bench scraper to help lift and fold the dough, and a little flour on your hands can also prevent excessive sticking. Continue kneading for about 8-10 minutes. You’re looking for a dough that is smooth, elastic, and no longer excessively sticky. It should spring back slowly when you gently poke it. If it feels too wet after several minutes of kneading, add a tablespoon of flour at a time, incorporating it thoroughly before adding more.
First Rise (Proofing)
Lightly grease a clean bowl with a little oil or cooking spray. Place the kneaded dough into the bowl, turning it once to coat all sides with the grease. Cover the bowl tightly with plastic wrap or a clean kitchen towel. Now, we let the dough do its thing and rise. For a quick rise, place the covered bowl in a warm spot in your kitchen. This could be near a preheating oven (but not too hot!), or even on a slightly warm (but turned off) stovetop. The goal is to provide a consistent, warm environment for the yeast to work. In about 30-45 minutes, the dough should have roughly doubled in size. You’ll see it puff up and fill the bowl nicely. This first rise is critical for developing flavor and texture.
Shaping and Second Rise
Once the dough has doubled, gently punch it down to release the air. Turn the dough out onto a lightly floured surface again. Now, we’ll shape our bread. For a classic French baguette shape, you can divide the dough into two or three portions, depending on how large you want your loaves. For each portion, gently pat it into a rough rectangle. Then, starting from one of the longer sides, tightly roll the dough up, pressing the seams together as you go. Pinch the seam closed at the bottom and tuck in the ends. Place the shaped loaves onto a baking sheet lined with parchment paper, leaving ample space between them. Cover them loosely with plastic wrap or a clean kitchen towel and let them rest for another 15-20 minutes. This short second rise allows the dough to relax and puff up a bit more before baking.
Baking the Bread
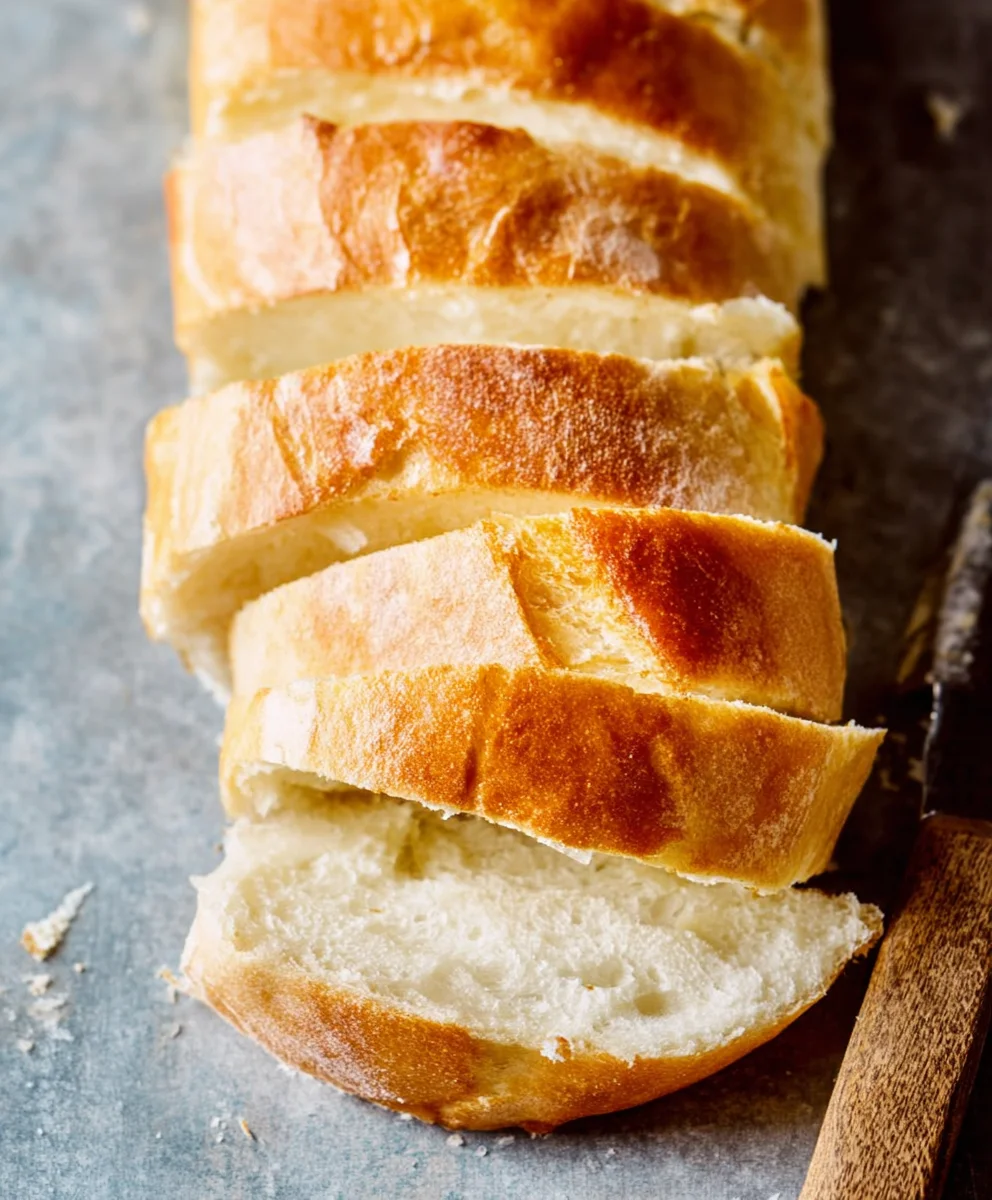
Preheat your oven to 425°F (220°C). If you’re using the optional egg white wash, whisk it lightly in a small bowl. Just before baking, lightly brush the tops of your risen loaves with the egg white wash. You can also use a sharp knife or a razor blade to score the tops of the loaves with a few diagonal slashes. This helps the bread expand evenly in the oven and creates a beautiful crust. Carefully place the baking sheet into the preheated oven. Bake for approximately 20-25 minutes, or until the crust is a deep golden brown and the loaves sound hollow when tapped on the bottom. The aroma filling your kitchen will be absolutely divine! Once baked, remove the bread from the oven and transfer it to a wire rack to cool completely before slicing. Enjoy your delicious homemade French bread!
Conclusion:
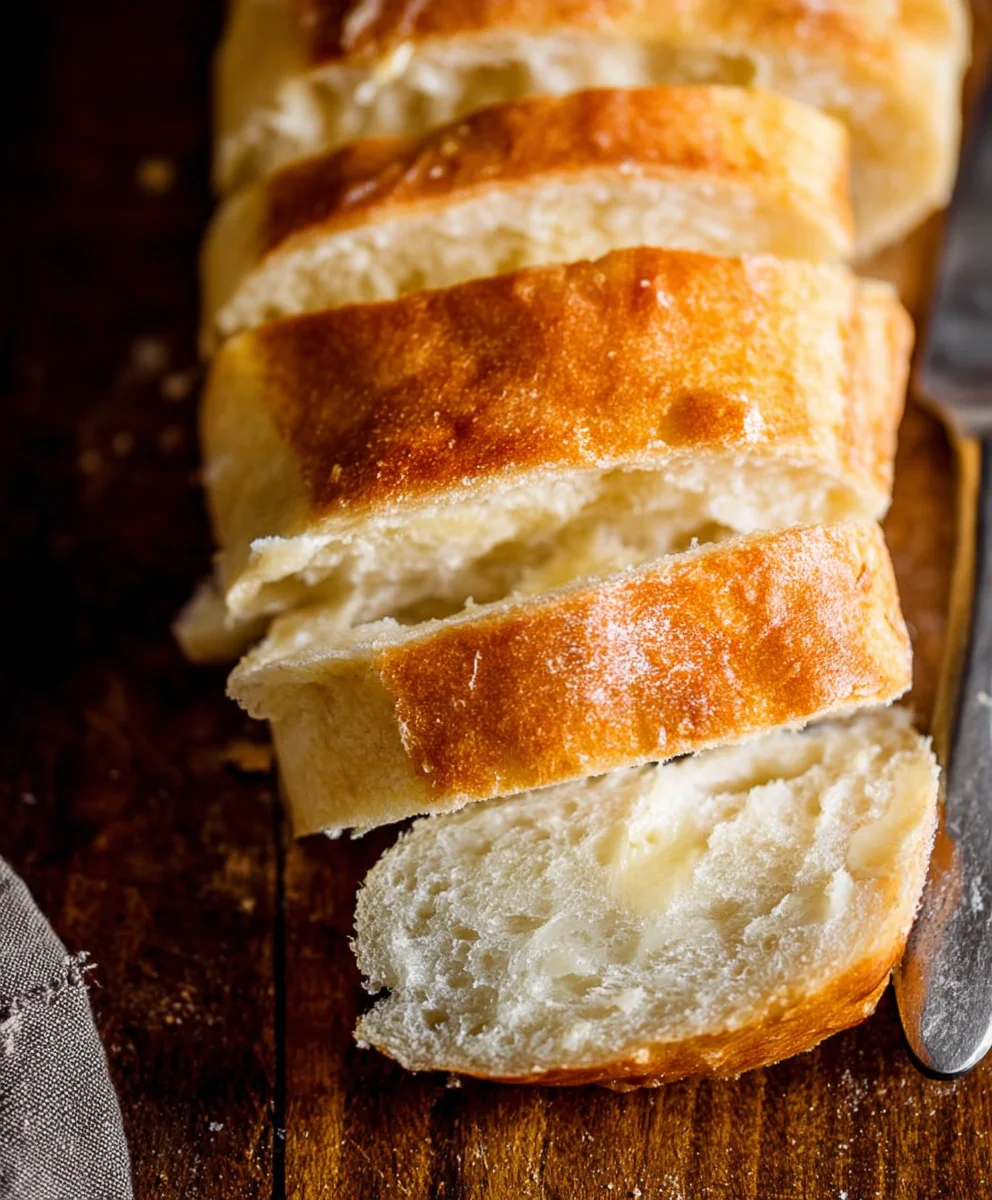
You’ve done it! With this One Hour French Bread Recipe, you’ve unlocked the secret to incredibly delicious, crusty bread in a fraction of the time typically required. This recipe simplifies the French bread-making process without compromising on that authentic, airy crum extractb and delightful chewy crust. The aroma filling your kitchen as this bread bakes is truly unparalleled, promising a rewarding and tasty experience.
Serving this glorious One Hour French Bread Recipe is an absolute joy. It’s perfect alongside a hearty soup or stew, as the base for a gourmet sandwich, or simply slathered with butter. Consider pairing it with your favorite pasta dish for an authentic Italian-inspired meal, or with a selection of cheeses and charcuterie for an elegant appetizer.
Feeling adventurous? Don’t hesitate to experiment with variations! You can incorporate herbs like rosemary or thyme into the dough for an aromatic twist, or sprinkle flaky sea salt on top before baking for an extra burst of flavor. For a richer bread, consider adding a touch of olive oil to the dough.
We hope you feel empowered and inspired to bake this fantastic One Hour French Bread Recipe again and again. Happy baking!
Frequently Asked Questions:
Can I make this One Hour French Bread Recipe ahead of time?
While this recipe is designed for speed, you can technically let the dough proof for a bit longer in the refrigerator if needed, though it might affect the texture slightly. For the freshest results, it’s best enjoyed the day it’s baked.
What if my dough doesn’t rise as much as expected in one hour?
Yeast activity can be influenced by temperature. If your kitchen is on the cooler side, the rise might be a little slower. Ensure your yeast is fresh and activated in warm, not hot, liquid. Don’t worry too much about it looking “doubled in size” after just one hour; as long as you see some activity and it feels airy, it should bake beautifully.
How do I achieve a really crusty exterior with this One Hour French Bread Recipe?
For that classic French bread crust, preheating your oven with a baking stone or an overturned baking sheet inside is key. Once you place the bread on the hot surface, create steam by tossing a cup of ice cubes or pouring half a cup of hot water into a preheated pan on the bottom rack of your oven right after you put the bread in. Close the oven door quickly and let it bake.
Quick One Hour French Bread- Easy Homemade Recipe
An easy and quick homemade French bread recipe that can be made in about an hour, perfect for beginners.
Ingredients
-
1 & 1/2 cups warm water
-
1 tablespoon white sugar
-
1 & 1/2 tablespoons dry yeast
-
1 & 1/2 teaspoons salt
-
1 & 1/2 tablespoons butter, softened
-
3-4 cups all-purpose flour, spooned and leveled
-
1 egg white, optional
Instructions
-
Step 1
Activate the yeast: In a large mixing bowl, combine warm water and sugar. Sprinkle dry yeast over the surface and let sit for 5-10 minutes until foamy. -
Step 2
Mix the dough: Add softened butter and salt to the yeast mixture. Stir to combine. Add 3 cups of all-purpose flour and mix until a shaggy, sticky dough forms. -
Step 3
Knead the dough: Turn dough onto a lightly floured surface. Knead for 8-10 minutes until smooth and elastic. Add flour gradually if too sticky. -
Step 4
First rise (proofing): Place dough in a lightly greased bowl, cover, and let rise in a warm spot for 30-45 minutes, or until doubled in size. -
Step 5
Shape and second rise: Punch down dough, divide into portions, and shape into baguettes. Place on a baking sheet, cover loosely, and let rest for 15-20 minutes. -
Step 6
Bake the bread: Preheat oven to 425°F (220°C). Brush loaves with optional egg white wash and score the tops. Bake for 20-25 minutes until golden brown and hollow sounding.
Important Information
Nutrition Facts (Per Serving)
It is important to consider this information as approximate and not to use it as definitive health advice.
Allergy Information
Please check ingredients for potential allergens and consult a health professional if in doubt.