Crispy Honey Chilli Potatoes – Easy & Delicious
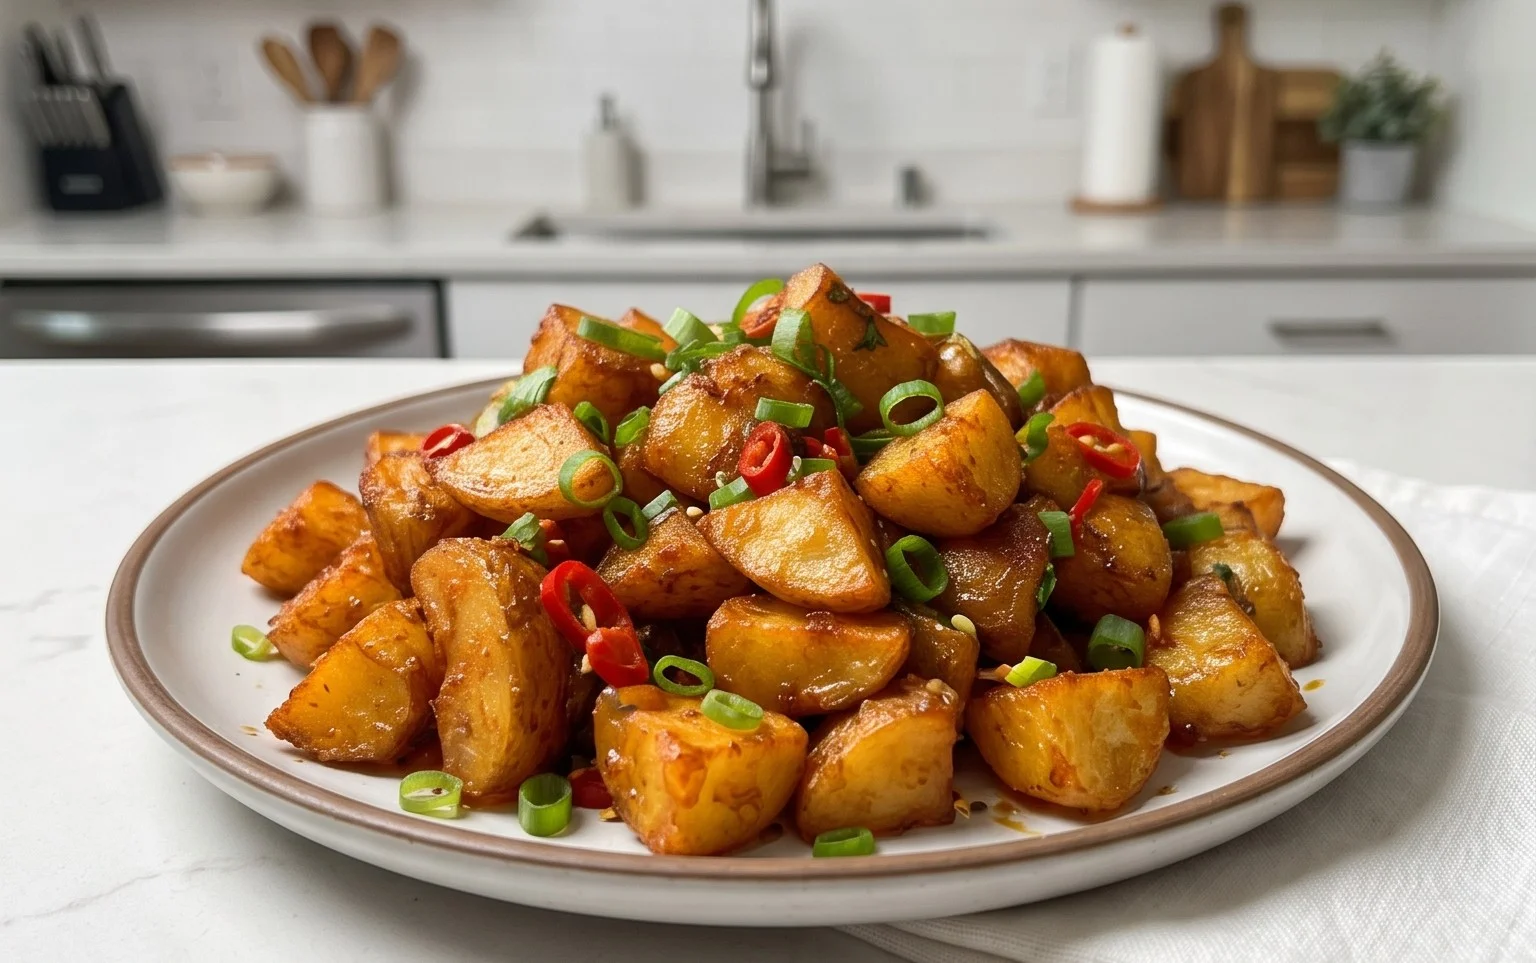
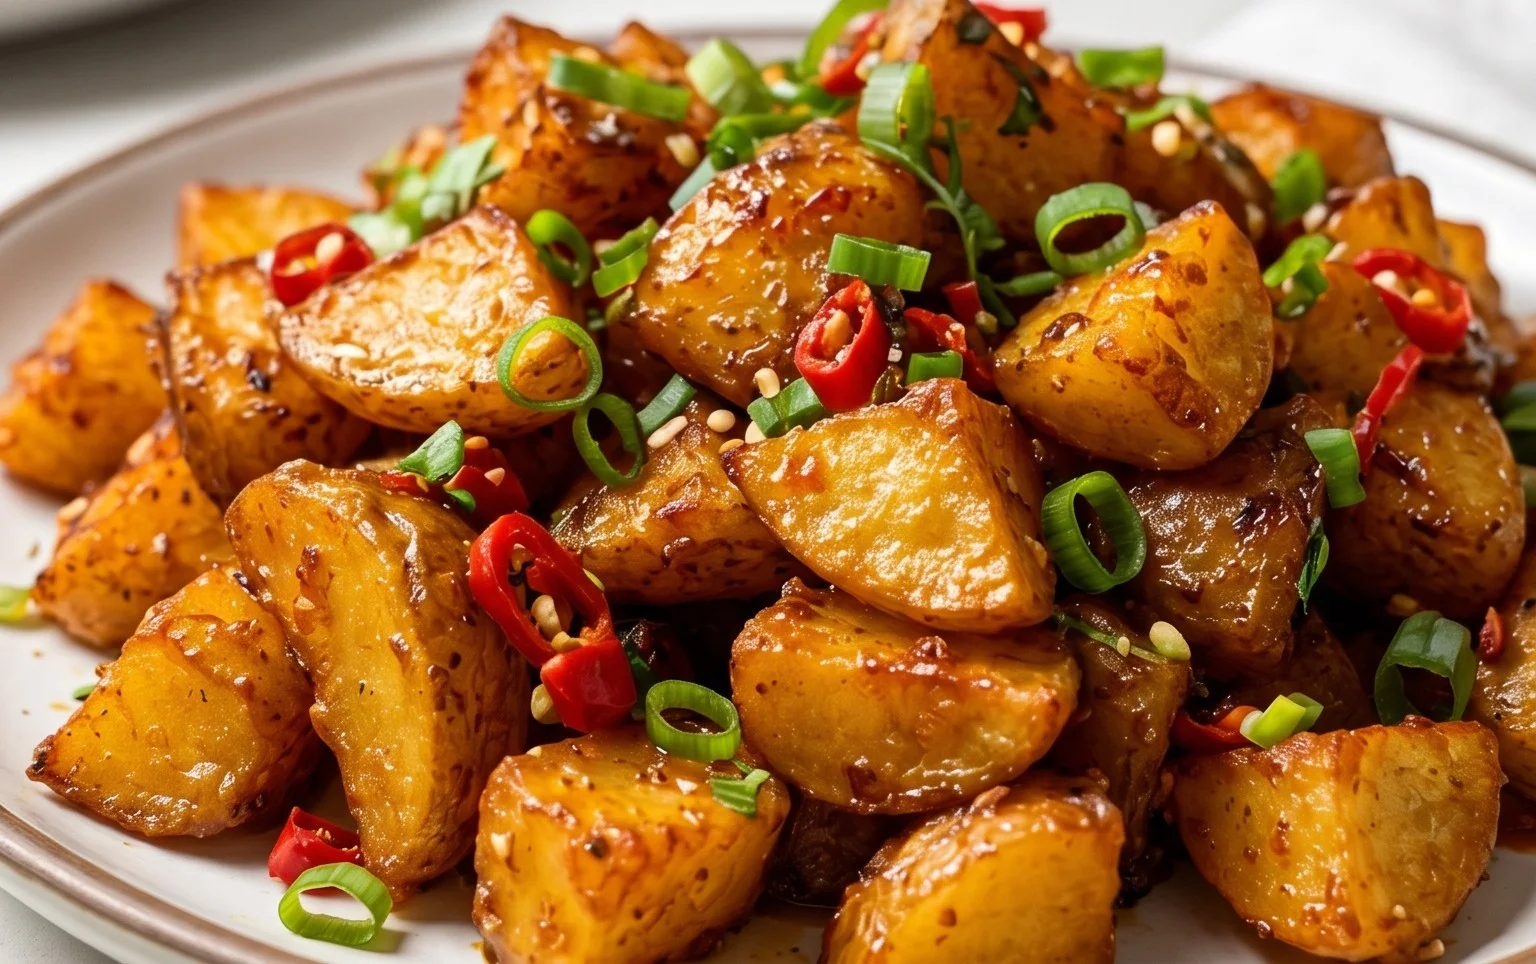
Crispy Honey Chilli Potatoes are an absolute game-changer for any potato lover! If you’re searching for that perfect side dish that packs a punch of sweet, spicy, and savory goodness, look no further. This recipe delivers on all fronts, transforming humble potatoes into an irresistible snack or accompaniment. What is it about these golden nuggets that has everyone hooked? It’s that addictive contrast: the shatteringly crisp exterior giving way to a fluffy interior, all coated in a glossy, sticky sauce that dances on your taste buds. The magic truly lies in the harmonious blend of sweet honey and fiery chilli, creating a flavor profile that’s both comforting and exciting. Prepare to be amazed by how simple ingredients can create such a spectacular dish. These Crispy Honey Chilli Potatoes are destined to become a firm favorite in your kitchen, perfect for impressing guests or treating yourself to something truly special.
Ingredients:
Crispy Honey Chilli Potatoes: A Sweet and Spicy Sensation
Get ready to tantalize your taste buds with these incredibly crispy honey chilli potatoes! This recipe is all about achieving that perfect balance of sweet, spicy, and savory, with a satisfying crunch in every bite. They’re fantastic as a snack, a side dish, or even a crowd-pleasing appetizer that will have everyone asking for the recipe. The key to their irresistible texture lies in a two-stage frying process and a sticky, flavorful glaze. So, let’s get started on creating this delightful treat!
Potato Preparation: The Foundation of Crispiness
The journey to perfect crispy potatoes begin extracts with their preparation. We’re aiming for uniform pieces to ensure even cooking.
Note 1: Potato Selection and Cutting
For this recipe, I recommend using starchy potatoes like Russets or Yukon Golds. These varieties break down less during cooking, leading to a fluffier interior and a crispier exterior. After peeling your potatoes, cut them into finger-like shapes, roughly 1/3 to 1/2 inch thick and 2 to 3 inches long. Consistency is key here. If your potato sticks are too thin, they might burn before they cook through. If they’re too thick, they might remain undercooked in the center. Aim for a thickness that allows for a good crisp exterior while ensuring the inside is tender. Once cut, it’s a good idea to rinse the potato fingers under cold water to remove excess starch. This step further contributes to their crispiness. After rinsing, thoroughly pat them dry with paper towels. Moisture is the enemy of crispiness, so don’t skip this drying step!
Frying for Ultimate Crispiness
We’re going to use a double-frying technique to achieve that coveted shatteringly crisp texture.
Step 1: First Fry – Par-Cooking the Potatoes
In a large bowl, combine the prepared potato fingers with 3 tablespoons of corn flour, 3 tablespoons of all-purpose flour, 1 tablespoon of salt, 2 teaspoons of chilli powder, 1 teaspoon of garlic paste, and 1 teaspoon of red chilli paste. Toss everything gently until the potato fingers are evenly coated. You want a light coating, not a thick batter. Now, it’s time for the first fry. Heat enough oil in a deep pan or wok to submerge the potato fingers. The oil should be at a medium heat, around 300-325°F (150-160°C). Carefully add the coated potato fingers in batches, being careful not to overcrowd the pan. Overcrowding will lower the oil temperature and result in greasy, soggy potatoes. Fry them for about 5-7 minutes, or until they are lightly golden and slightly tender, but not fully cooked or browned. The goal here is to par-cook them and start developing a firm exterior. Remove the par-fried potatoes from the oil and place them on a wire rack set over a baking sheet to drain any excess oil. This allows them to cool and firm up, preparing them for the second fry.
Step 2: Preparing the Glorious Glaze
While the par-fried potatoes are cooling, let’s whip up the irresistible honey chilli glaze. In a small bowl, whisk together ⅓ cup of all-purpose flour, ⅓ cup of corn flour, and ¼ teaspoon of black pepper. Gradually whisk in ¼ cup of water until you have a smooth, lump-free slurry. This will form the base of our sticky glaze.
The Second Fry and Glaze Magic
This is where the magic truly happens, transforming our par-fried potatoes into golden, crispy delights coated in a delectable glaze.
Step 3: Second Fry – Achieving Golden Perfection
Increase the heat of your oil to medium-high, around 350-375°F (175-190°C). Carefully return the par-fried potato fingers to the hot oil, again working in batches. This second fry is crucial for achieving that deep golden brown color and ultimate crispiness. Fry them for another 3-5 minutes, or until they are beautifully golden brown and wonderfully crispy. You’ll notice they’ve become much firmer and more rigid. Once they’ve reached this perfect crisp stage, remove them from the oil and place them back on the wire rack to drain.
Step 4: Sautéing the Aromatics for the Glaze
Now, let’s prepare to coat our crispy potatoes. In a large non-stick skillet or wok, heat 2 tablespoons of oil over medium heat. Add the finely chopped garlic and sauté for about 30 seconds until fragrant. Be careful not to burn the garlic, as this will make it bitter. Stir in 1 teaspoon of red chilli flakes and cook for another 15-20 seconds, just until their fragrance is released. This blooming of the chilli flakes in the hot oil intensifies their flavor.
Step 5: Coating and Finishing
Pour the prepared flour and water slurry into the skillet with the garlic and chilli flakes. Whisk continuously as it thickens to form a glossy sauce. This should only take a minute or two. Once the sauce has thickened to your desired consistency – it should be thick enough to coat the back of a spoon – immediately add the double-fried crispy potato fingers to the skillet. Toss them gently and quickly to ensure each potato finger is evenly coated in the sticky, spicy glaze. The heat from the potatoes will help the glaze set. You want to coat them just enough to get that glossy sheen and flavor without making them soggy. Serve immediately while they are still piping hot and incredibly crispy.
Note 2: Oil for Frying
For best results, use a neutral-flavored oil with a high smoke point for frying. Vegetable oil, canola oil, or peanut oil are excellent choices. If you prefer to brush the potatoes with oil for a less intensive frying method, you can do so and bake them in a hot oven, but deep frying will yield the crispiest results. Ensure you have enough oil to adequately submerge the potato pieces during the frying stages.
Enjoy these delightful Crispy Honey Chilli Potatoes! They are best enjoyed fresh off the pan.
Conclusion:
There you have it – your guide to mastering the art of perfectly Crispy Honey Chilli Potatoes! This recipe is an absolute winner because it strikes a beautiful balance between sweet and spicy, with a delightful crunch that makes every bite incredibly satisfying. It’s simple enough for a weeknight treat but impressive enough to serve at a gathering. I truly encourage you to give these a go; they’re wonderfully versatile and are sure to become a favourite in your kitchen.
These delicious potatoes are perfect as a vibrant side dish to grilled meats or fish, or as a standalone appetizer that will disappear in a flash. They pair wonderfully with a crisp salad for a lighter meal. For variations, consider adding a sprinkle of toasted sesame seeds or finely chopped spring onions just before serving for an extra layer of flavour and texture. You could also experiment with different chilli flakes for varying heat levels, or even a dash of lime juice at the end for a zesty kick. I can’t wait for you to experience their irresistible charm!
Frequently Asked Questions:
How do I ensure my honey chilli potatoes are extra crispy?
The key to crispiness lies in a few steps: ensure your potato pieces are cut uniformly, pat them thoroughly dry after parboiling (moisture is the enemy of crisp!), and don’t overcrowd the baking tray. This allows the hot air to circulate effectively, leading to that desirable crunch.
Can I make these potatoes ahead of time?
While best enjoyed fresh for maximum crispiness, you can parboil and cool the potatoes a few hours in advance. Store them in the refrigerator and then toss them with the sauce and bake just before serving. They might not be quite as crispy as freshly made, but they’ll still be delicious!
Crispy Honey Chilli Potatoes
Deliciously crispy potatoes coated in a sweet and spicy honey chilli glaze.
Ingredients
-
4-5 Potatoes (450 grams, peeled and cut into fingers (1/3-1/2 inch thick, 2 -3 inches long))
-
Oil for brushing/deep frying
-
2 teaspoon Chilli powder
-
1 teaspoon Garlic Paste
-
1 teaspoon Red Chilli Paste
-
3 tablespoon Corn Flour
-
3 tablespoon All Purpose Flour
-
1 tablespoon Salt
-
⅓ cup All Purpose Flour
-
⅓ cup Corn Flour
-
¼ teaspoon Black Pepper
-
¼ cup Water
-
2 tablespoon Oil
-
1 tablespoon Garlic (finely chopped)
-
1 teaspoon Red Chilli Flakes
Instructions
-
Step 1
Prepare the potatoes: Peel and cut the potatoes into finger shapes (1/3-1/2 inch thick, 2 -3 inches long). Wash them thoroughly and pat them dry. -
Step 2
Coat the potatoes: In a bowl, combine the 3 tablespoons of corn flour, 3 tablespoons of all-purpose flour, 2 teaspoons of chilli powder, 1 teaspoon of garlic paste, 1 teaspoon of red chilli paste, and 1 tablespoon of salt. Add the prepared potato fingers and toss to coat evenly. -
Step 3
Fry the potatoes (first fry): Heat enough oil for deep frying in a pan or wok over medium-high heat. Carefully add the coated potato fingers in batches and deep fry for 5-7 minutes until lightly golden and slightly softened. Remove and drain on paper towels. Let them cool slightly. -
Step 4
Prepare the batter for the second fry: In another bowl, whisk together ⅓ cup all-purpose flour, ⅓ cup corn flour, and ¼ teaspoon black pepper. Gradually add ¼ cup water, mixing until a smooth, thick batter forms. Dip the pre-fried potato fingers into this batter, ensuring they are well coated. -
Step 5
Fry the potatoes (second fry): Reheat the oil to high heat. Carefully add the battered potato fingers and deep fry again for another 3-5 minutes until they are golden brown and very crispy. Remove and drain on paper towels. -
Step 6
Make the honey chilli glaze: In a clean pan, heat 2 tablespoons of oil over medium heat. Add 1 tablespoon of finely chopped garlic and sauté until fragrant, about 30 seconds. Add 1 teaspoon of red chilli flakes and stir for a few seconds. -
Step 7
Glaze the potatoes: Add 2-3 tablespoons of honey (adjust to your sweetness preference) to the pan with the garlic and chilli flakes. Stir well and let it bubble for about 1 minute. Add the double-fried crispy potatoes to the glaze and toss gently until they are evenly coated. Serve immediately.
Important Information
Nutrition Facts (Per Serving)
It is important to consider this information as approximate and not to use it as definitive health advice.
Allergy Information
Please check ingredients for potential allergens and consult a health professional if in doubt.