Mini Red Velvet Oreo Cheesecakes-Decadent Dessert
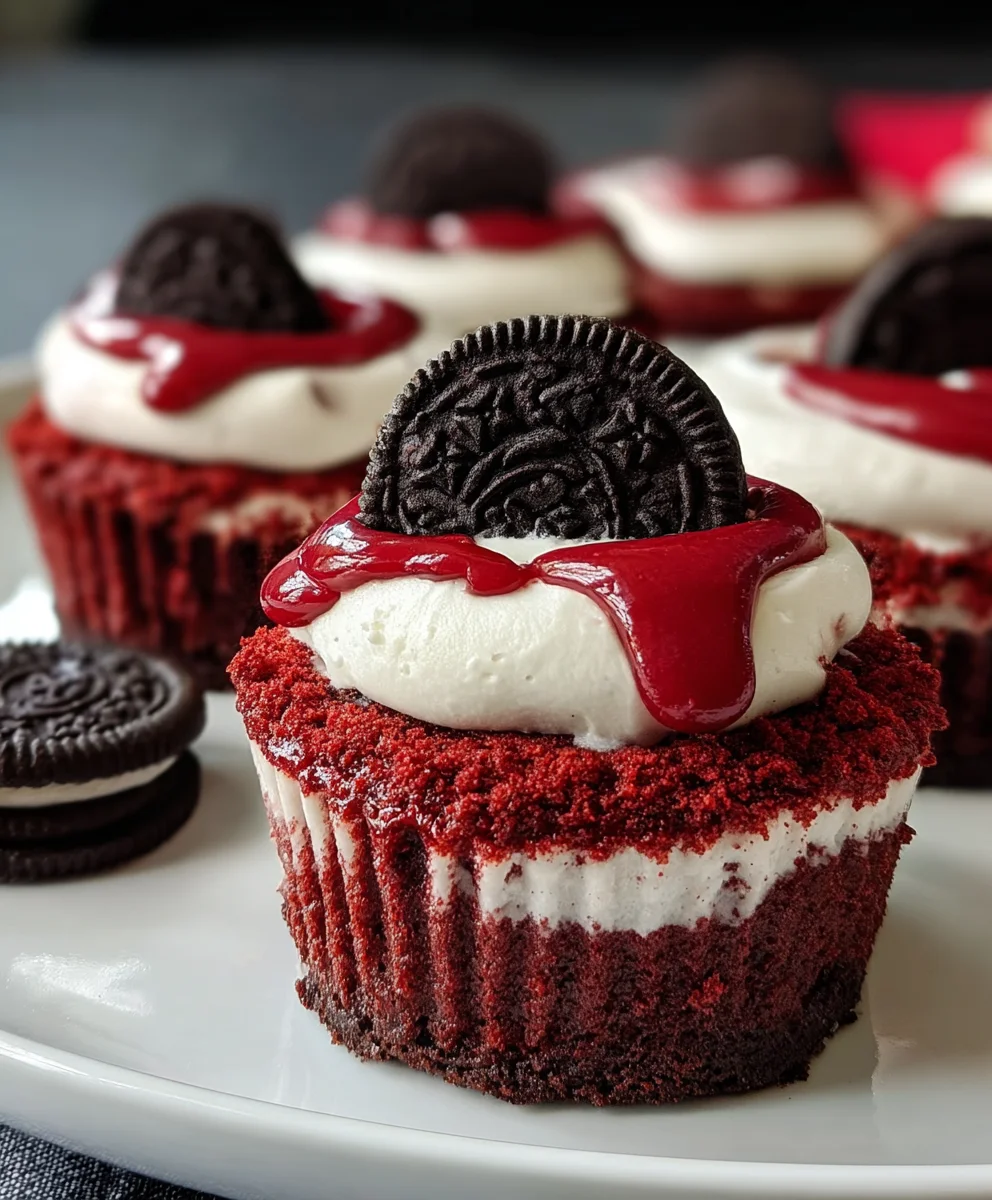
Mini Red Velvet Oreo Cheesecakes are the ultimate indulgence, a perfectly portioned dessert that marries the iconic richness of red velvet cake with the irresistible crunch of Oreos, all swirled into a creamy, dreamy cheesecake base. Have you ever craved a dessert that’s both visually stunning and incredibly delicious, something that feels special enough for a celebration but is surprisingly easy to whip up? That’s exactly what these little masterpieces deliver! People adore these because they offer all the decadent flavors we know and love, but in a convenient, individual serving size that makes portion control (or lack thereof!) a delightful experience. What truly sets these Mini Red Velvet Oreo Cheesecakes apart is the masterful combination of textures and tastes – the slightly bitter, chocolatey notes of the Oreo crust, the tangy, vibrant red velvet cheesecake filling, and the subtle sweetness that makes each bite utterly unforgettable. They’re a guaranteed crowd-pleaser and a testament to how a classic dessert can be reinvented with playful yet elegant twists.
Ingredients:
- 12 Oreo cookies
- 3 tablespoons all-purpose flour
- 1/2 cup cocoa powder (divided)
- 1/2 cup granulated sugar (divided)
- 1/4 cup unsalted butter, melted
- 2 large eggs, room temperature (divided)
- 1/2 teaspoon vanilla extract (divided)
- Pinch of salt
- 8 oz cream cheese, room temperature
- 1/4 cup sour cream, room temperature
- Red gel food coloring
Crust Preparation
Step 1: Crushing the Oreos
The foundation of our delightful Mini Red Velvet Oreo Cheesecakes begin extracts with the cookies! Take all 12 Oreo cookies and place them into a food processor. Pulse until they are finely crushed into crum extractbs. If you don’t have a food processor, you can place the Oreos in a sturdy zip-top bag and crush them with a rolling pin or the bottom of a heavy pan until you achievrum extractinerum extractumbs. These crumbs will form the delicious base of our cheesecakes.
Step 2: Mixing the Crust Components
In a medium bowl, combine trum extractfinely crushed Oreo crumbs with 3 tablespoons of all-purpose flour, 1/4 cup of cocoa powder, and 1/4 cup of granulated sugar. Add a pinch of salt to enhance the flavors. Stir these dry ingredients together thoroughly until they are evenly distributed. Next, pour in the 1/4 cup of melted unsalted butter. Mix everything rum extractether with a fork until the crumbs are moistened and resemble wet sand. This mixture will hold together when pressed.
Step 3: Forming the Crusts
I’m using a standard 12-cup muffin tin for this recipe. To make removal a breeze and prevent sticking, I highly recommend lining each cup with cupcake liners. If you prefer not to use liners, you can generously grease andrum extractour the muffin tin. Divide the Oreo crumb mixture evenly among the 12 prepared muffin cups. Press the mixture firmly into the bottom of each cup using the bottom of a small glass or a spoon. You want to create a compact and even layer. You can also bring the crust mixture slightly up the sides of the liners if you desire a more pronounced crust edge. Once formed, place the muffin tin in the freezer while you prepare the cheesecake filling. This helps the crust set and firm up.
Cheesecake Filling Preparation
Step 4: Creaming the Base
Now, let’s prepare the luscious cheesecake filling. Ensure your 8 oz of cream cheese is truly at room temperature. This is crucial for a smooth and lump-free filling. In a large mixing bowl, beat the cream cheese with an electric mixer on medium speed until it’s completely smooth and creamy. Scrape down the sides of the bowl as needed. Add 1/4 cup of granulated sugar, 1/4 cup of sour cream, and the remaining 1/4 cup of cocoa powder. Continue to beat until everything is well combined and there are no lumps of cream cheese visible.
Step 5: Incorporating Wet Ingredients and Color
To this creamy mixture, add 1 large egg (make sure it’s also at room temperature – this helps prevent cracking), and 1/4 teaspoon of vanilla extract. Beat on low speed until just combined. Overmixing at this stage can introduce too much air, which can lead to cracks. Now for the fun part – the vibrant red color! Add a few drops of red gel food coloring. Gel coloring is more concentrated than liquid, so you’ll need less to achieve a deep hue. Start with about 1/2 teaspoon and add more, a little at a time, until you achieve your desired shade of red. Mix until the color is uniformly distributed throughout the filling. Don’t forget to add the remaining 1/4 teaspoon of vanilla extract at this stage as well for an extra burst of flavor.
Step 6: Adding the Final Egg
In a small separate bowl, whisk the second large egg until lightly beaten. Gently fold this whisked egg into the red velvet cheesecake batter. Again, be careful not to overmix; we just want to incorporate it evenly. The batter should be thick, smooth, and a beautiful deep red color.
Baking and Chilling
Step 7: Filling the Muffin Cups and Baking
Retrieve the muffin tin from the freezer. Spoon the red velvet cheesecake filling evenly into each muffin cup, filling them almost to the top. Aim for about 2-3 tablespoons of filling per cup. Smooth the tops gently with the back of a spoon or a small offset spatula. Preheat your oven to 325°F (160°C). Place the muffin tin in the preheated oven and bake for 20-25 minutes, or until the edges of the cheesecakes are set but the centers still have a slight wobble when you gently shake the tin. They will continue to set as they cool.
Step 8: Cooling and Chilling for Perfect Texture
Once baked, carefully remove the muffin tin from the oven. Let the mini cheesecakes cool in the muffin tin on a wire rack for about 15-20 minutes. This gradual cooling is important to prevent sudden temperature changes, which can also lead to cracking. After the initial cooling, gently lift the cupcakes out of the muffin tin using the liners and place them directly on the wire rack to cool completely to room temperature. Once they are fully cooled, cover the muffin tin loosely with plastic wrap or transfer the cheesecakes to an airtight container. Refrigerate for at least 4 hours, or preferably overnight. This chilling period is essential for the cheesecakes to firm up properly, develop their rich flavor, and achieve that signature creamy, dense texture. The longer they chill, the better they will taste!
Conclusion:
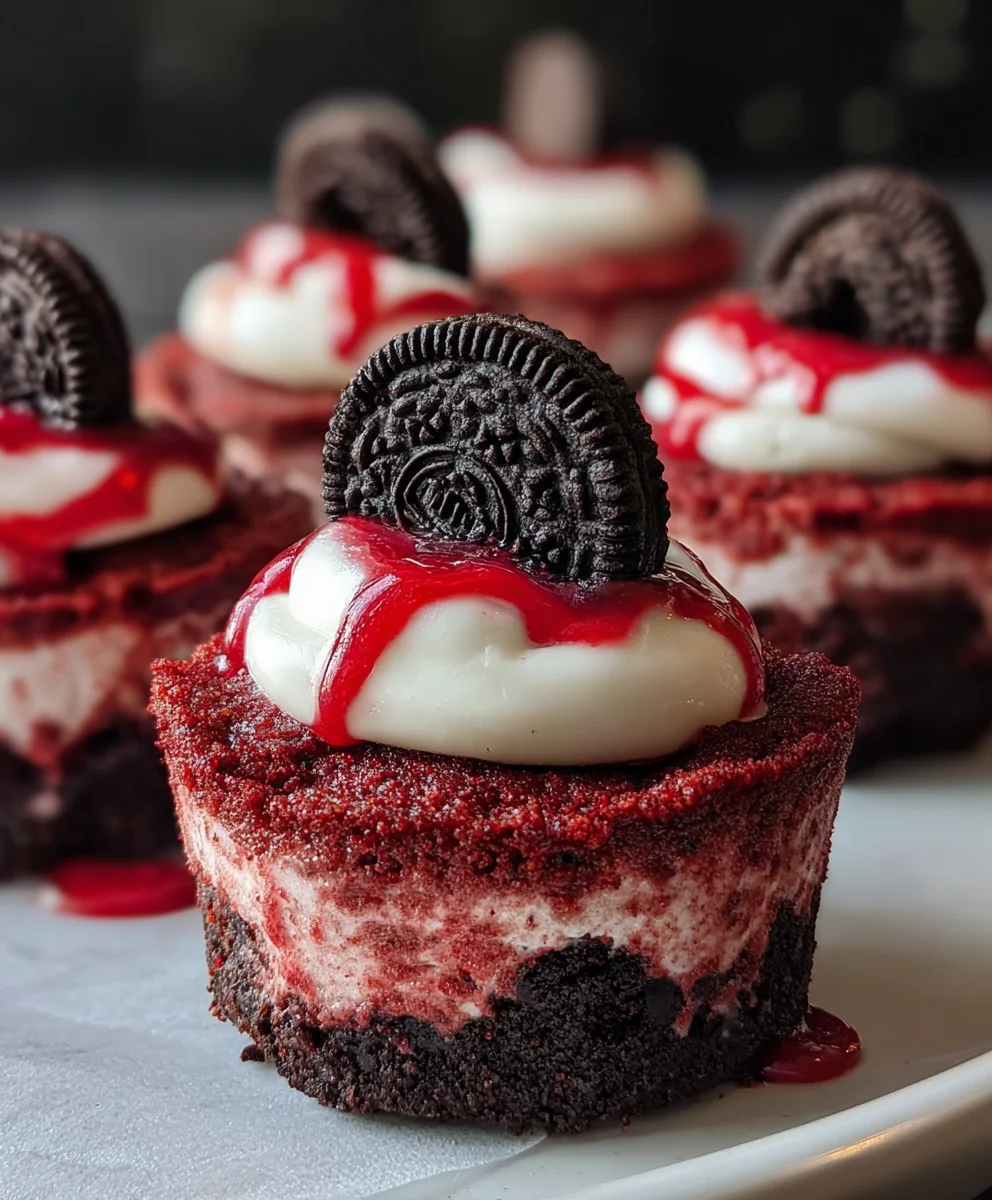
And there you have it – your very own batch of delicious Mini Red Velvet Oreo Cheesecakes! We hope you’ve enjoyed this journey of creating these decadent treats. These mini cheesecakes are not only visually stunning with their vibrant red hue and chocolatey base, but they also offer an irresistible combination of creamy cheesecake, rich red velvet cake, and the satisfying crunch of Oreos. They are perfect for any occasion, from birthdays and holidays to a special weekend dessert.
For serving, consider a dollop of whipped cream or a swirl of cream cheese frosting to enhance the indulgence. These Mini Red Velvet Oreo Cheesecakes also pair beautifully with fresh berries for a touch of tartness. Don’t be afraid to experiment with variations! You could add a hint of espresso powder to the cheesecake filling for a mocha twist, or sprinkle a few mini chocolate chips on top before baking. The possibilities are endless! We encourage you to share these delightful creations with your loved ones. They are sure to impress!
Frequently Asked Questions:
Q1: Can I make the Mini Red Velvet Oreo Cheesecakes ahead of time?
Absolutely! The Mini Red Velvet Oreo Cheesecakes can be made a day or two in advance. Store them covered in the refrigerator. They are often even better the next day as the flavors meld together.
Q2: How do I prevent my cheesecakes from cracking?
While minor cracks are perfectly normal and won’t affect the taste, you can minimize them by not overmixing the batter, ensuring your ingredients are at room temperature, and avoiding overbaking. A water bath during baking can also help create a more even cooking environment and prevent cracks.
Mini Red Velvet Oreo Cheesecakes-Decadent Dessert
Decadent mini cheesecakes with a red velvet Oreo crust and a creamy red velvet cheesecake filling.
Ingredients
-
12 Oreo cookies
-
3 tablespoons all-purpose flour
-
1/2 cup cocoa powder
-
1/2 cup granulated sugar
-
1/4 cup unsalted butter, melted
-
2 large eggs, room temperature
-
1/2 teaspoon vanilla extract
-
Pinch of salt
-
8 oz cream cheese, room temperature
-
1/4 cup sour cream, room temperature
-
Red gel food coloring
Instructions
-
Step 1
Crush Oreo cookies into fine crumbs using a food processor or by hand. In a medium bowl, combine the crushed Oreos with all-purpose flour, 1/4 cup cocoa powder, 1/4 cup granulated sugar, and a pinch of salt. Stir in the melted unsalted butter until the mixture resembles wet sand. -
Step 2
Line a 12-cup muffin tin with cupcake liners or grease and flour. Divide the Oreo crumb mixture evenly among the cups, pressing firmly into the bottom to form the crusts. Place the muffin tin in the freezer while preparing the filling. -
Step 3
In a large mixing bowl, beat the room temperature cream cheese until smooth. Add 1/4 cup granulated sugar, sour cream, and the remaining 1/4 cup cocoa powder. Beat until well combined and smooth. -
Step 4
Add 1 large egg and 1/4 teaspoon vanilla extract to the cream cheese mixture. Beat on low speed until just combined. Add red gel food coloring, starting with 1/2 teaspoon and adding more until the desired deep red hue is achieved. Mix until uniformly distributed. Stir in the remaining 1/4 teaspoon vanilla extract. -
Step 5
In a separate small bowl, lightly whisk the second large egg. Gently fold this whisked egg into the red velvet cheesecake batter until just incorporated. Avoid overmixing. -
Step 6
Retrieve the chilled muffin tin. Spoon the red velvet cheesecake filling evenly into each cup, filling them almost to the top. Smooth the tops. Bake in a preheated oven at 325°F (160°C) for 20-25 minutes, or until the edges are set and the centers have a slight wobble. -
Step 7
Let the mini cheesecakes cool in the muffin tin on a wire rack for 15-20 minutes. Then, gently lift them out and place them directly on the wire rack to cool completely to room temperature. Cover loosely and refrigerate for at least 4 hours, or preferably overnight, to firm up and develop flavor.
Important Information
Nutrition Facts (Per Serving)
It is important to consider this information as approximate and not to use it as definitive health advice.
Allergy Information
Please check ingredients for potential allergens and consult a health professional if in doubt.